

Step 1: Understanding Hand Proportions
Before we draw a hand holding something, it’s important to understand the basic proportions of the hand. I found that drawing guide lines on my own hands is very helpful with proportions. When I position my hands a certain way, the guide lines show me the correct way to draw it. I am a visual learning, as well as many of my students, making this a great resource. I do stress that this is an optional resource and do not require anyone to draw on their own hands. I also found a great video that breaks down proportions as well as deliver the information in an engaging way.
Materials:
- Drawing Pencils: classroom pack, classroom pack economical, individual
- Kneaded Erasers
- Blending Tools
- Colored Pencils: skin tone
- Mixed media paper: I prefer this over drawing paper because it is heavyweight
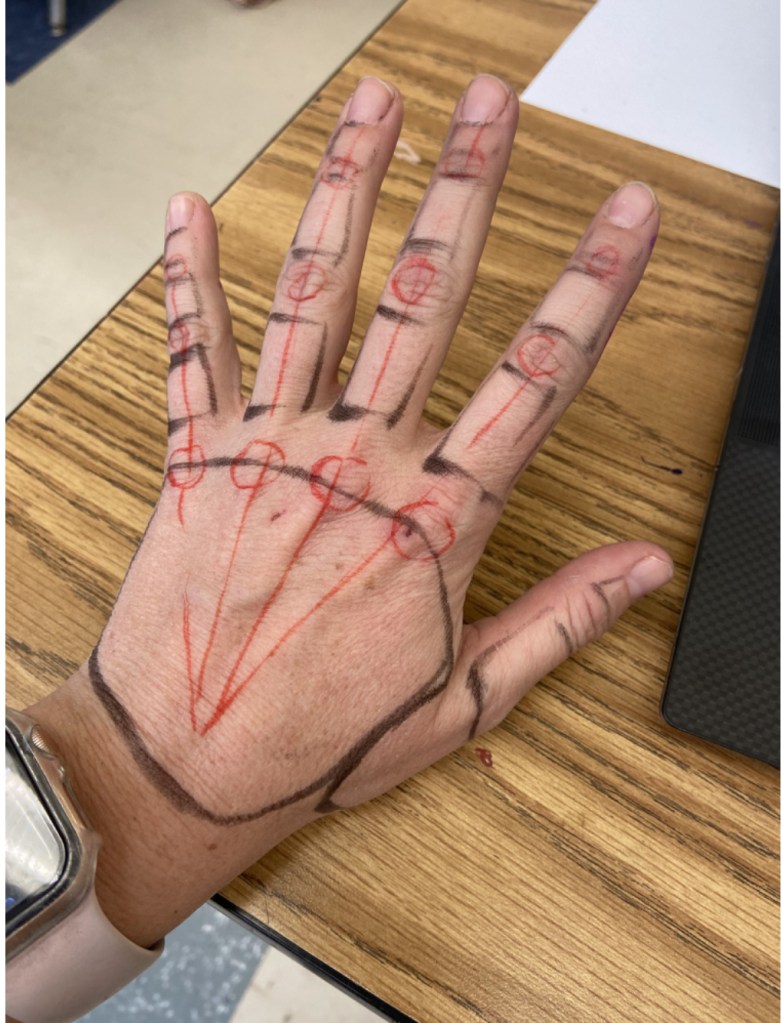
- Palm Width: The width of the palm is about the same as the length of the fingers (without the thumb).
- Fingers: Each finger has three parts: the base (closest to the palm), the middle section, and the tip (the part that touches things). The fingers get slightly smaller from the base to the tip.
- Thumb: The thumb is shorter than the fingers and has two parts: the base and the tip.
- Overall Size: If you measure from the wrist to the top of the middle finger, it should be about the same as the height of the palm.
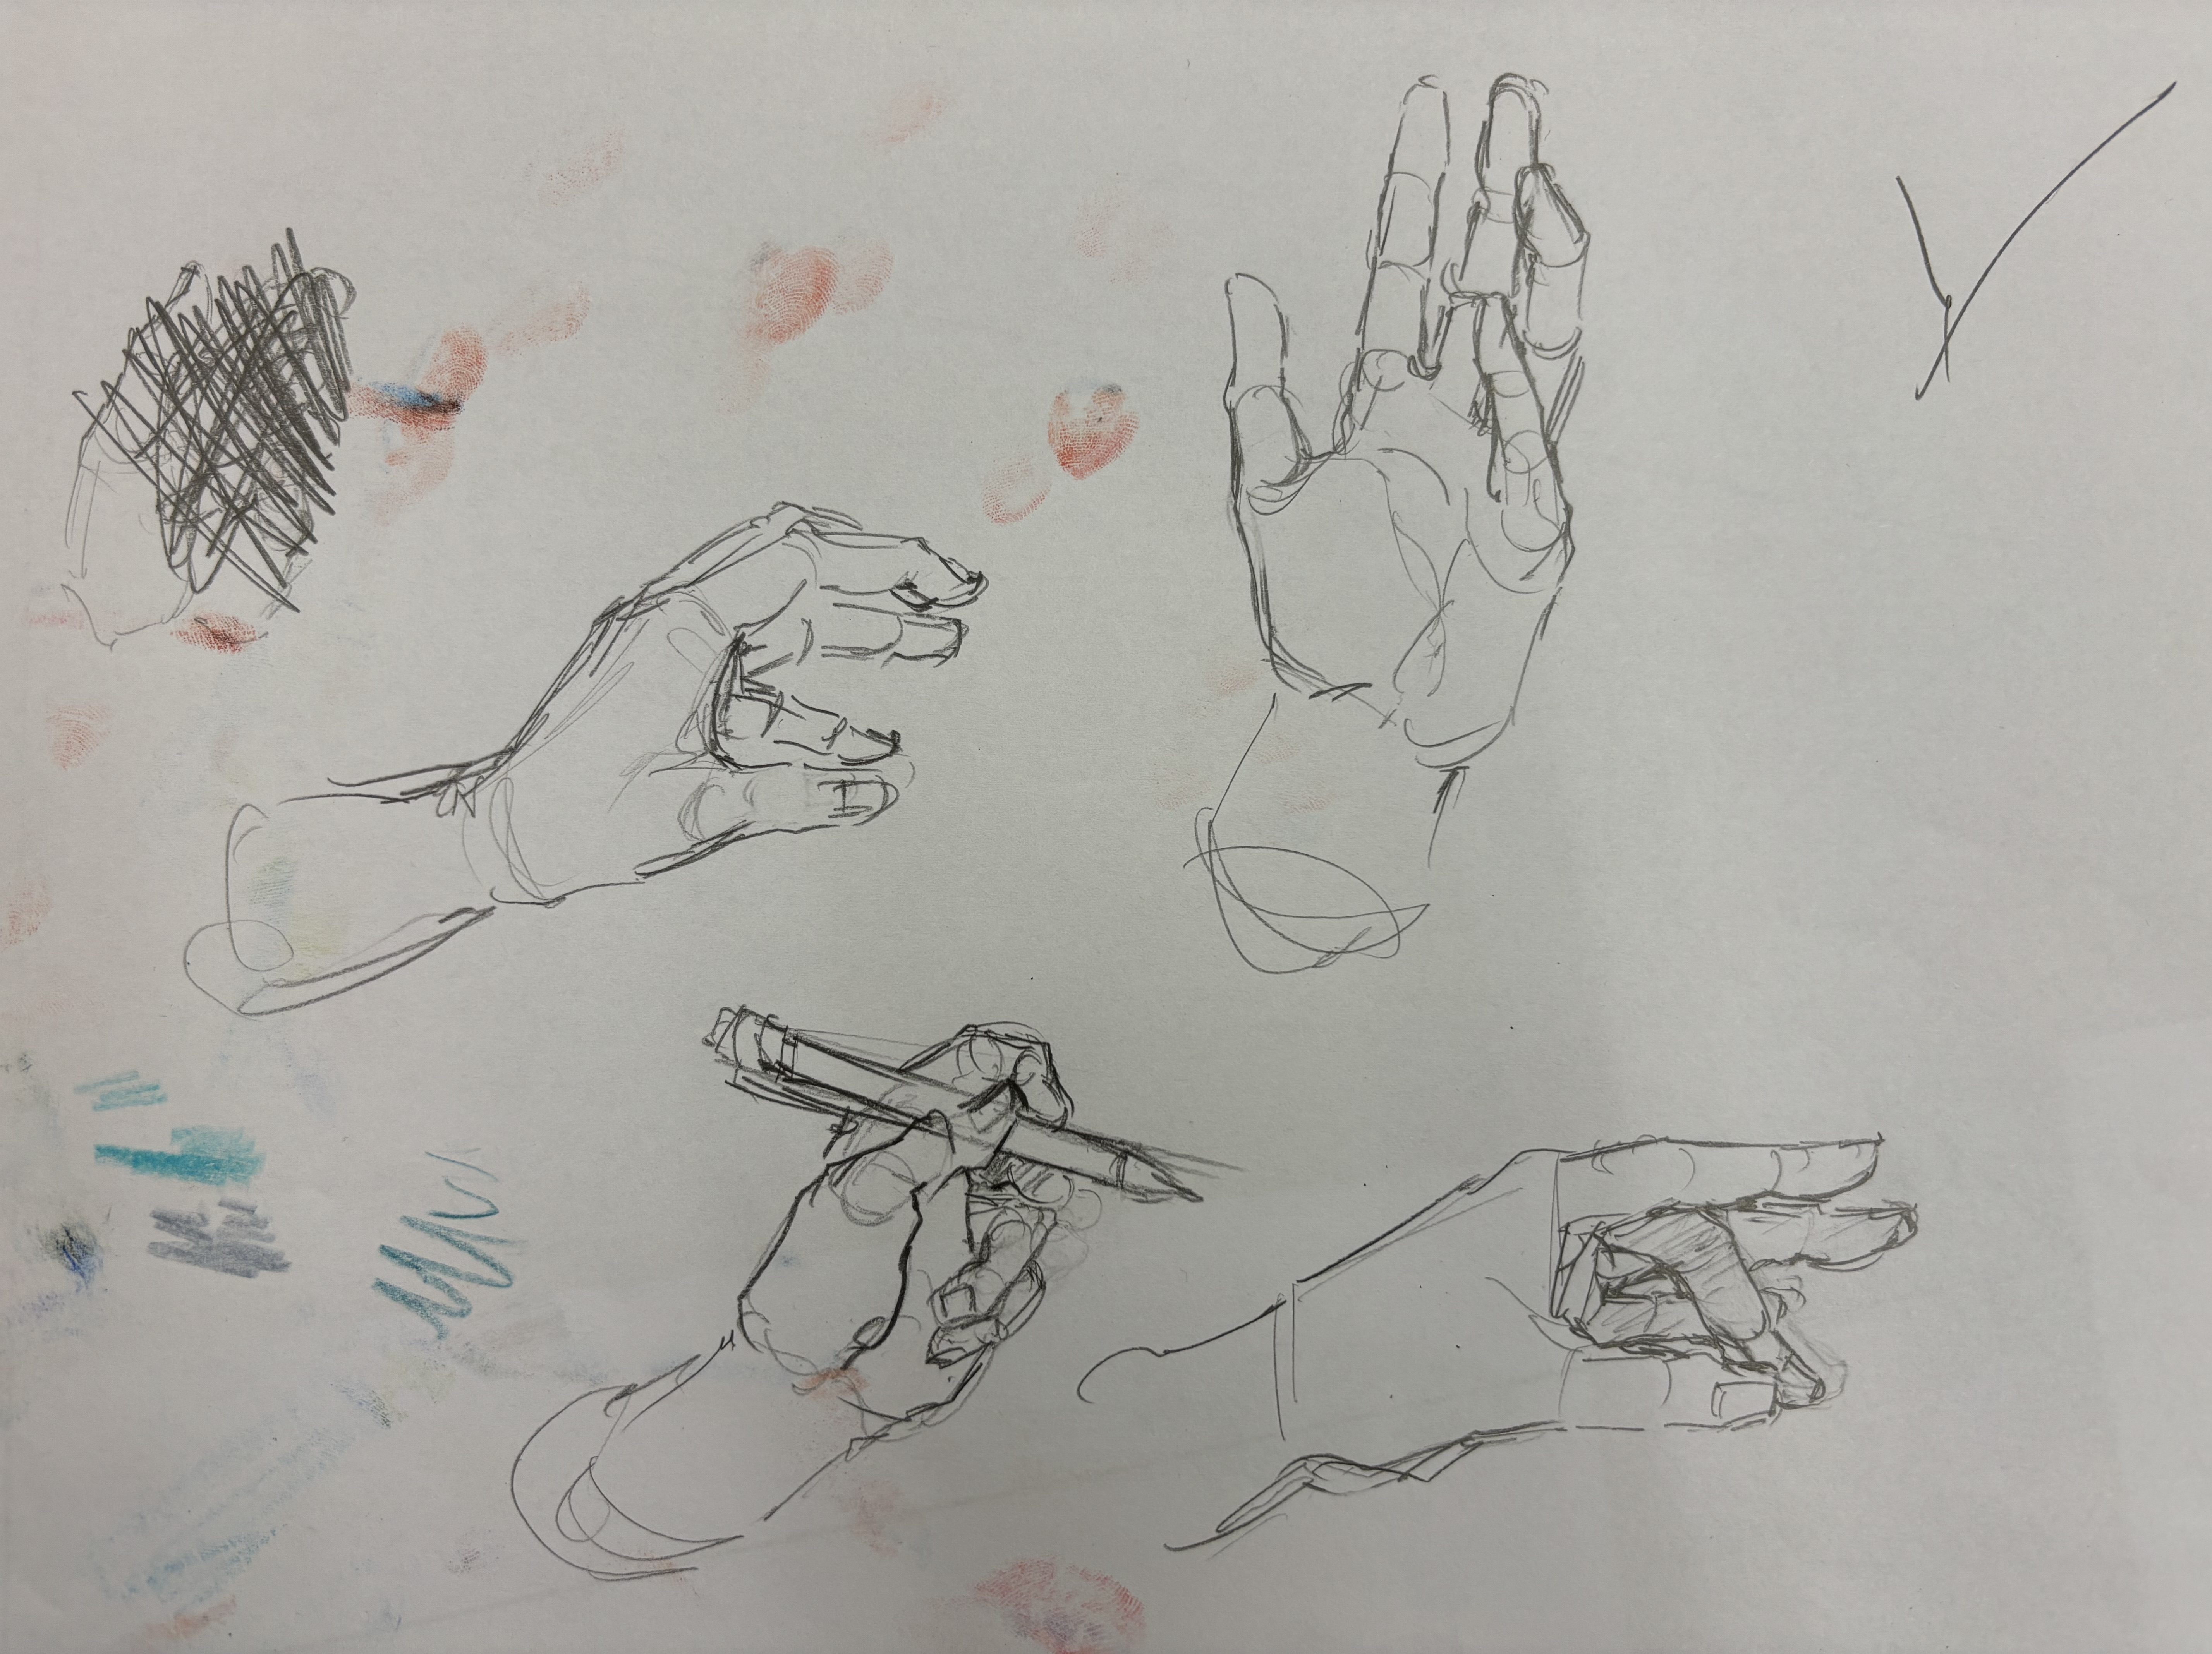
Step 2: Drawing the Basic Hand Structure
Start by drawing a hand using basic shapes.
- Draw the Palm: Start by drawing a rectangle or square to represent the palm. You can adjust this shape based on the position of the hand (for example, a flat hand vs. a clenched hand).
- Add the Wrist: Draw two lines extending downward from the bottom of the palm to show where the wrist connects to the hand.
- Sketch the Fingers: Lightly draw simple lines or ovals for the fingers. Start with the middle finger, which is the longest, and then draw the other fingers, making them gradually shorter.
- Thumb: Position the thumb at the bottom of the palm, and remember it has two parts. Draw the base of the thumb extending outward and the tip curving up.
Before having students draw their hand holding an object, I first have them practice just drawing the hand. Again, creating guidelines is helpful, but not required.
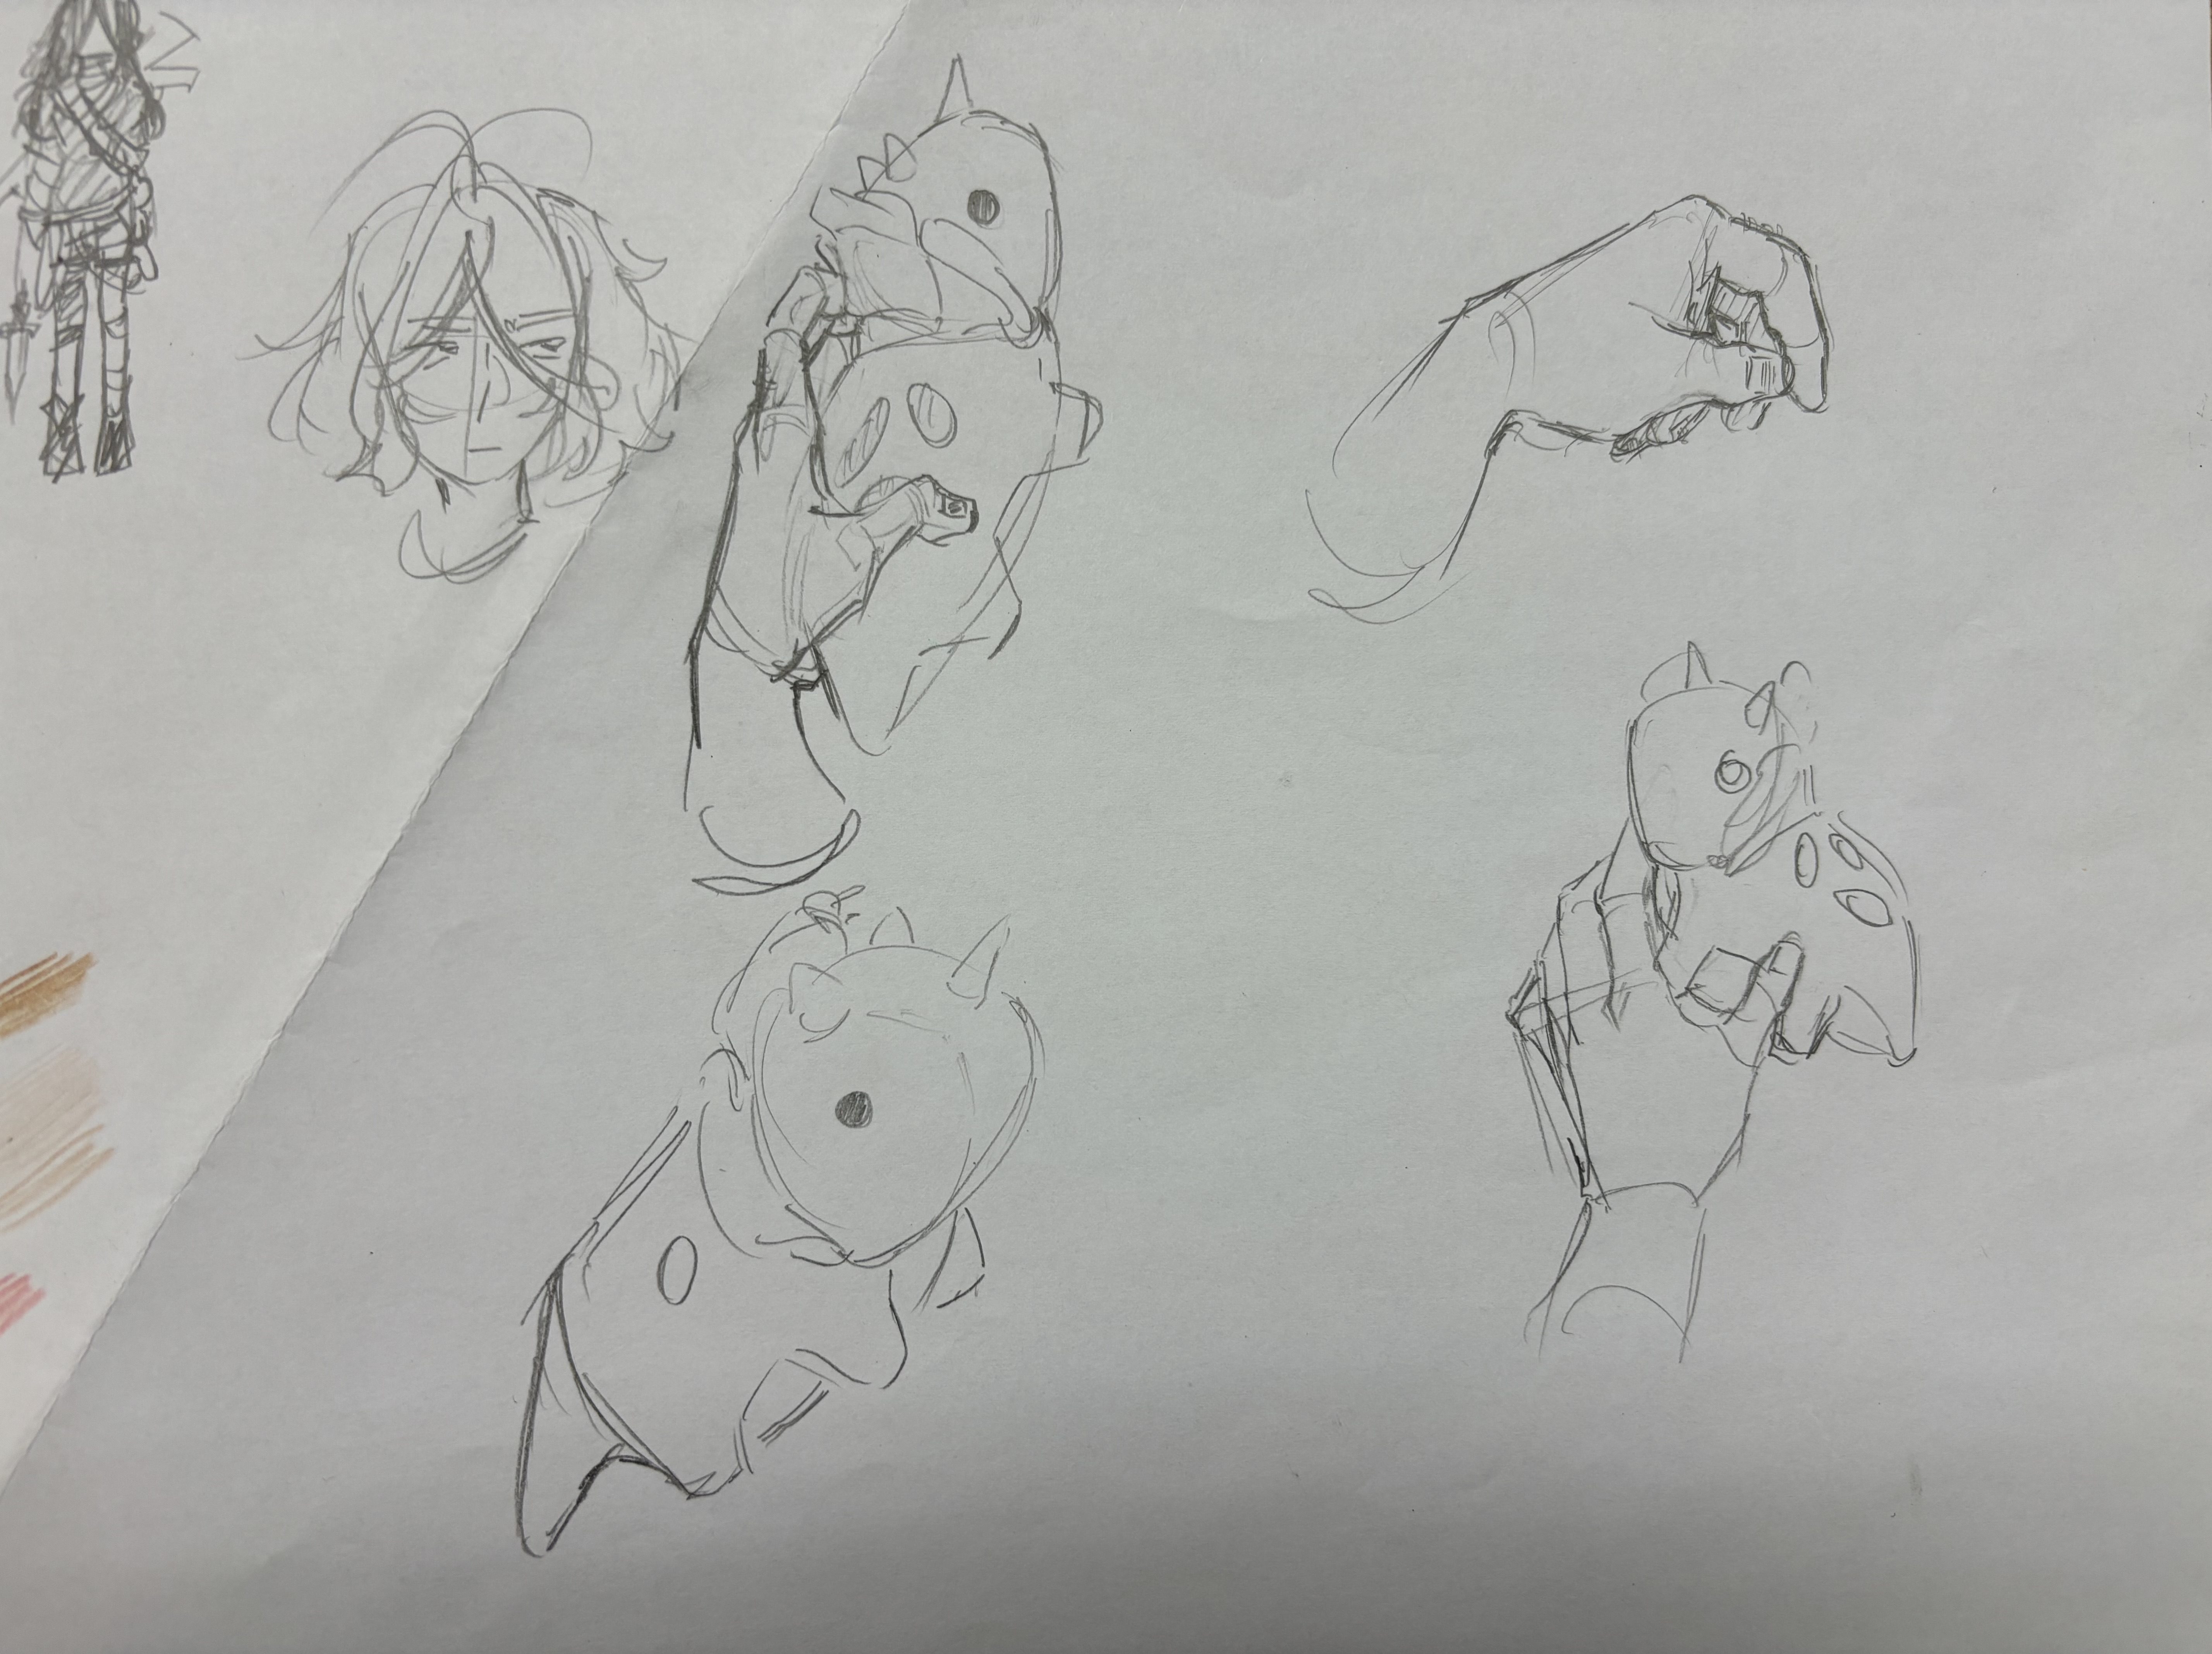
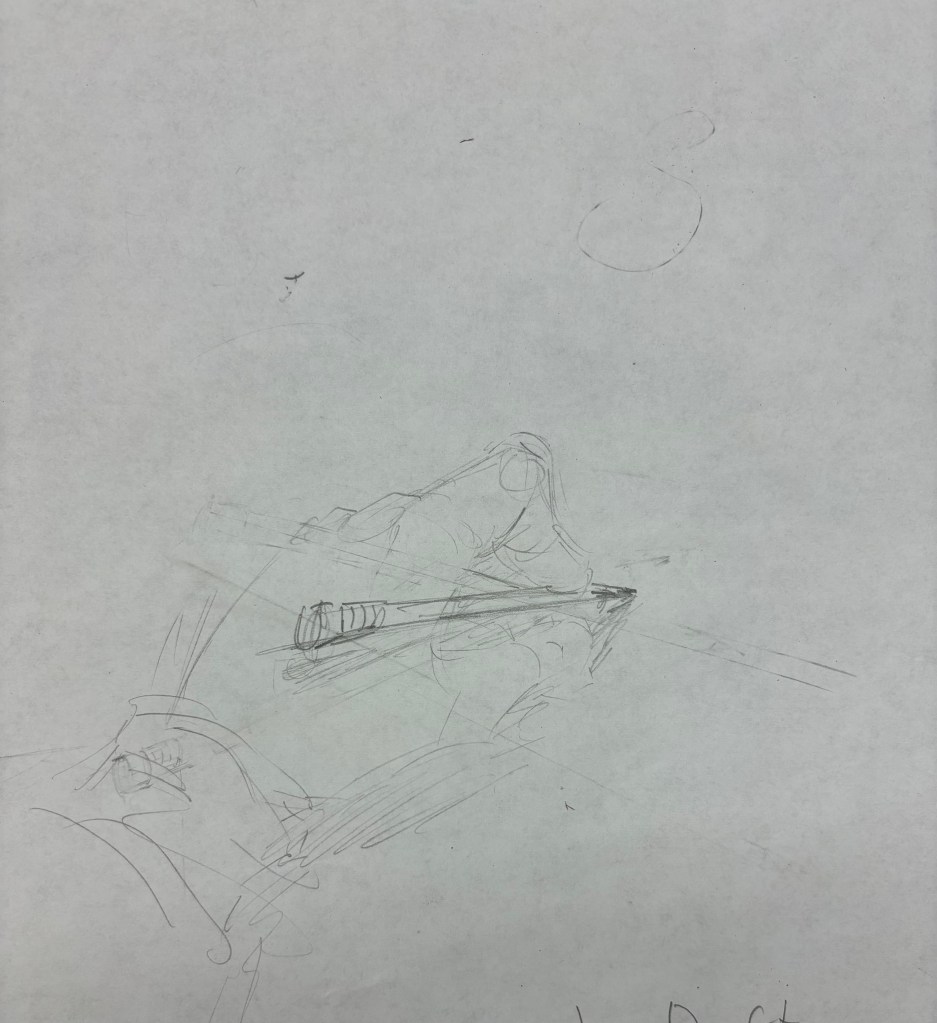
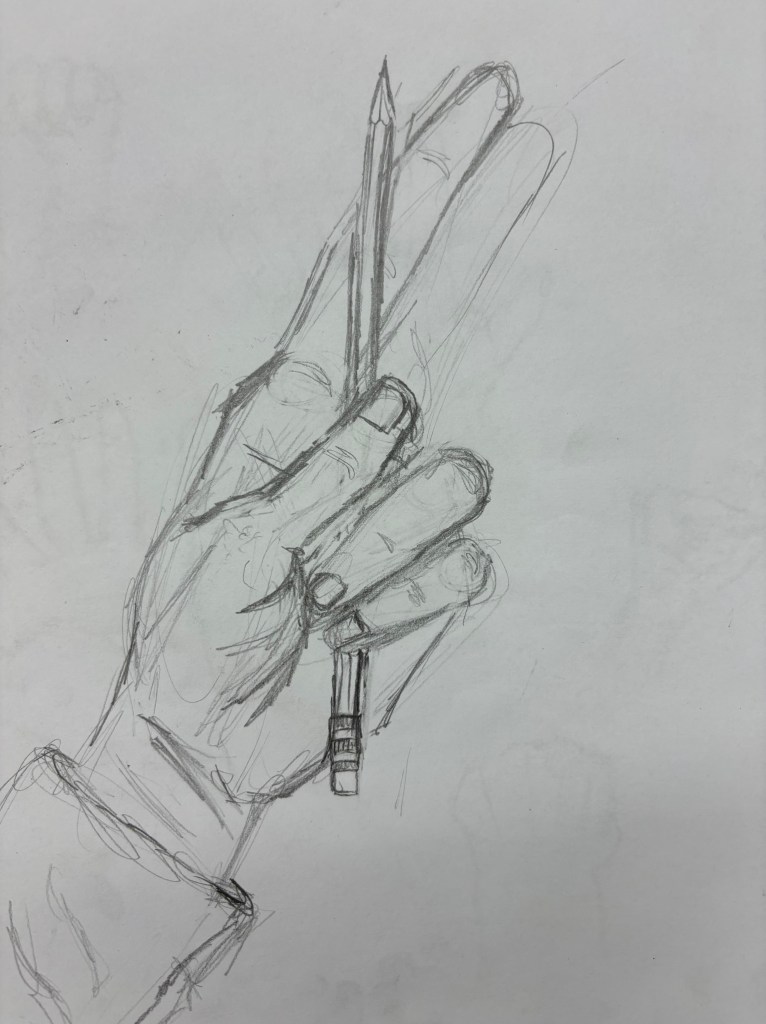
Step 3: Drawing the Hand Holding an Item
Now that we have a basic hand structure, have students now practice drawing a hand holding something.
- Position the Hand: Decide what item the hand will hold (a pencil, a cup, etc.). Imagine where the hand will naturally grasp the object. Place the object close to the fingers, allowing them to wrap around it.
- Wrap the Fingers: Draw the fingers curving around the object. The fingers should gently grip it, showing the natural curve of the hand. The thumb will oppose the fingers, wrapping around the opposite side of the object.
- Use a Reference: Look at your own hand or find a picture of someone holding an object. Pay attention to how the fingers bend and how the hand adjusts to hold the item. This will help make your drawing more realistic.
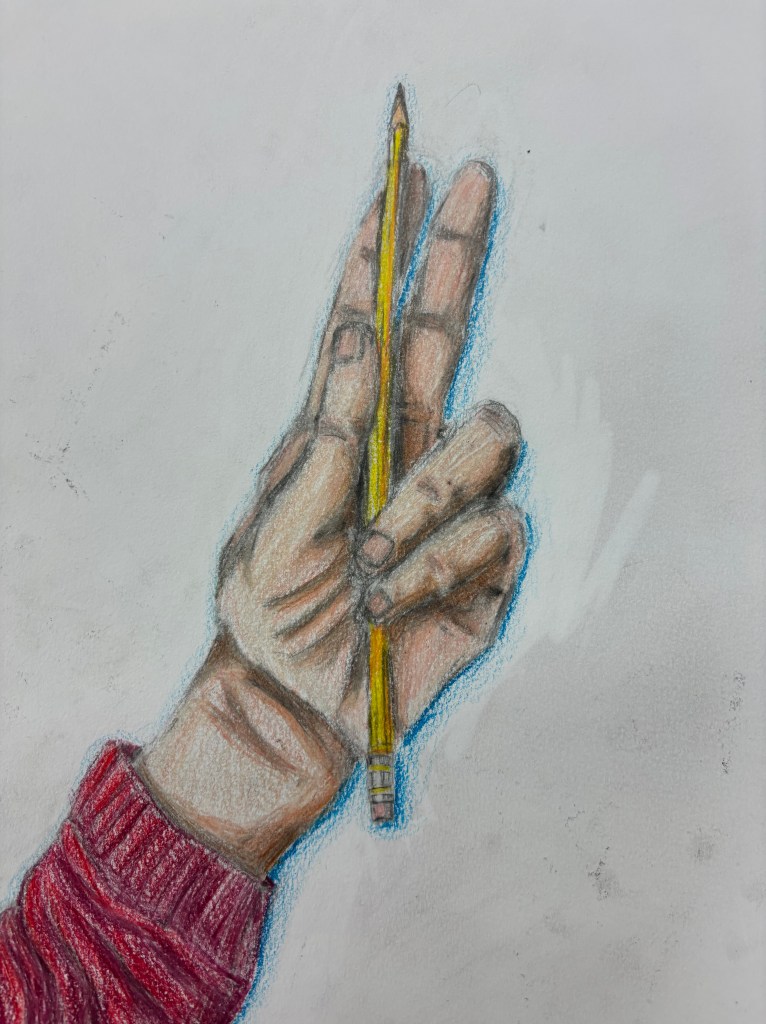
- Add the Details: Once your hand and the item are sketched, add details like knuckles, nails, and small lines on the skin to make it look more lifelike.
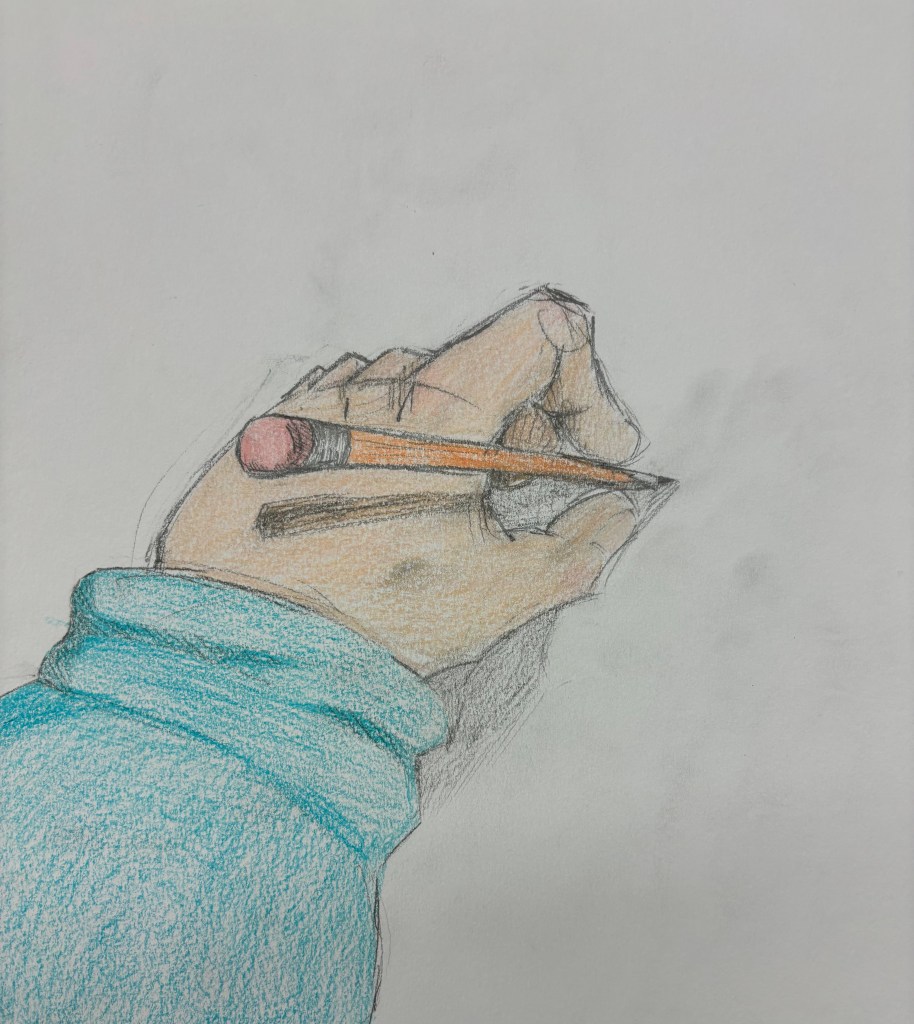
Step 4: Finalizing the Drawing
Once the students and you are satisfied with the proportions with your hand and item, it’s time to clean it up and add depth:
- Outline: Use a darker pencil or pen to go over your final lines. Make sure your lines are clean, especially around the fingers and the item being held.
- Shading: Add shading to make your drawing look more three-dimensional. Shade under the fingers, around the object, and around the knuckles to create depth.
- Textures: If the object you’re drawing has texture (like a textured surface or fabric), use lines or shading to show that texture.

Practice Tips
- Practice Drawing from Life: If possible, try drawing your own hand or the hands of friends or family members. Drawing from life helps you understand the shapes and movements of the hand more clearly.
- Break It Down: Don’t try to draw the whole hand at once. Focus on smaller sections like just the fingers or just the palm first. Then, combine the sections into one full hand.
- Use References: Look at photos or real-life objects to see how the hand interacts with different items. This will help you make your drawings more accurate.
