

Starting a printmaking program can be rather expensive so it is important to find creative ways to complete projects. One tip and trick I discovered was using fruit containers for these drypoint prints. When you think about it, it is also somewhat expensive considering the price of fruit. However, I fortunately had 3 berry fiends in my house. It took me the whole year to collect enough containers to teach this lesson to my 4 printmaking classes. The biggest pain with this route is removing the stickers so that the students can see their drawing through the plate. If I were do this project again, I think I would just order to go containers on Amazon to save me the hassle of collecting and cleaning (which cleaning was pretty time consuming tbh)


Materials
- plastic containers or sheets
- embroidery needles (larger are better for holding)
- paper (for rough drafts)
- Mixed media paper or printing paper
- Printing ink
- paper towels
- printing press (I am not sure how doable this project is without a press)
Steps
- Demonstrate the process with your own design. I like to demonstrate as well as upload a video of the demonstration to their blended learning platform (Schoology, google classroom, etc) I created a video of the process and included it below, however, if you do have time, I recommend creating your own videos for every teacher has their own voice and way of completing assignments.
- After demonstration, students create rough drafts for their design. Design can be limited or open to whatever the student decides as long as appropriate. Give the students the plate they are going to use so they can trace it onto their paper to avoid making designs that are too large.
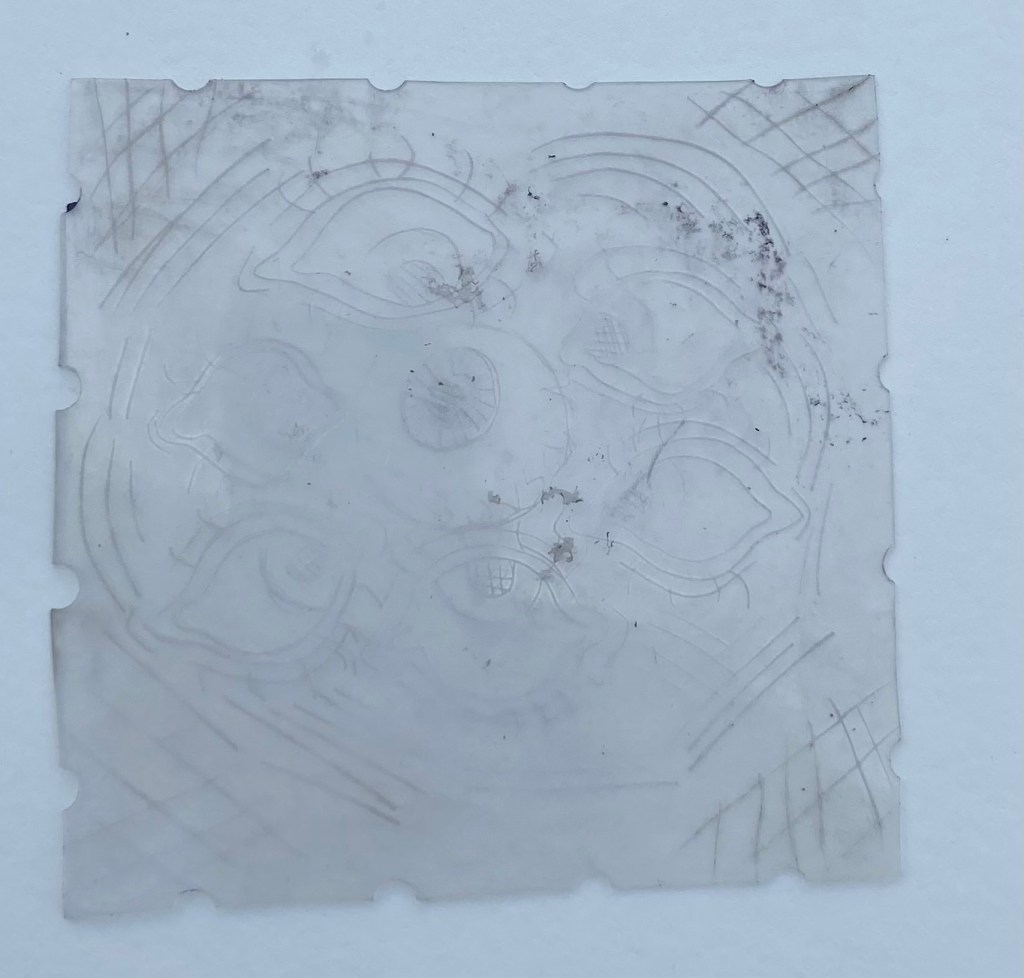
- When a draft has been chosen, the student can tape their plate on top of the draft. They then scratch into the plate tracing their design (intaglio process) Beware of scratching too light or too hard. Too light will create prints missing details and too hard will bend the plate and make the printing process difficult.
- When the plate has been scratched, they hen can print their plate onto the mixed media paper. Take a paper towel and lightly dab it into the ink. They do not need a lot. Using the paper towel and circular motions rub the ink into the plate which pushes the ink into the lines. Take a clean paper towel and wipe the plate clean. Take your time on this step. You cannot wipe away the ink in the lines and any ink missed will be printed.
- WET the paper. This is important otherwise the print will not transfer. Run the plate with the damp paper on top or below. Run through the press. Students might need to experiment with dampness levels of the paper to get the plate to correctly print. This is the best part of printmaking however, if a print does not come out 100%, you can always reprint.
- Finished plates can either be black and white or colored. For this assignment, I had the, use colored pencils (see example above)
