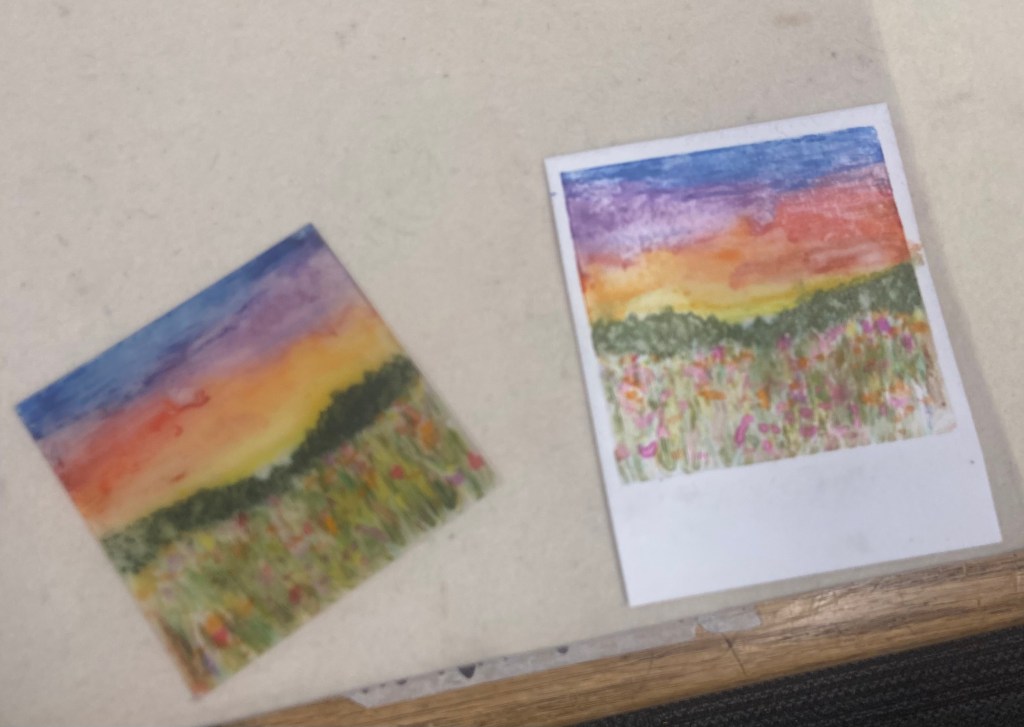
While on Instagram, I came across a teacher post of a lesson where students painted polaroids and thought they came out really cool. I took that idea for inspiration for my next printmaking project where students created snapshots of their life. We used a mono printing technique of water coloring on plexiglass and transferring the painted plates to paper, which I cut to the size of a Polaroid picture. The students were to create three plates. The subject of the plates are memories/dreams; one from their past, one from their present, and a future hope or dream that they have.
I am mostly posting this project because it was a DISASTER. Many of the -rings wouldn’t transfer, the colors were not as vibrant than on the plate, and it was overall very disappointing. The student work included were the best results. Towards the end of the project, I began investigating what went wrong and discovered I missed a few steps that caused the problems and wanted to share my mistakes so that another can learn from it.


Materials
- plexiglass
- watercolor and brushes
- rough draft paper
- printing paper
- printing press (can be done by hand burnishing or with a pasta machine) this one on Amazon was actually one of the cheapest ones I have found and it works pretty good considering the price)
- Pusher and catcher blankets for press
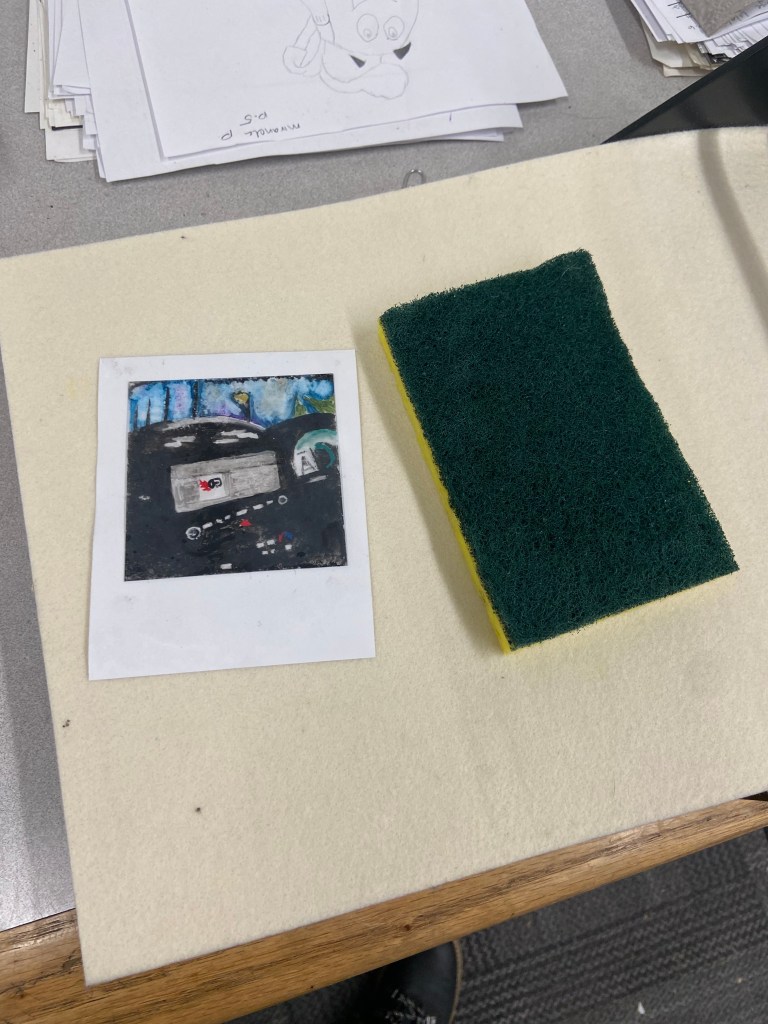
- Sponges
As an Amazon Associate I earn from qualifying purchases
Steps:
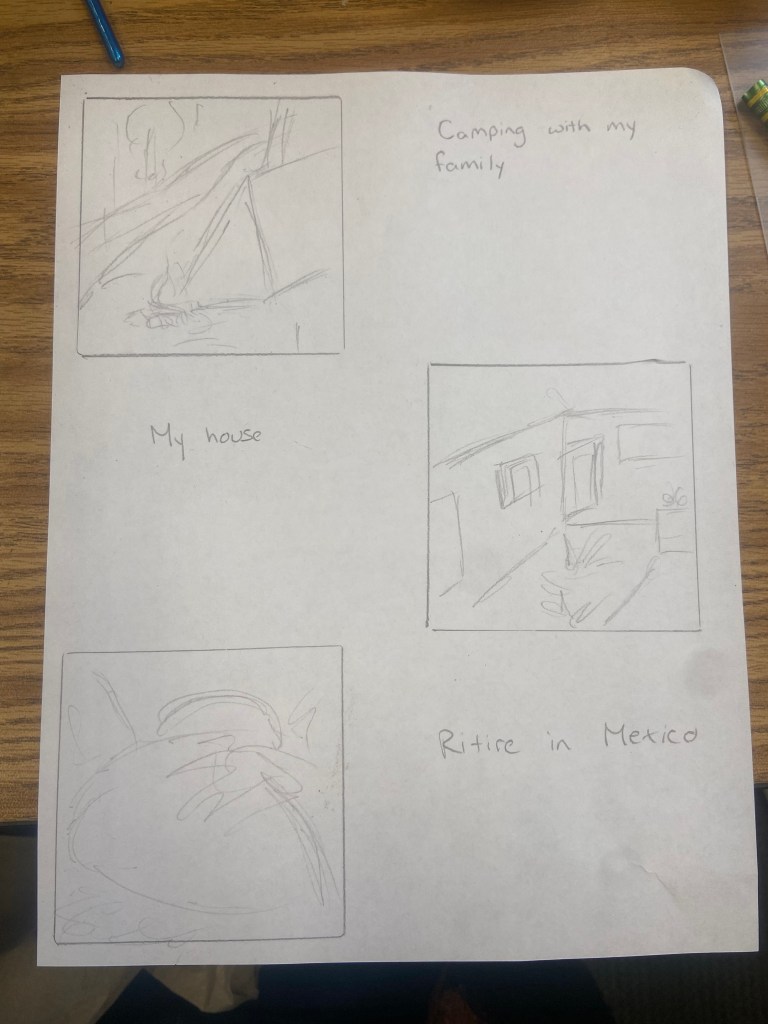
- Introduce the lesson with the rough draft and the subject of the art lesson. I completed an example of the rough draft to help the students understand my expectations.
- Students complete the rough drafts and begin painting on the plates cut to the dimensions of a poloroid. The picture area is 3.1 by 3.1 inches, but I rounded down to 3 by 3 to make it easier while the entire paper is 3.5 by 4.2. Again, I rounded down to 4 inches to make my life easier.
- I suggest printing as they finish their work. What ended up happening is a lot of people would be done at the same time and there would be a large line for printing on my one printing press. Also don’t forgot to write their names on the back.
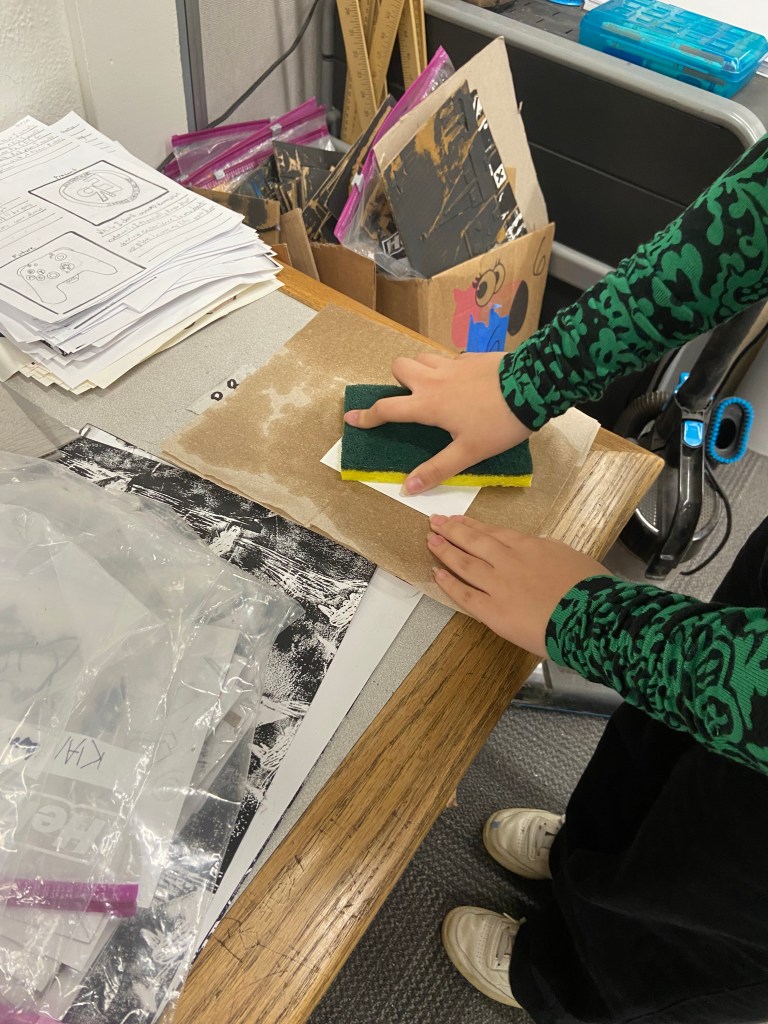
- Printing: the paper used should be damp, but not too damp that the watercolor bleeds. The press also needs to be tight enough to print the image but not too tight to squish the paint out of the edges. This will take some practice and recommend doing some practice prints before printing student works. Place a paper towel on top of the plate to make sure the paint doesn’t bleed onto your pusher and catcher blankets.

Lessons learned:
- Sandpaper the plates: after the project was almost done, I read a post that the plates need to be scored in order to help transfer the paint. I did not do this and was probably the main reason we were having trouble printing the plates.
- Remove the film: I didn’t realize that there was a film on the plexiglass. This also did not help with the transfer.
- Not too thick of paint: you want the paint to be thicker, but not too thick because it can then flake once tried. There is a balance that needs to be had.
- Practice Printing: like I said in the steps, you should practice printing a few times to understand how much to sand the paper, how wet to make the paper, and how much pressure to set your press. If the image does not transfer all the way, you could also take a spoon to burnish the plate to help with the transfer.
Student Work