My high school printmaking class continued making printing pates with common art room materials as we introduced different print methods and techniques. Glue was an obvious choice to use for our printing plates since most classrooms have an abundance of it.
Materials
- Glue (white, tacky, or hot glue)
- Cardboard or card stock
- Brayer Brush
- Block Ink
- Paper
- Pencil
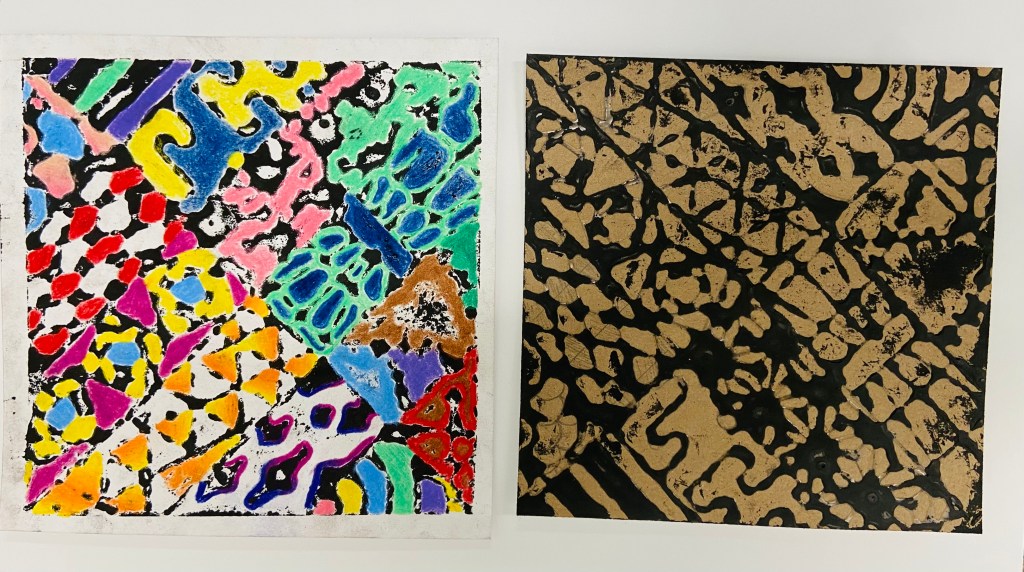
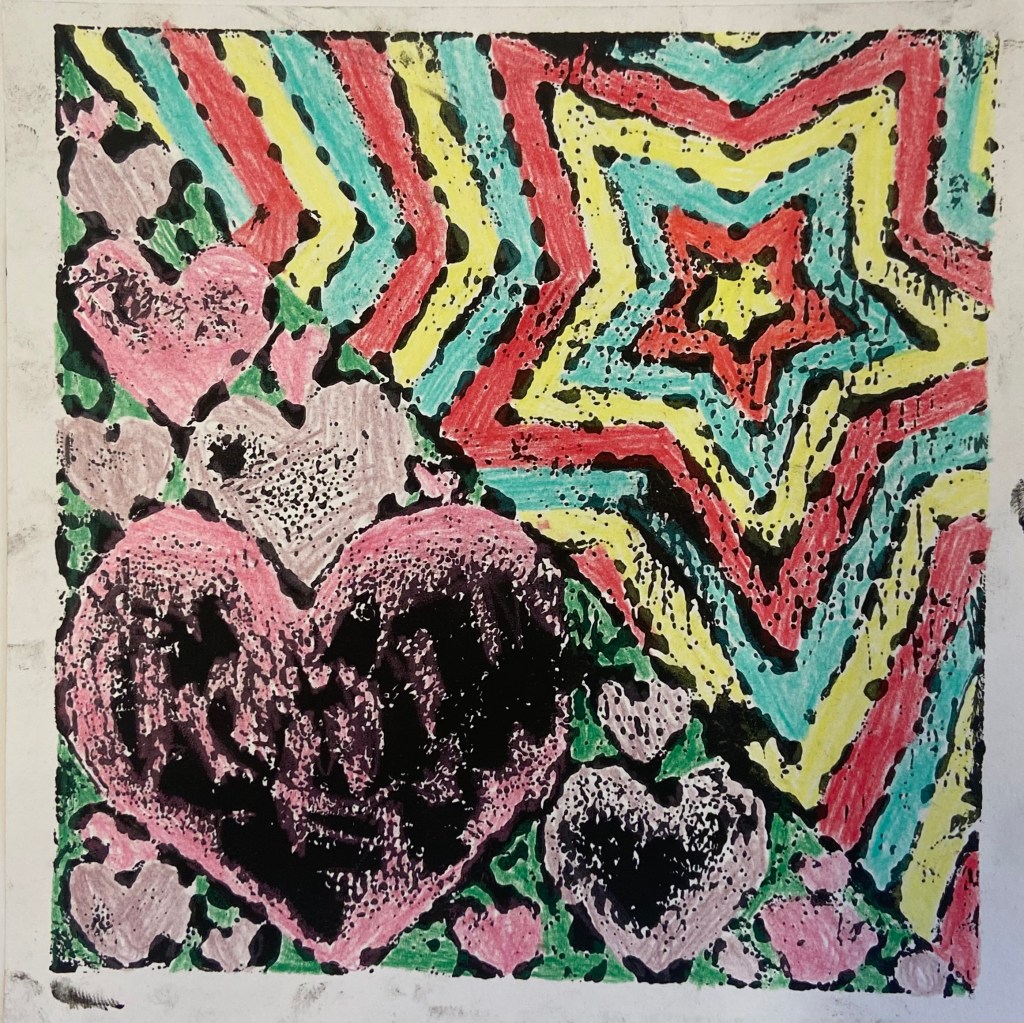
I always start off my lessons with a rough draft. I will usually get a student or two who will say they know what they want to do so they do not want to complete a rough draft. I equate it to writing a paper in English saying “You usually write. Rough draft when you write an essay. Creating rough drafts let’s us get our ideas out and explore different options before we get started”. For this particular project, I introduced zentangles and line variation for the theme of the plates, however, this project can work with a variety of subjects.
When rough drafts are done, I have them redraw them on the cardboard or heavy paper. We luckily had a lot of thin cardboard leftover from our calligraphy prints, which made great printing plates for this lesson.
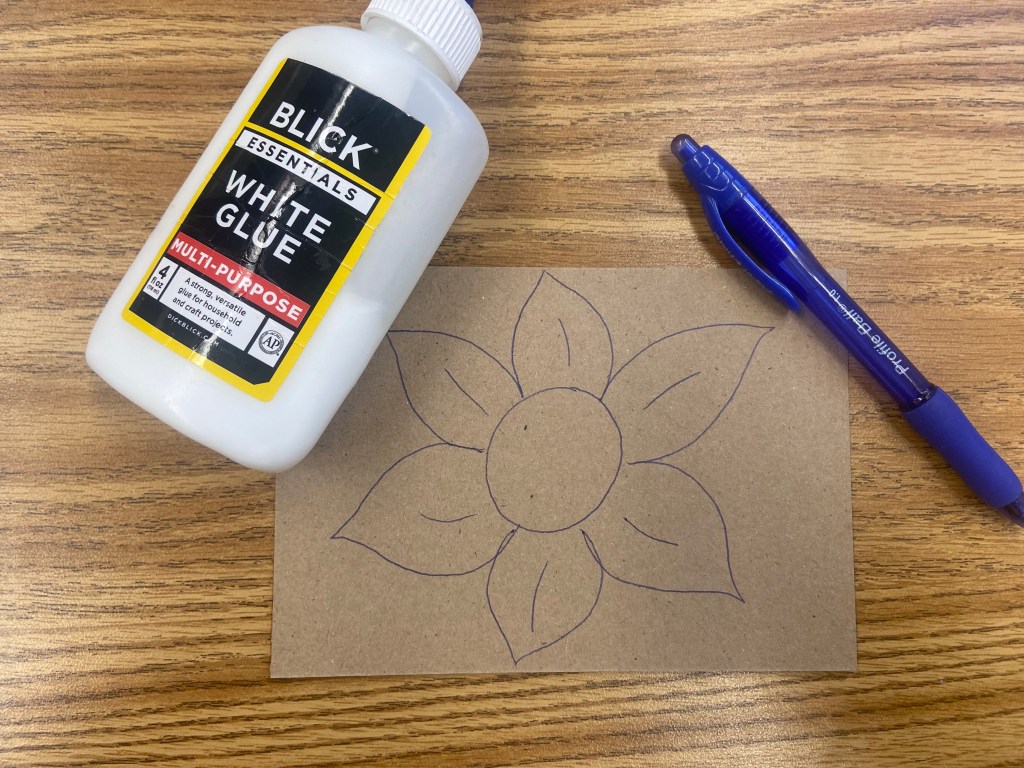

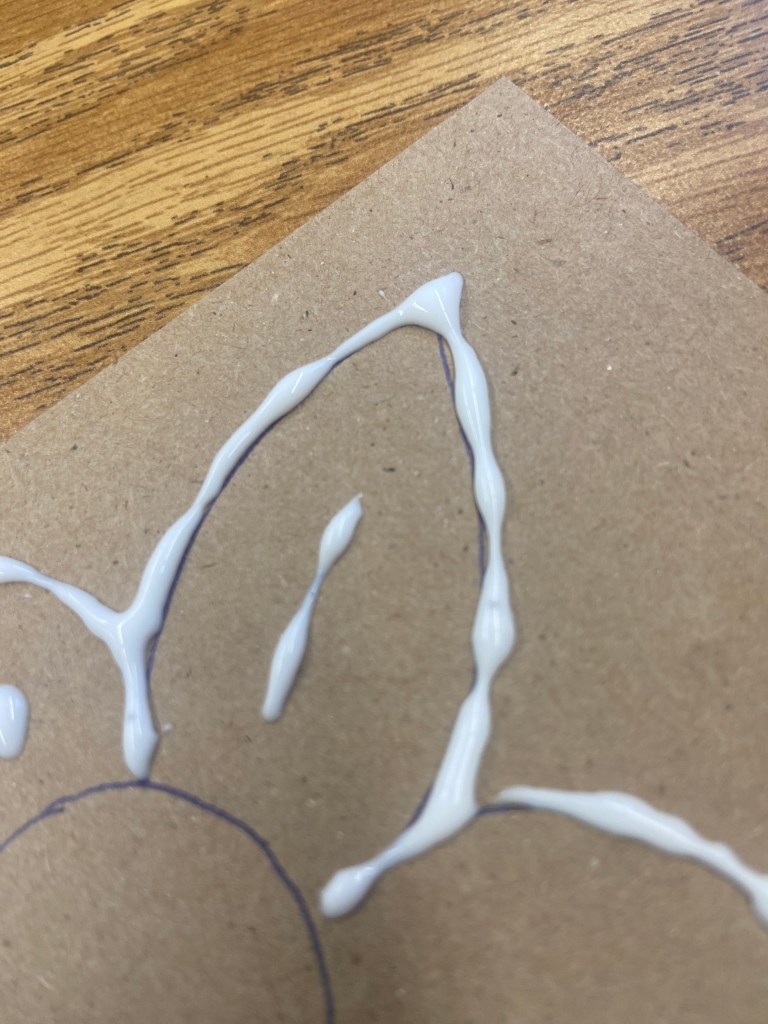
If I had the resources, I would have preferred to use hot glue. If you are able to, I would recommend that over white glue. When piping out the glue, it could come out uneven. This is my sample so you can see even an experienced teacher could have difficulties with the glue. I let the glue dry a bit and added another layer to even out the lines. Hot glue would be easier because the glue would not pool as it is sitting drying. Another problem I saw with students work was the use of A LOT of glue. When this happened, most of their designs disappeared as the glue settled. Make sure to remind your students that you don’t need too much to make the design work. Many students were worried that their dried plate was too thin, but even thin glue designs worked when printed.
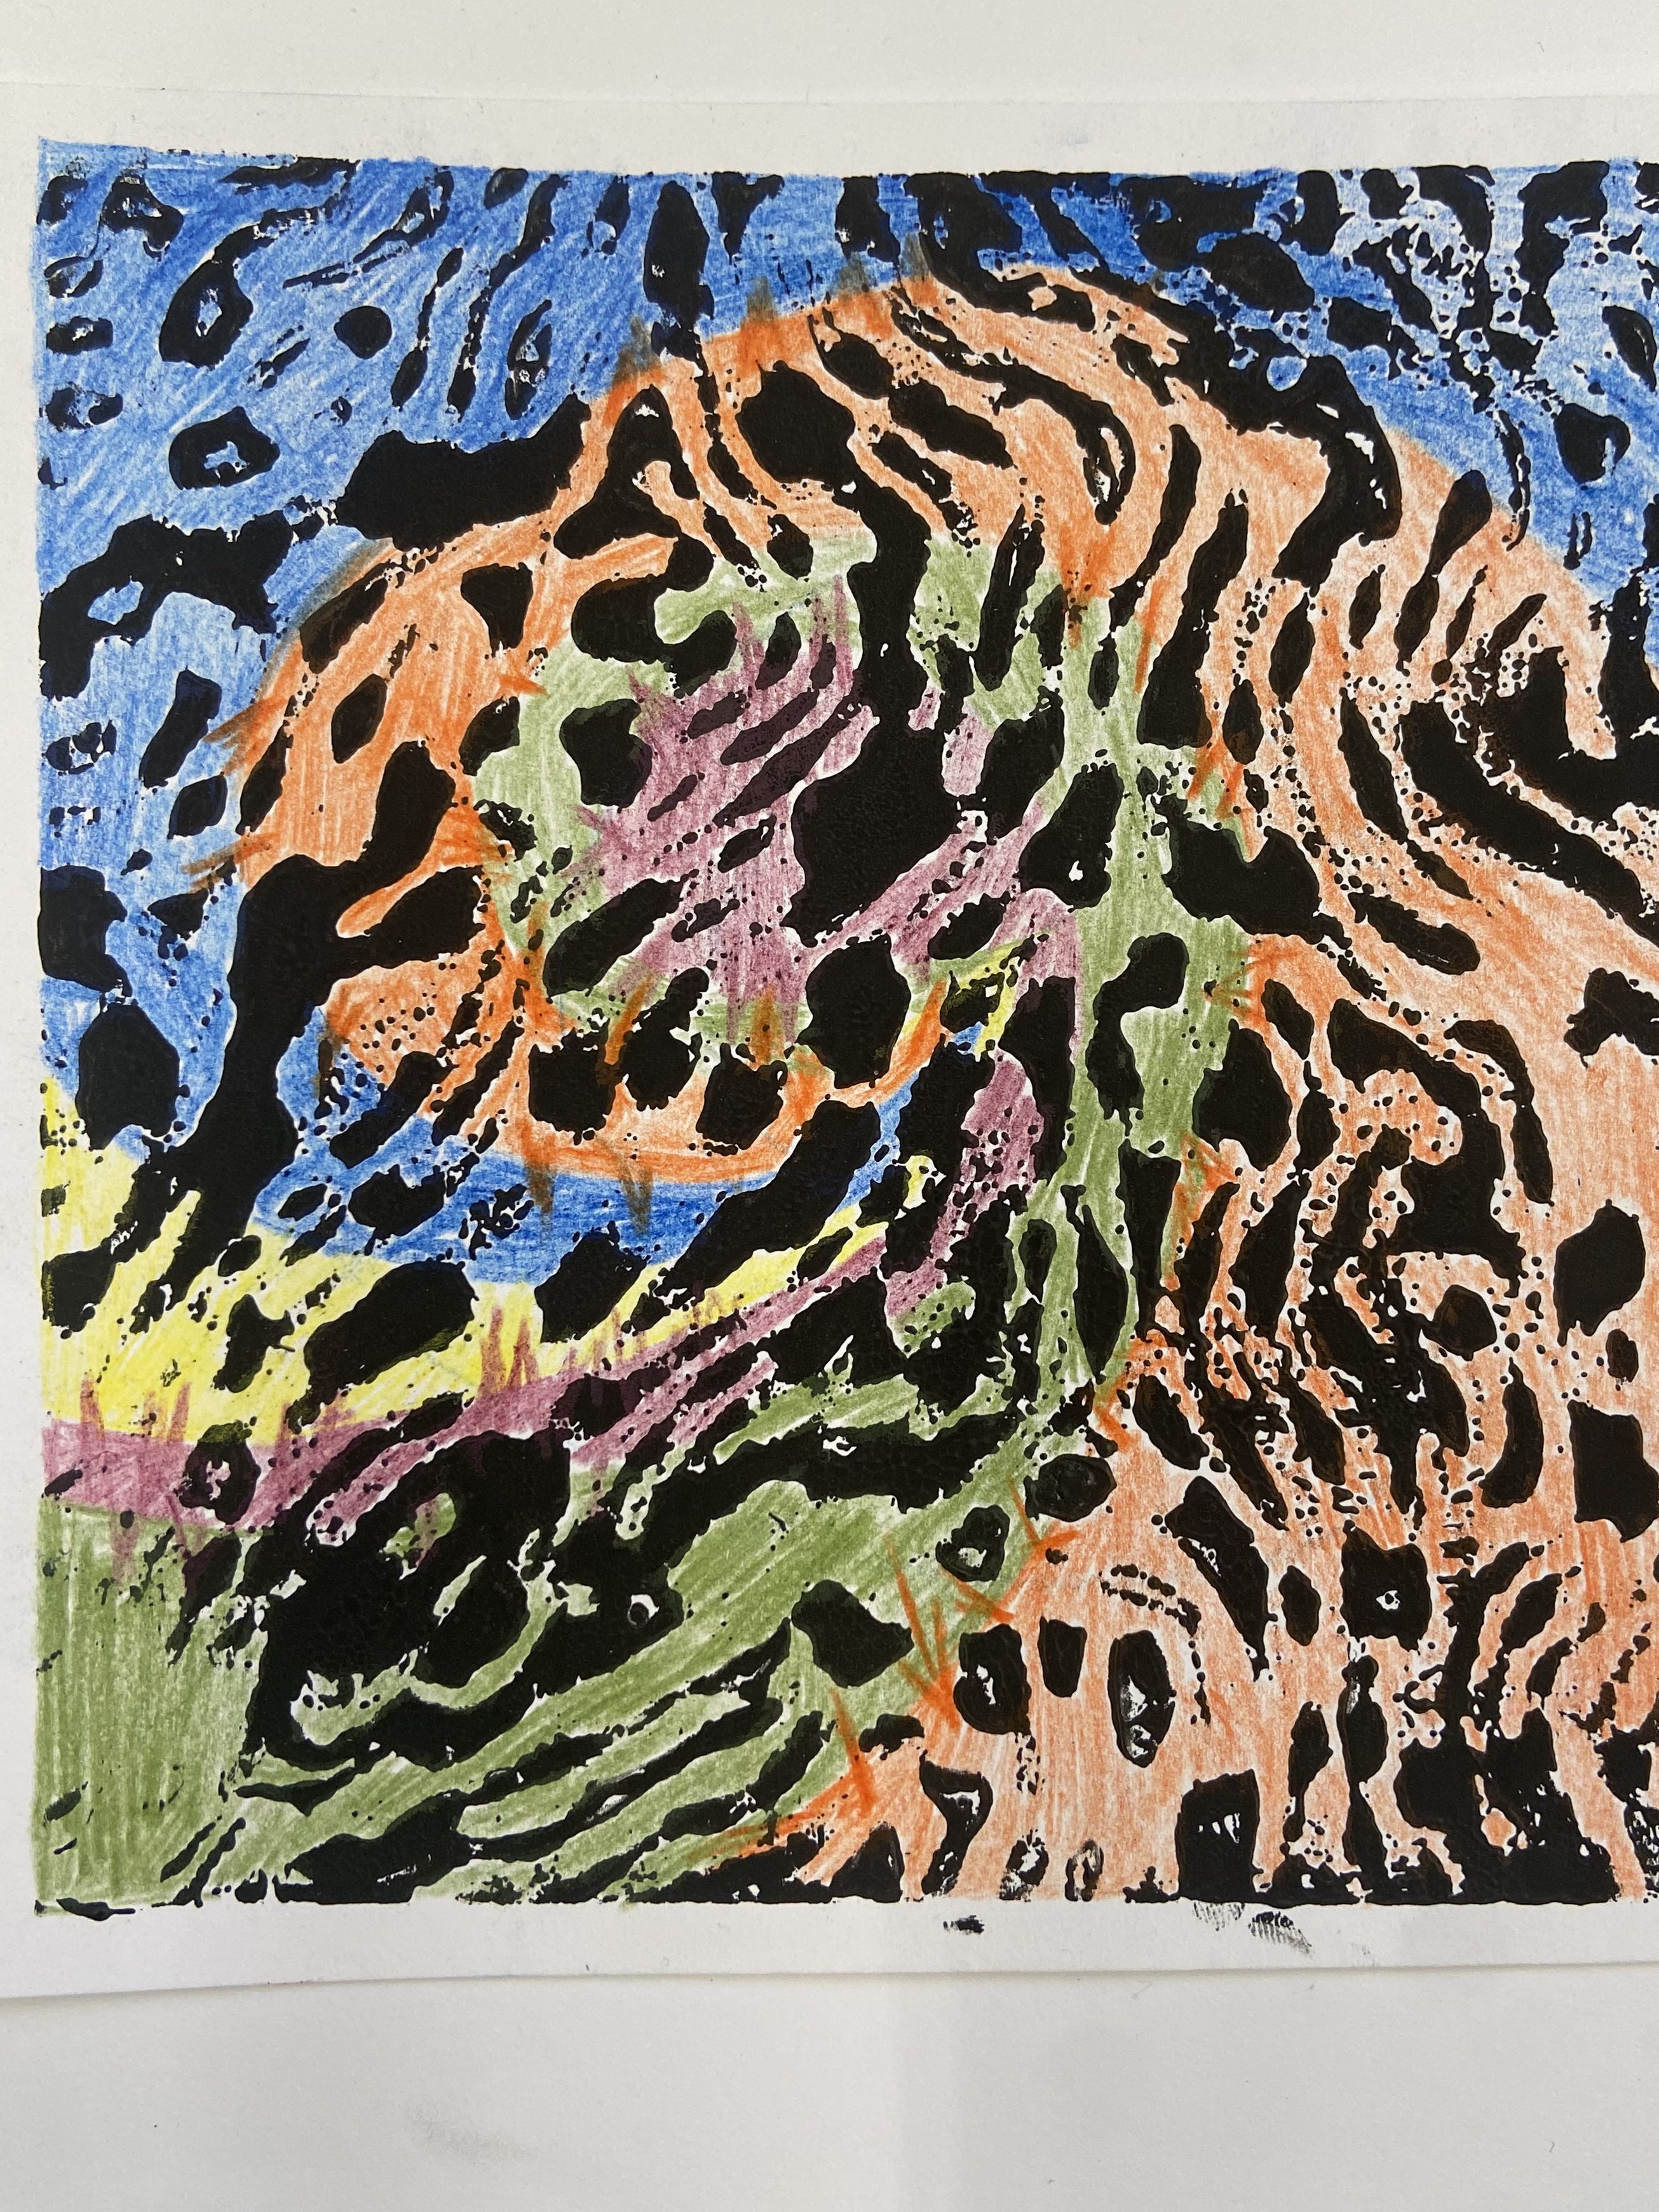
Once the glue is dry, the plates can be inked next printed. What I love about printmaking is that you can keep reusing plates or add to your plate if the print does not turn out as expected. I had my students print at least 2 prints so that they had a back up or a better print. Many times the first print served more as a test print with the second print coming out more successful.


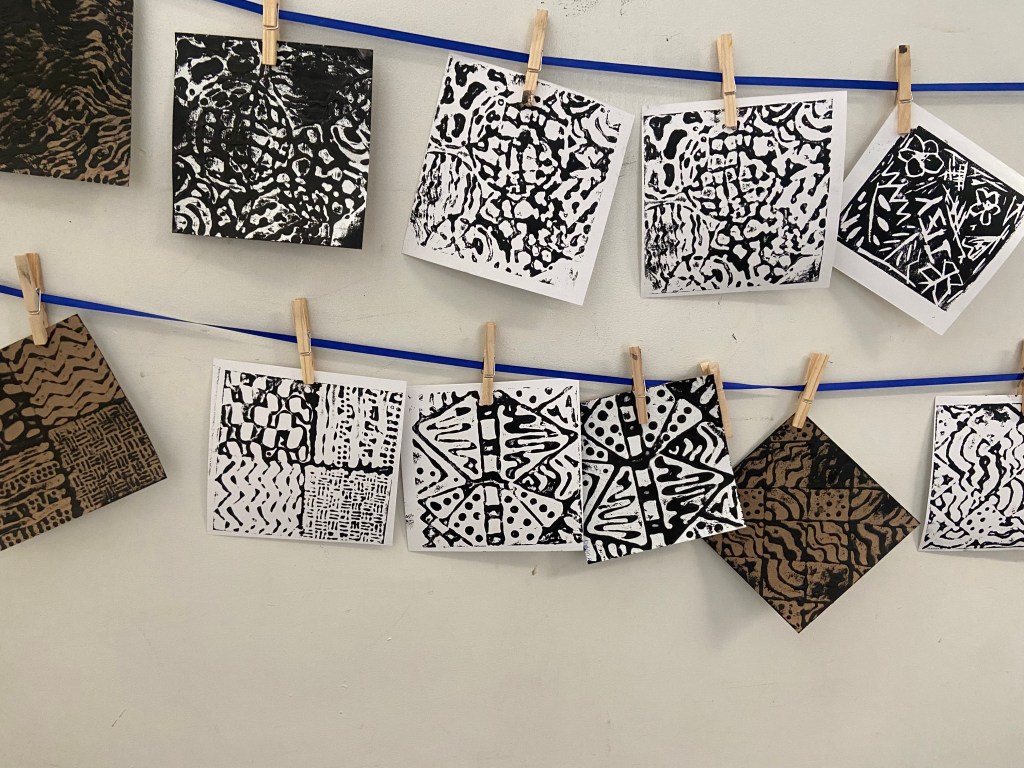
When dried, I had the students color their prints with colored pencils. A few asked to use markers, which I allowed but soon discovered that the ink was ruining the markers. I also thought that the colored pencil ones came out better anyways. I enjoyed the zen tangle designs, but like I said, this can be done with any subject matter making this lesson adaptable to your own classroom and student interest.