

I have taught molas fora few years now and find it an interesting subject for my students for we discuss 2 things when making them;
- Only the kuna people are allowed to sell molas
- Only kuna women make molas and are he breadwinners of their family
These two facts allow for some great discussions on gender roles, cultural artifacts, and economics. During the pandemic, I taught this lesson to a third grade class and had to spread the lesson over a few days for we spent the first day solely discussing the kuna people. I have used his lesson during women’s history month as a way to discuss women’s roles. It lends for interesting conversations.
Background
The kuna people live on the San Blas Islands off the coast of Panama. The culture is matriarchal with husbands moving in with his wife’s family. The molas serve as a primary source of income for the tribes. Molas, developed from body paint and later made into clothing for tribeswomen, are now sold as panels to tourist. Women at a very young age begin to learn how to make molas, which are layered appliqué designs that feature animals and plants/flowers indigenous to Panama. This became the main source of income for the Kuna people, putting a lot of emphasis on the artwork, technique, and responsibility of the women in the culture. The molas began to be copied and sold by people wanting to take advantage of their popularity. In the 1980’s, a law was made that prohibited the import of fake molas. This ensured that the cultural significance of the molas as well as the financial stability it affords was protected. Here is a short video of a kuna woman discussing mola making as a good introduction for the lesson.
Materials
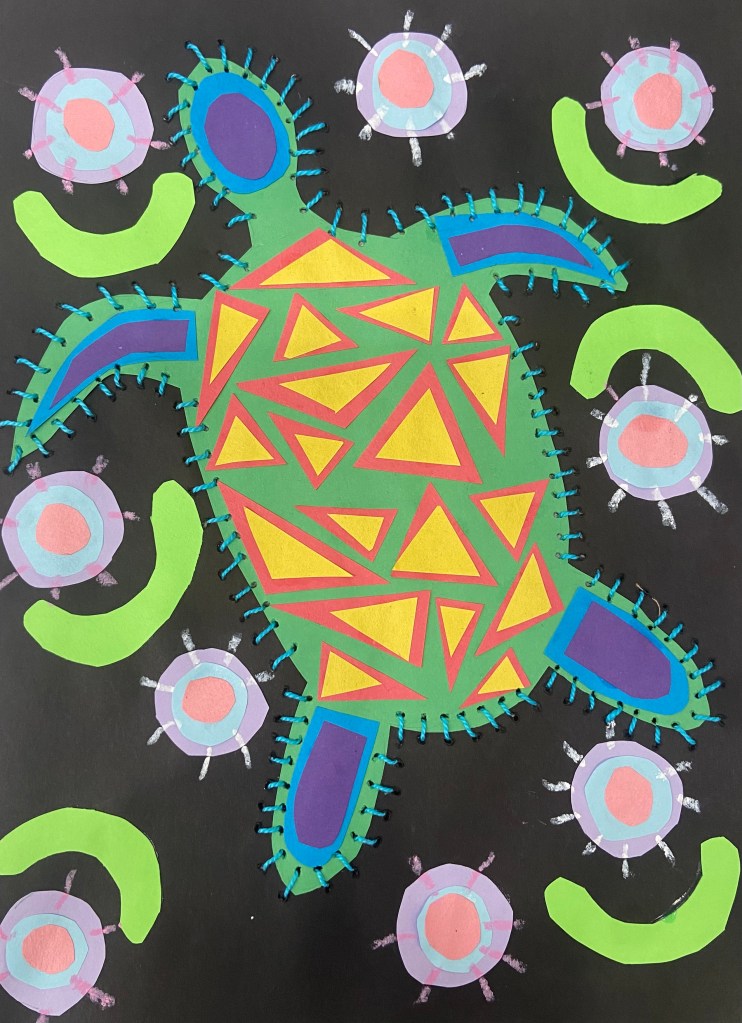
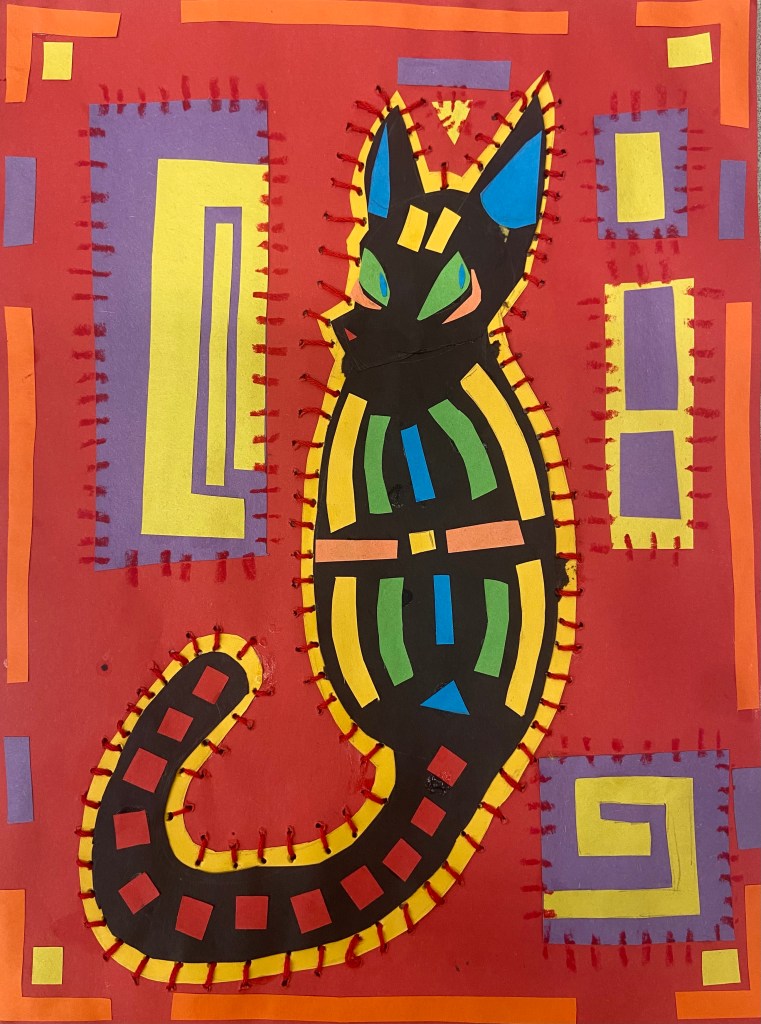
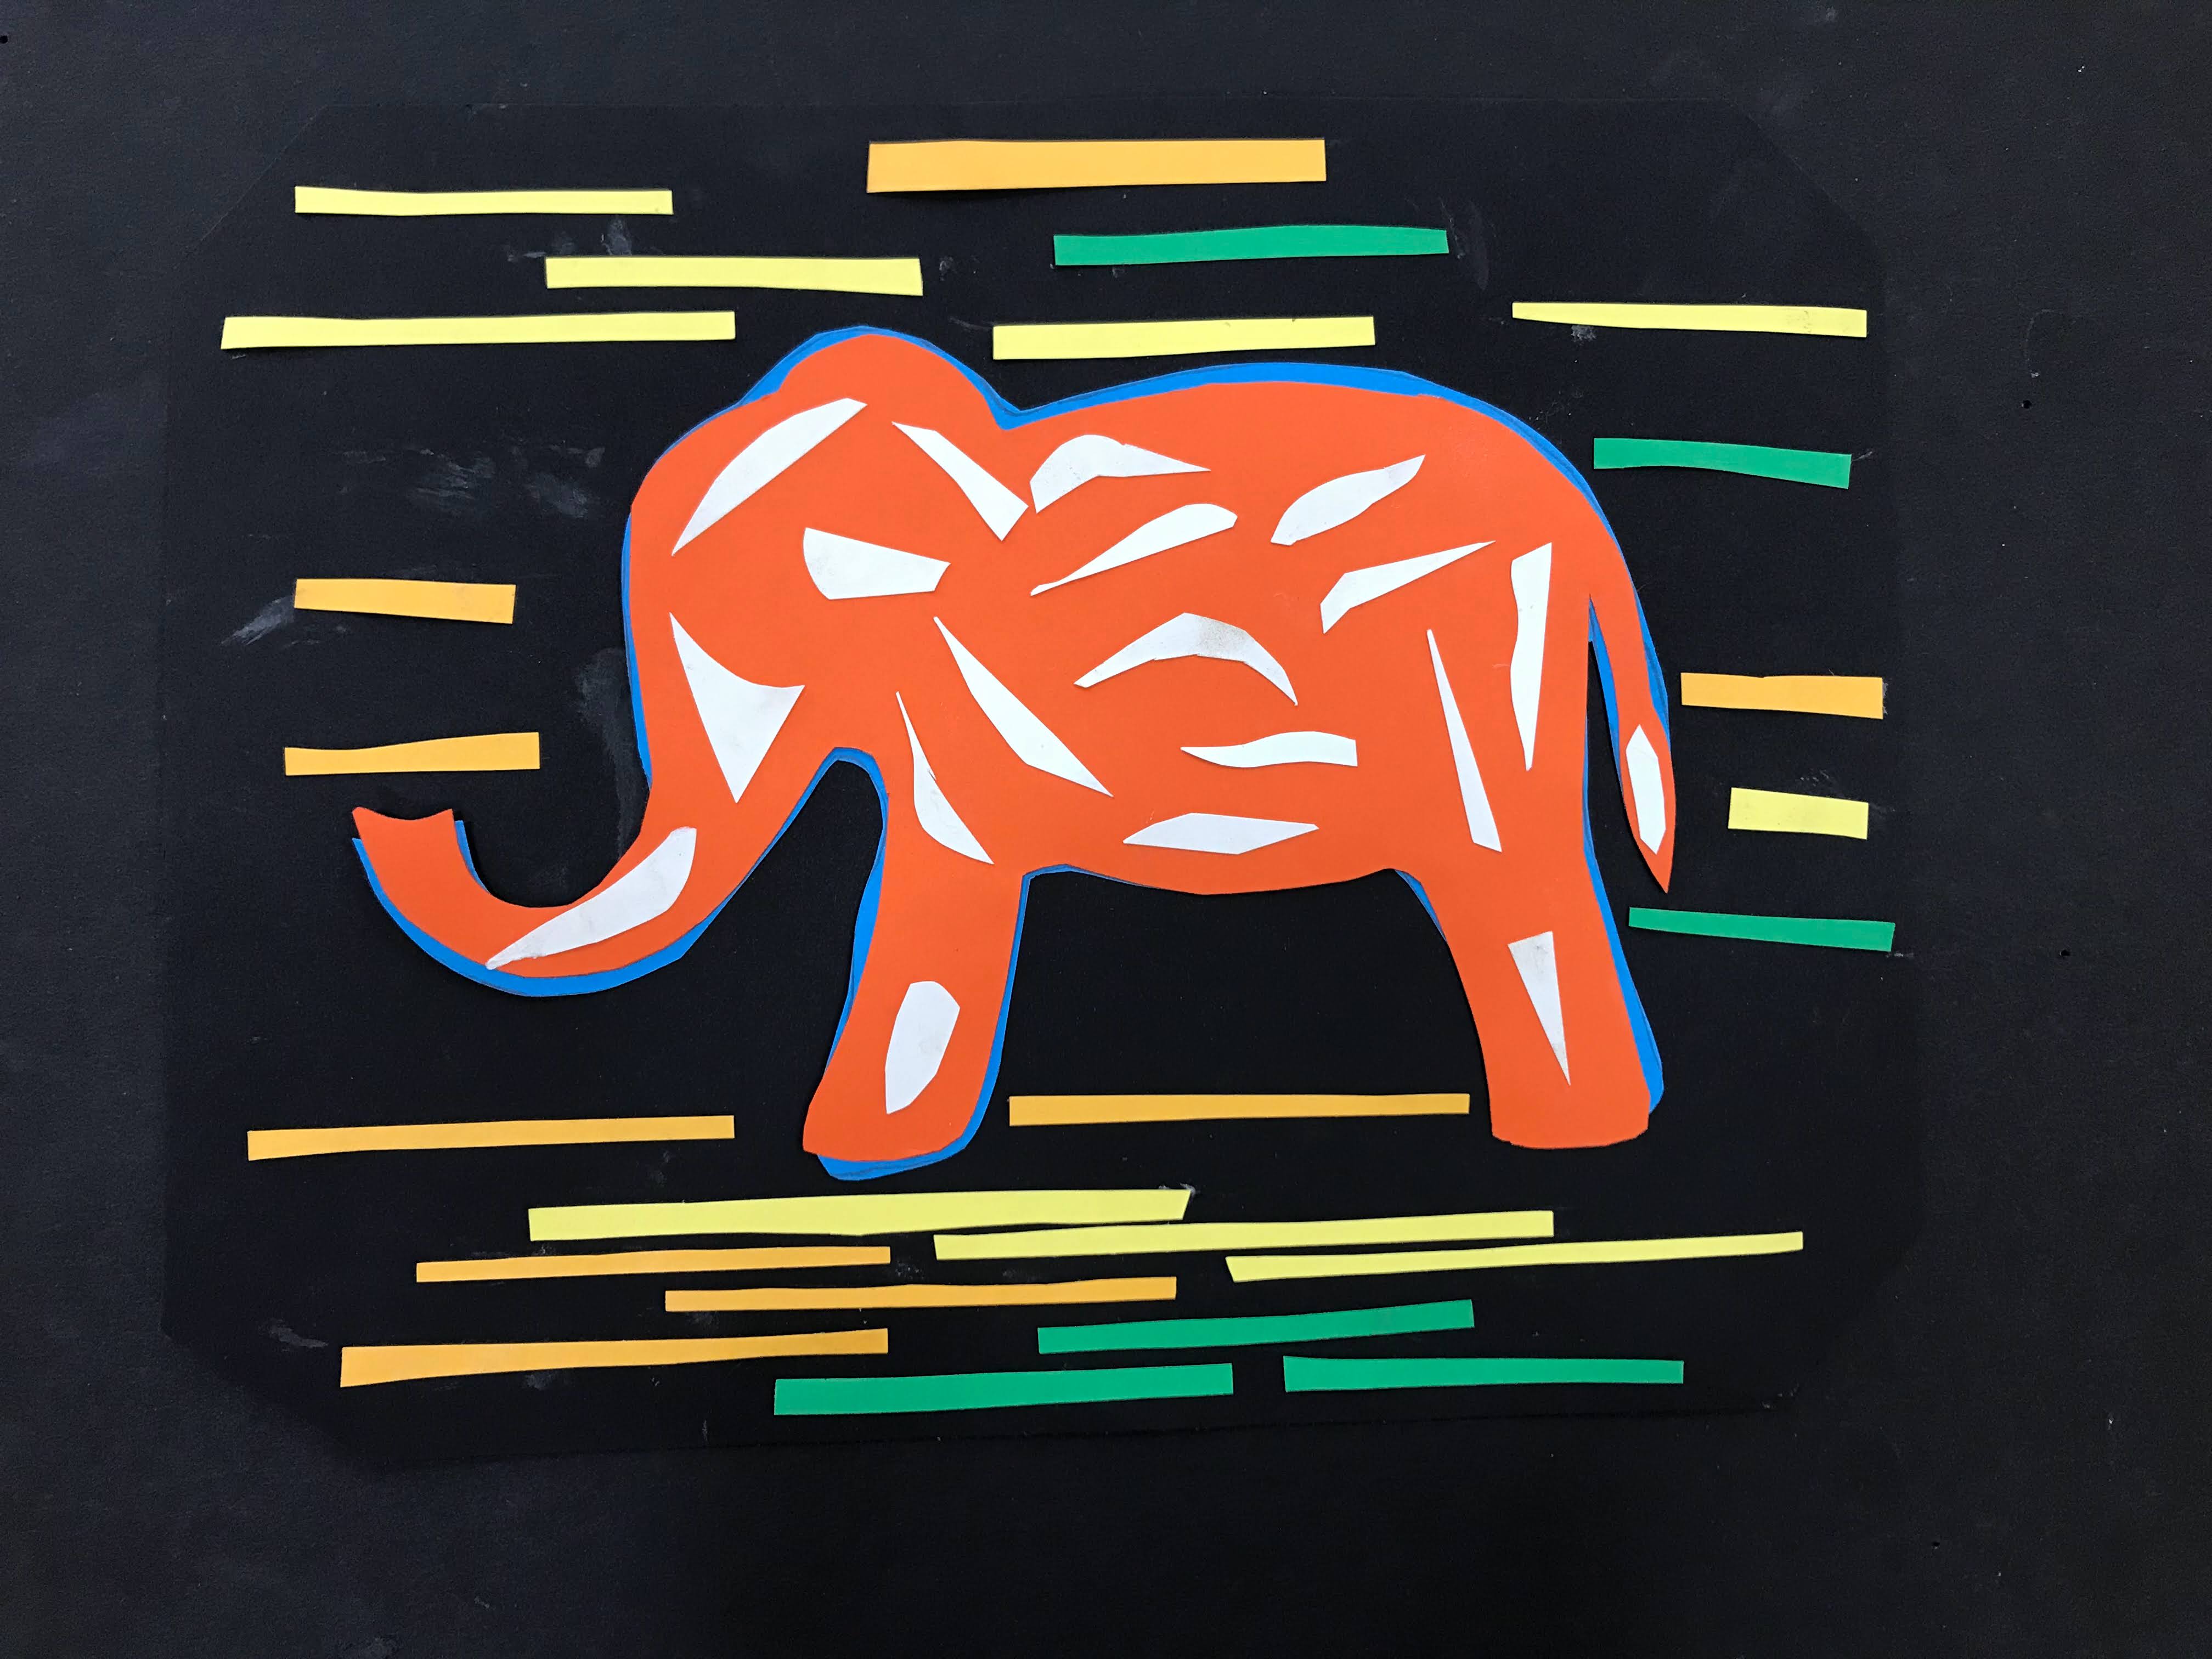
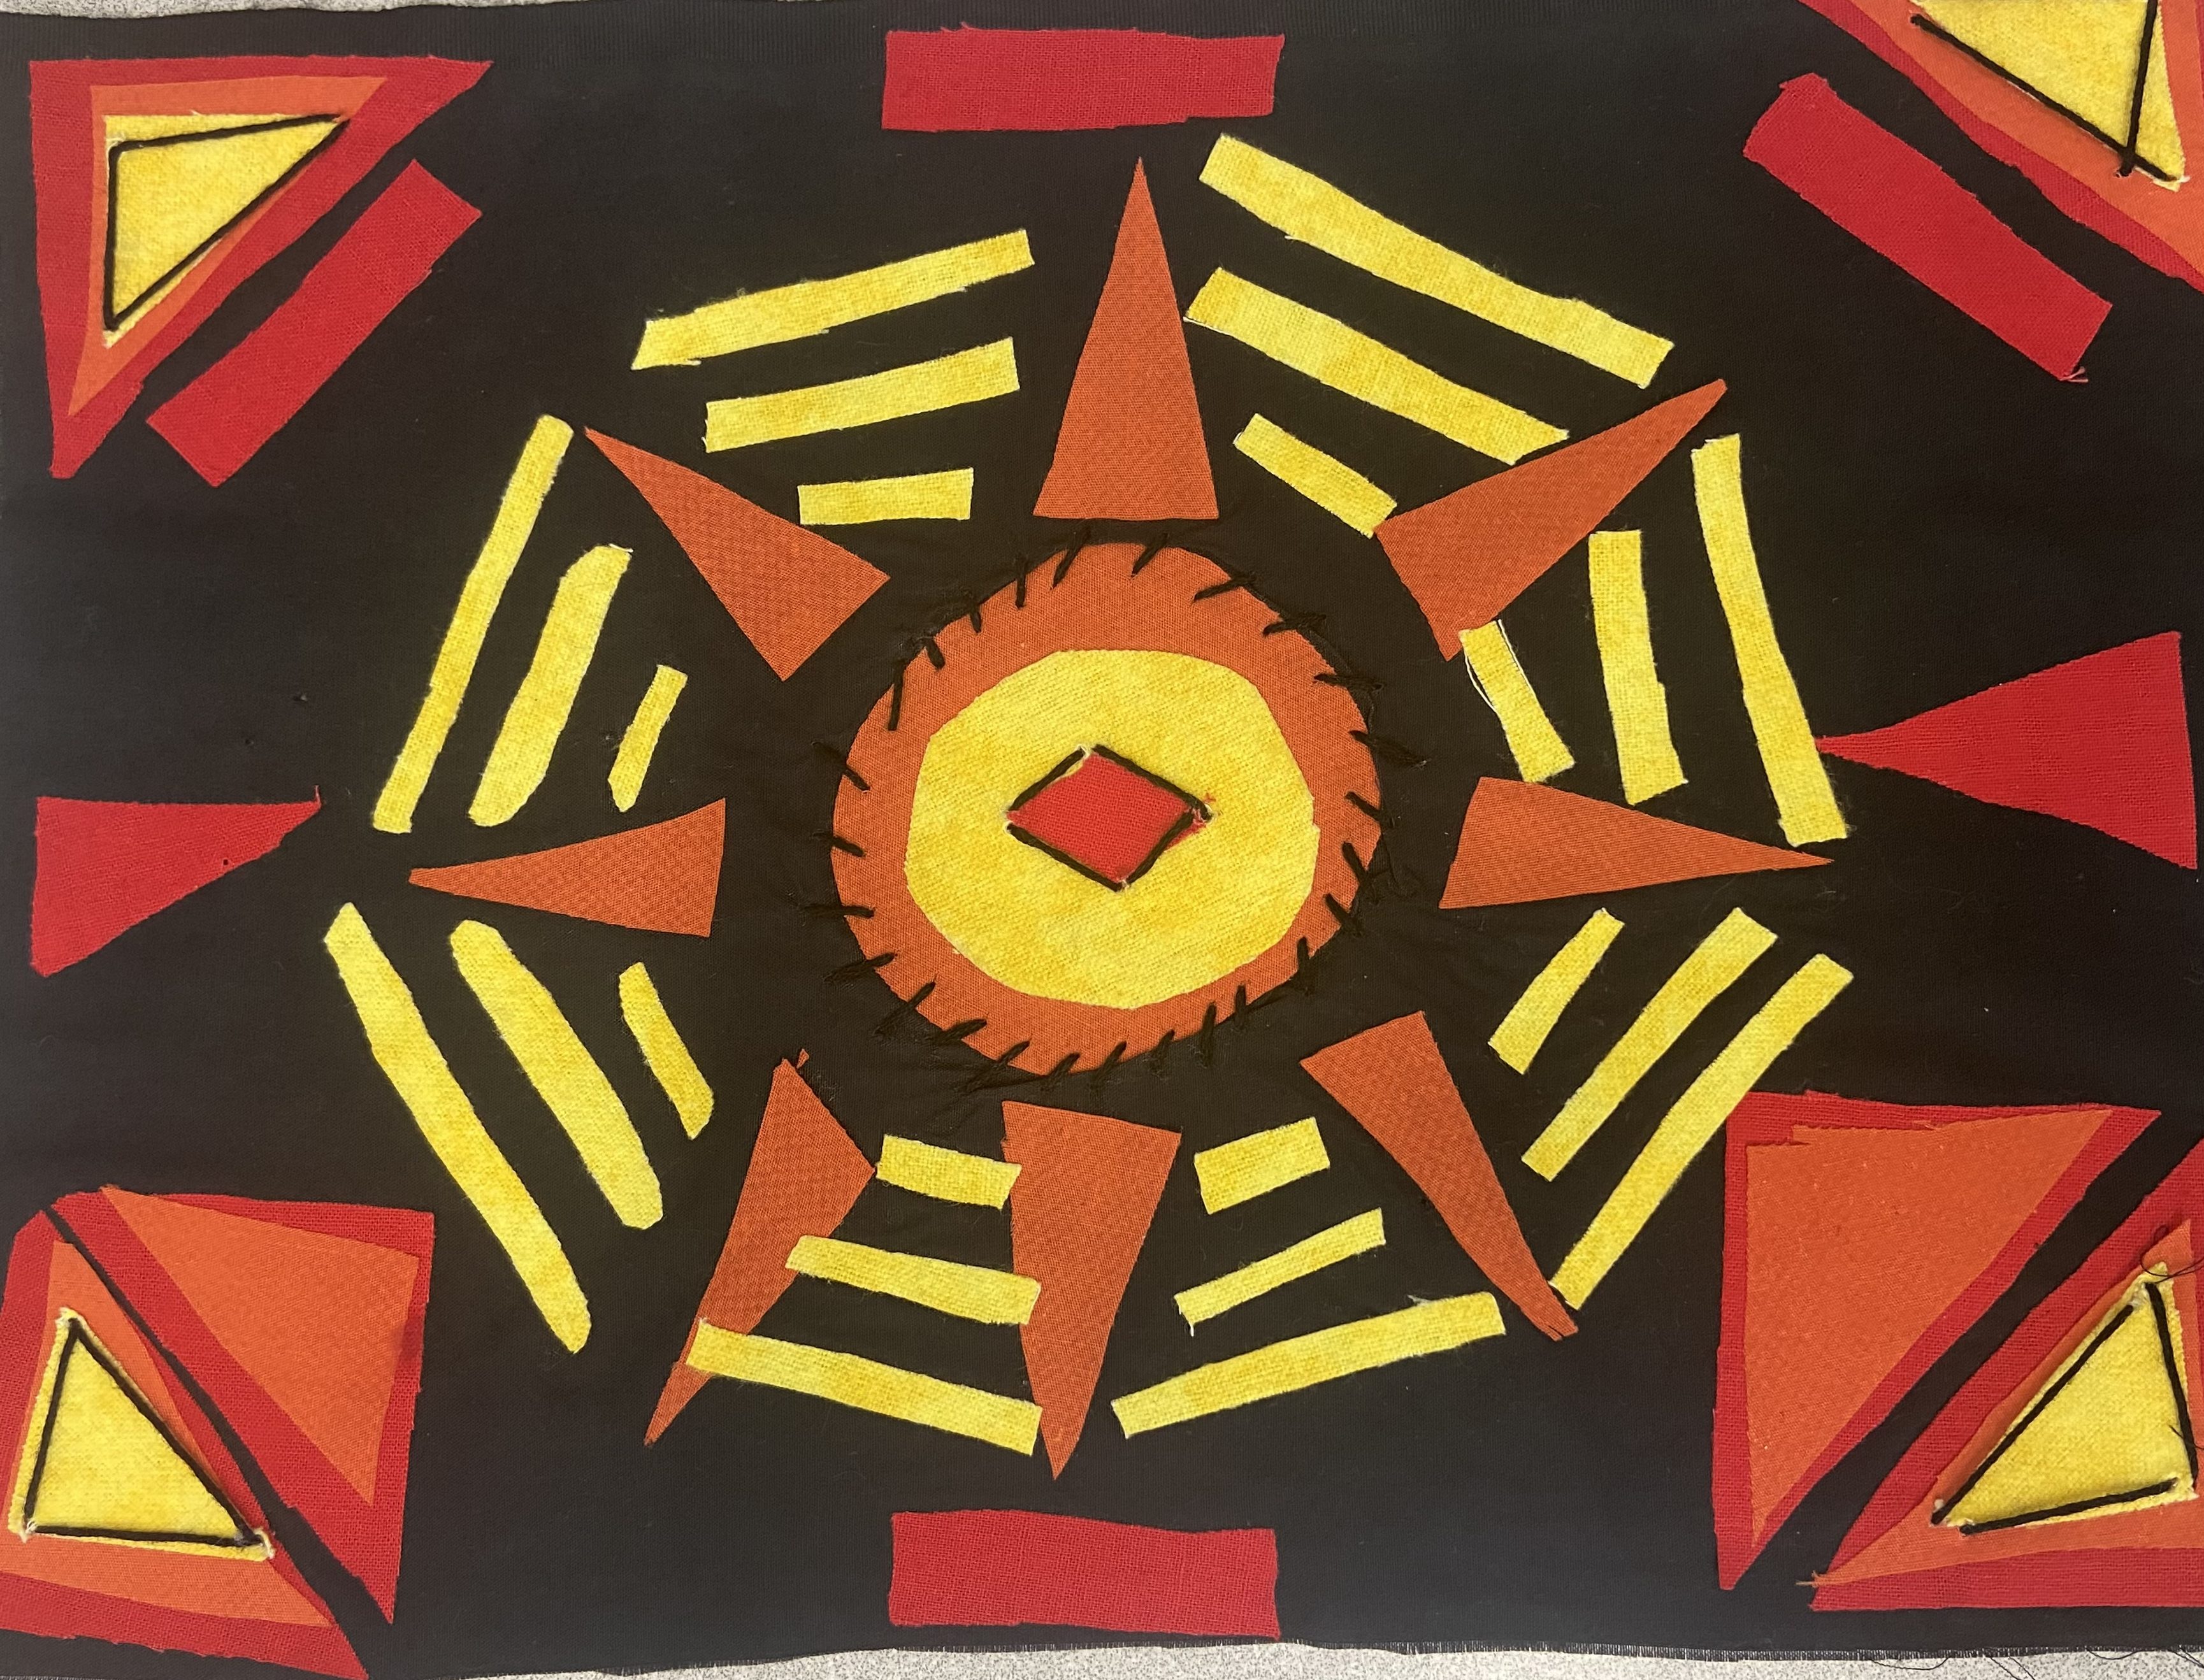
My classes have completed molas in several ways. The easiest way is to use construction paper. However, it has also been done using thread for a texture aspect of the project. My long term substitute also had some students use only fabric for a challenge assignment. Whatever option you choose based on budget, accessibility, or student abilities will still produce work inspired by the molas.
- Construction paper or colored card stock
- Glue (glue stick works best)
- Scissors
- Optional: oil pastels (for stitch like detail: not pictured)
- Optional: needle and embroidery floss (larger quilting needles work best)
- Optional: fabric
Steps
- Rough Draft: No matter what age group I am introducing this lesson to, I always start with them completing a rough draft after they have been introduced to a lesson. The rough drafts should be a medium size for it will as the stencil for their final artwork. Having students complete rough drafts, even in the younger grades, helps promote the idea of the process over the product while also helping their critical thinking skills.
- For younger students, the rough draft can be a simple drawing of the animal/plant they want to use. You can also provide stencils/cut outs of animals to make this step a bit easier. I have done this lesson with first grade before and as old as 7th. This can be adapted to high school as well.
- For older students, you can use this as a research assignment to discover native animals/plants of Panama or some folk tales and myths they can use as inspiration. You can also make a response assignment to the video as well as a short written explanation about the animal/plant/folk tale that they used for their project.
- Project:
- Students start with cutting out their rough draft to use as a stencil.
- Trace the cutout rough draft onto a piece of construction paper and cut it out.
- Repeat on a different color paper making the trace slightly bigger than the first. Cut it out.
- Students can continue this step until they have multiple layers for the main subject of their artwork (this can be 2-5 layers)
- Once the layers are cut out, they can glue them down onto another piece of colored construction paper starting with their largest cutout.
- With the main image glued down, students can now add details around the mola using the same method of layering. This can be done with construction paper, but oil pastel can also be used to get smaller, stitch like additions.
- If using thread, add this last once all the paper pieces have been glued. The paper can easily rip so be sure to use good quality construction paper or colored card stock and be sure to remind the students to be careful during this step.

- Challenge project: students who want a challenge can complete their mola with fabric and thread
Rubric
When assessing their artwork, take into consideration
- Craftsmanship: how neatly they cutout their images and glued it down (no glue showing and clean lines)
- Detail: how much detail they added to the background
- Additions: if using thread and/or oil pastel, how well they included this into the artwork
- Older students: additional research and responses to the introduction/video
Molas are a great way to include cultural, no western art into the art room and is a project that can be easily used for many age groups. I have done this lesson in first, third, fifth, and seventh grade. Each level brought something different to the project and discussion making it a good project for your art lesson arsenal.
