


Mandala, Sanskrit for circle, is a design made up of geometric symbols and can be used for spiritual meditation and focusing one’s attention. Mandalas can be found in several religions, including Hinduism and Buddhism, and can be dated back to the first century BC. Due to its repetitive nature, mandalas make a great printmaking project using a transfer technique as an easy, introductory lesson before moving on to more advanced printmaking techniques.
Materials
- A section wedge (the size depends on how many sections of the mandala you will have)
- pencil
- 6B pencil
- erasers
- colored pencils
- thicker paper
- sharpies (thin)
- masking tape
As an Amazon Associate I earn from qualifying purchases
Steps
- Students are given a quick overview on mandalas and the history of the art form
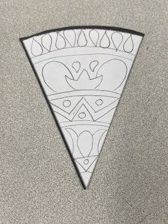
- Each student is given one section of a 8 section mandala. Mandalas can have less sections, but this example is for 8.
- Draw the design in pencil first. Designs should reach to the edges and the point to ensure there is not empty space in the completed design.
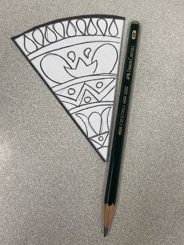
- Once the design is complete, trace it with a 6B pencil. This will allow the students to transfer their design onto the thicker paper.

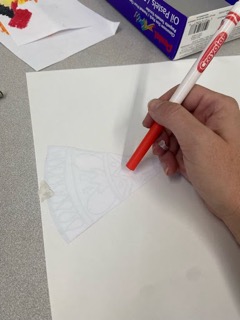

- To transfer the image, tape it pencil side down with the point in the middle of the paper. It is important to tape it for they will be rubbing the back in order for the dark 6B pencil to transfer to the paper. Tape will make sure it does not move and masking tape will cause less rips or tears.
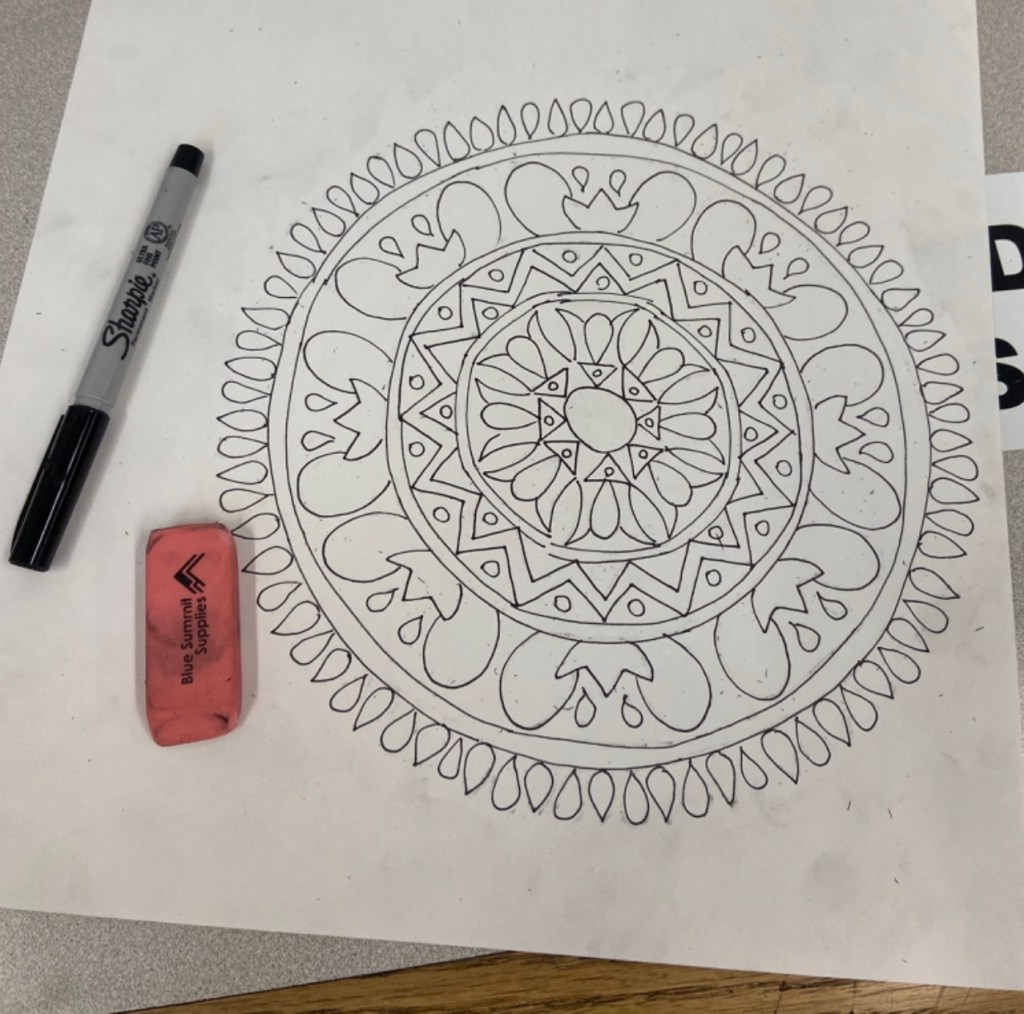
- Remove the paper to reveal the transferee image. Repeat this in order to create the circle. Retrace the design with the 6B pencil when needed. It is ok if the designs are light because they will be tracing them with thin sharpie.
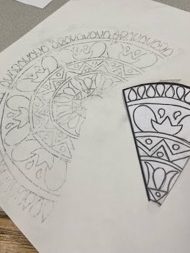
- Trace the completed design in ultra thin sharpie and erase any pencil marks left behind. At this stage, students should make sure that their sections are touching. They can always add sharpie wherever there are gaps.
- Finish the designs with colored pencils. Markers work as well, but there is more opportunity to shade with colored pencils.
Student Work


This project was designed and planned by myself, but was taught by a long term sub during a leave of absence.
