

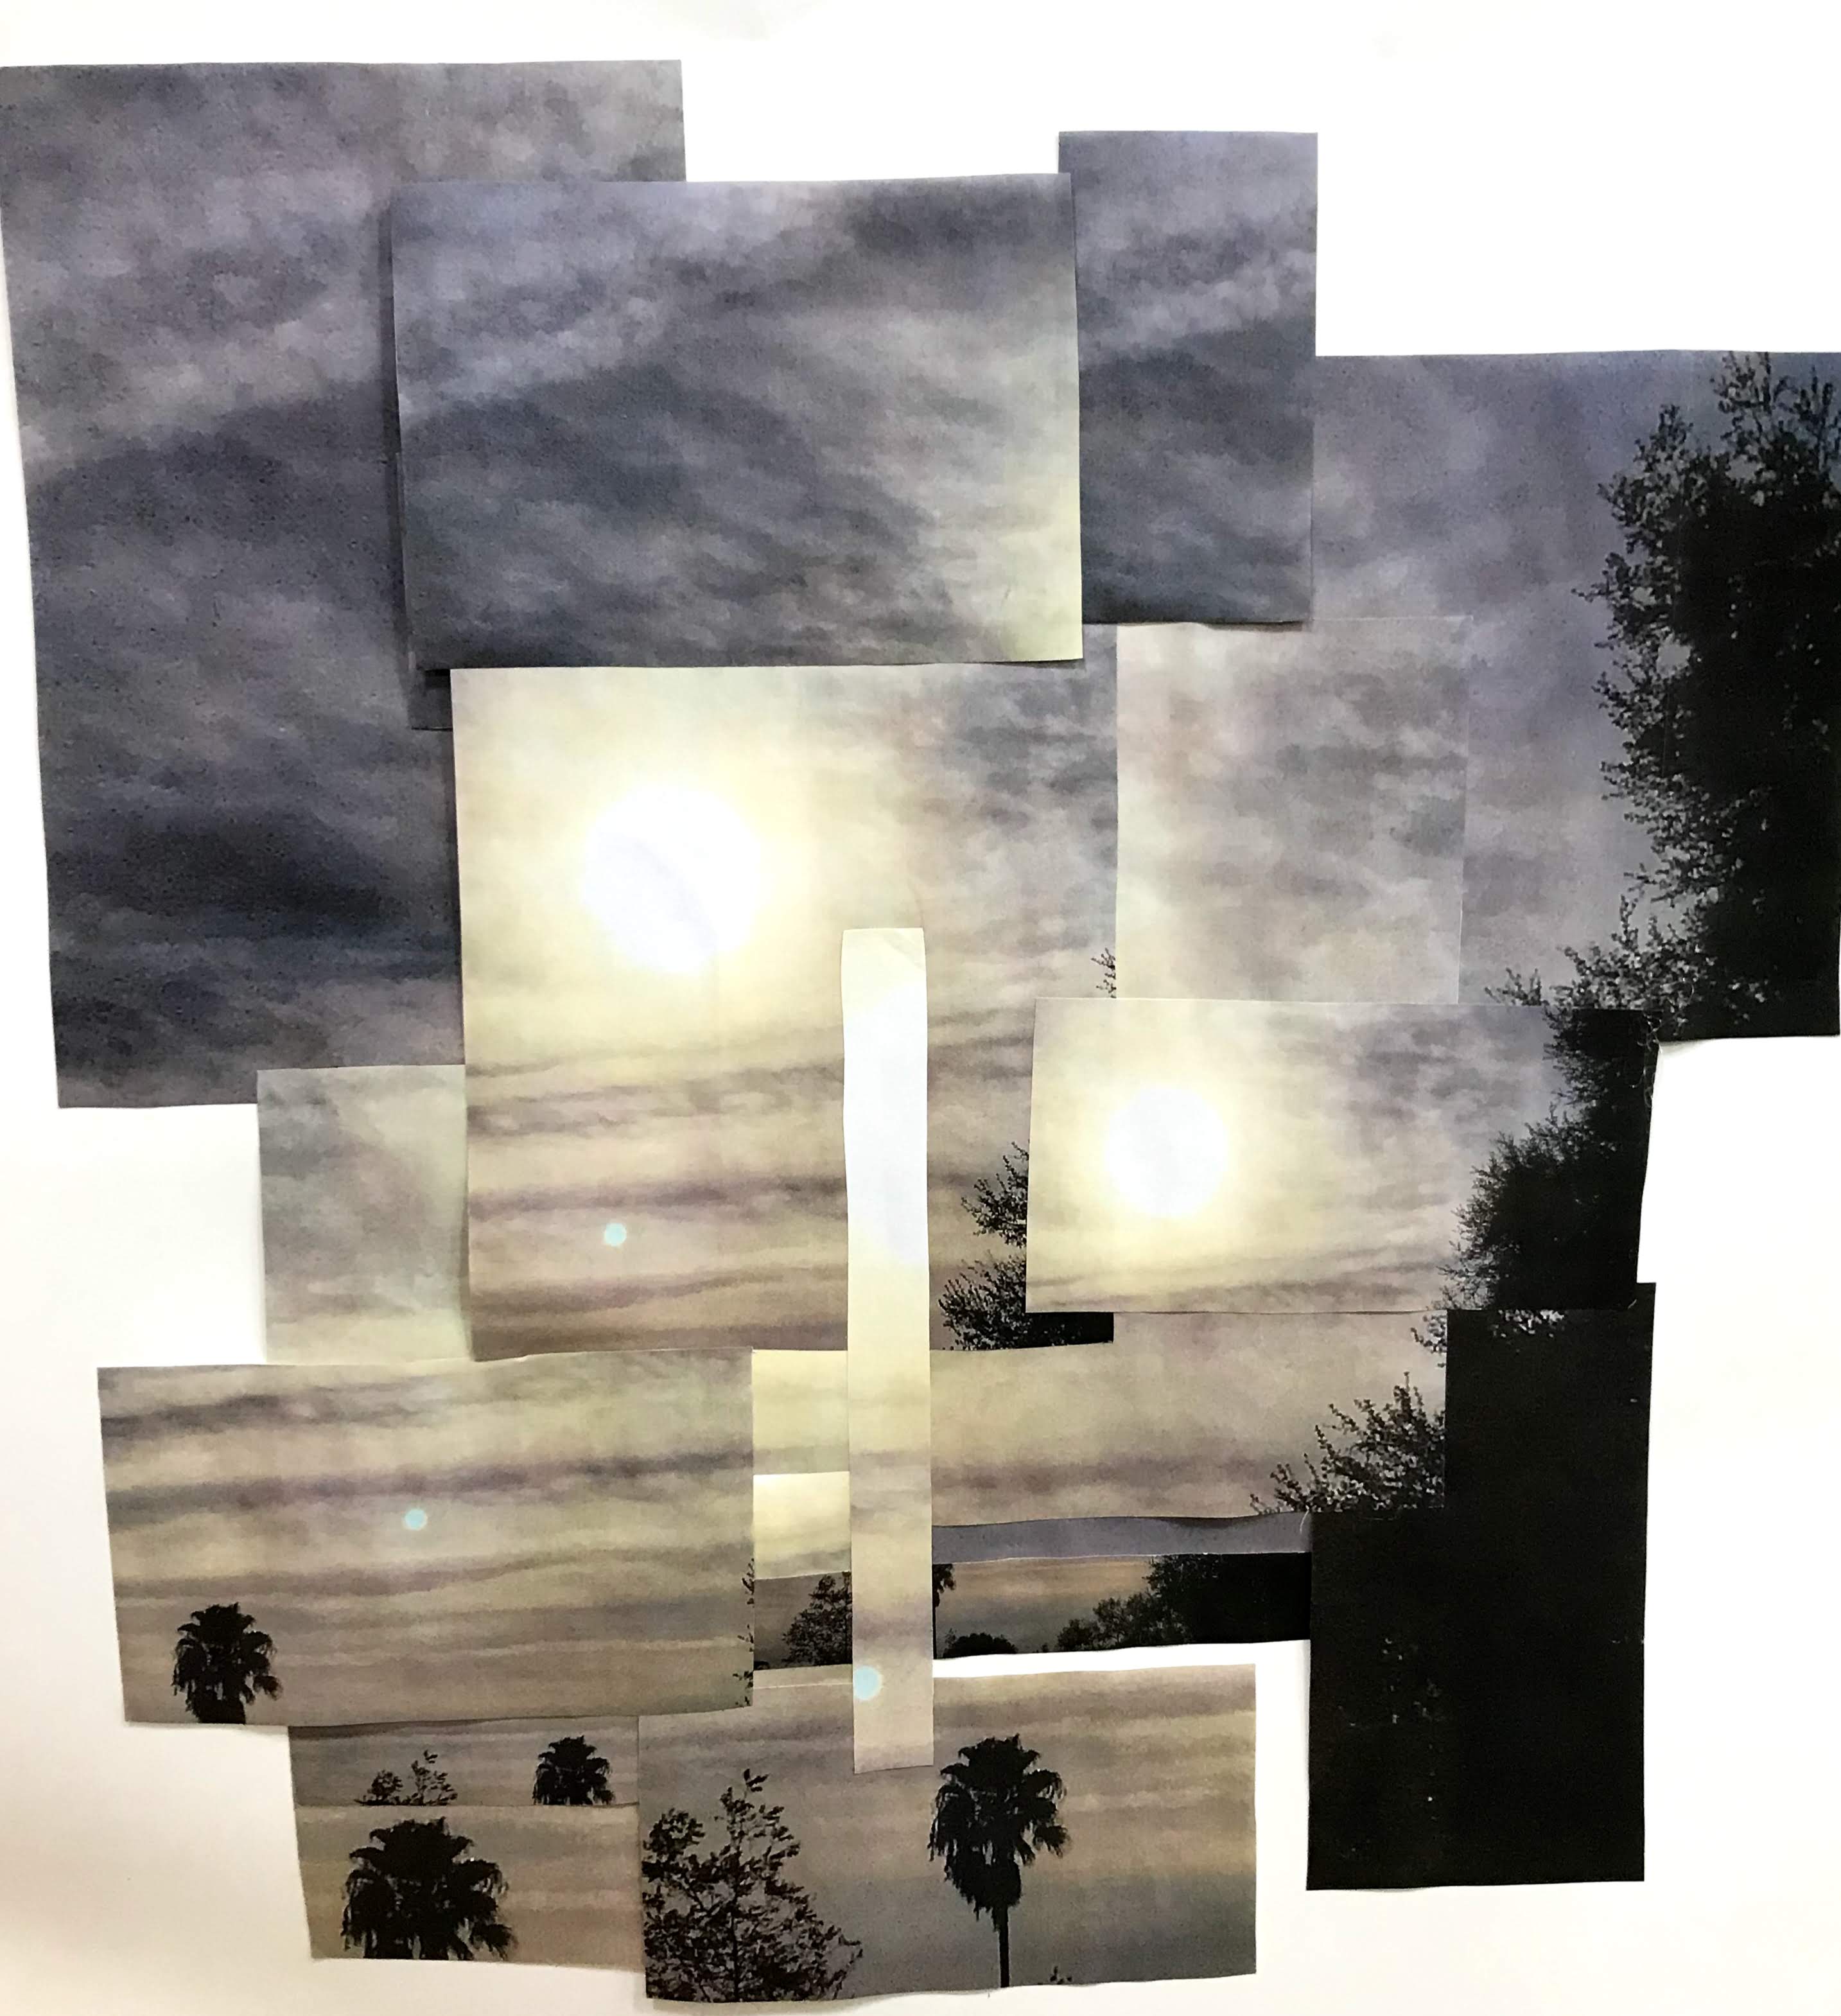
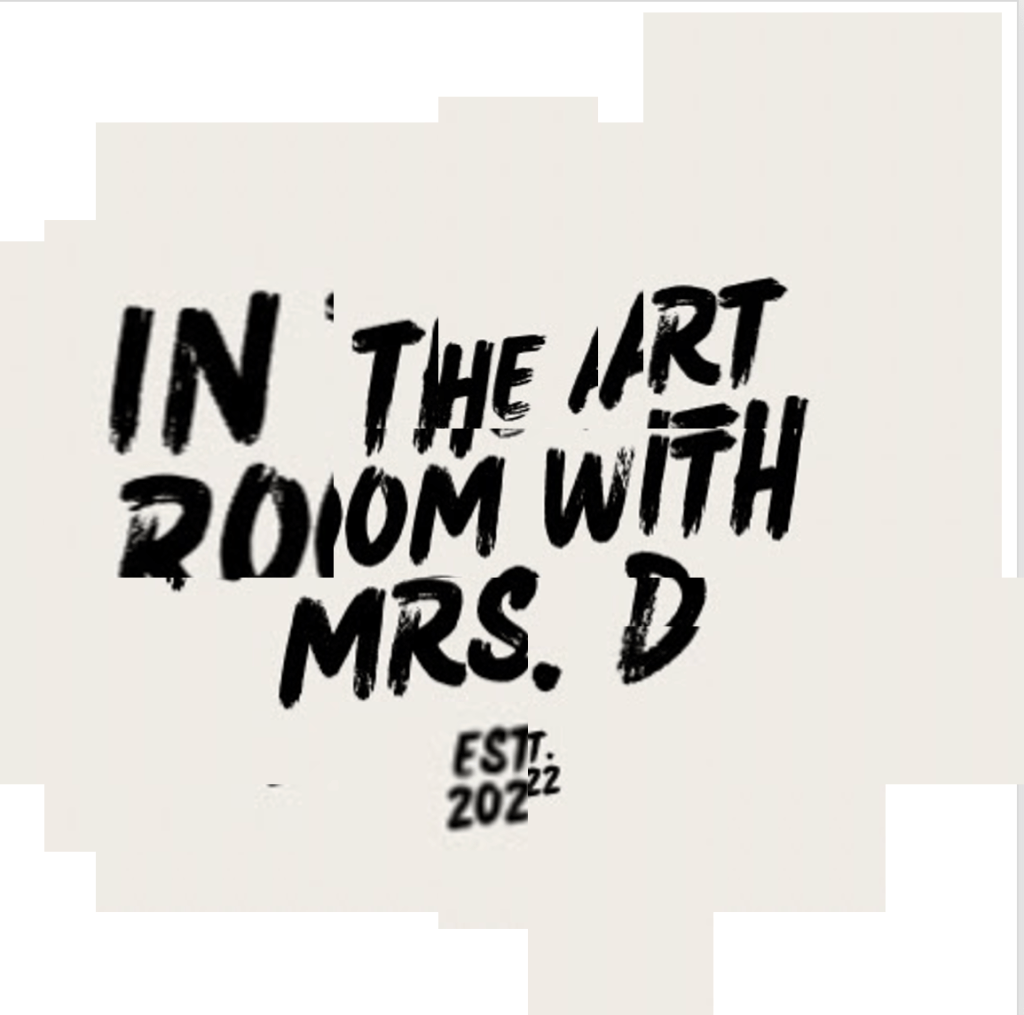
This project is one of my all time favorites as an art teacher. It is inspired by David Hockney’s Pearblossom Highway. This artwork is made up of hundreds of photo prints of one scene, collaged together to make one image. Before, actual photographs would have to be used, however, with new technologies, replicating this type of process is easier than before.
I found the lesson in an art book given to me many years ago and first tried it out on an after school club before I had my own art room. The ages of the students were 5-9 and was a bit worried about how well they would be able to use an editing program for their picture collage. Well, they did fantastic for their age and was the reason why I continued teaching this lesson. It is important that as art teachers we are prepared for lessons to go badly so that we know our students and our own limitations. If I had not done this lesson out of fear, then I would not have see how amazing these students took to the challenge.

Materials
- Computer/iPad/Camera: The tool you use depends on the resources you have or what your expectations of the lesson are. The last school I taught at had one-to-one iPads so it was easy for me to have them download an app for the editing. Whatever the method, these projects will come out looking great.
- Printer/Printer Paper
- Poster-board
- Scissors
- Glue
There are 3 options for this project:
- Take multiple pictures and print them out like David Hockney
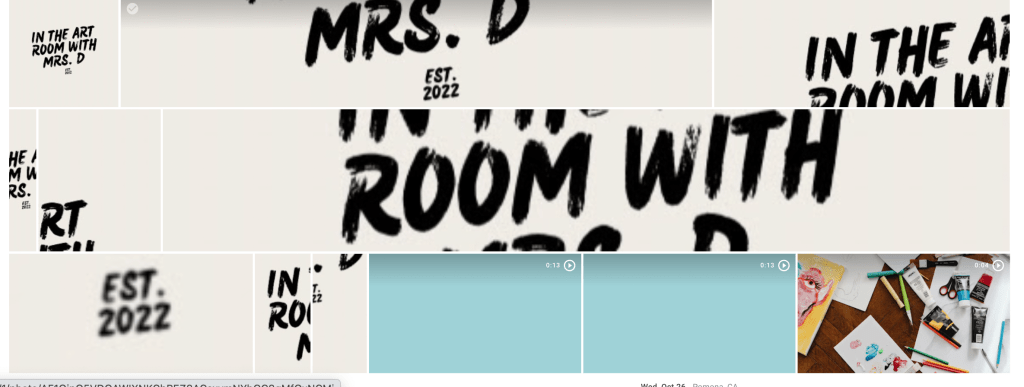
- Use an editing software and print out all the edited images, cut, and glue them to a poster board (examples are of this option)
- Use a an app where you can edit and arrange the images digitally (no printing, cutting, or glueing required: least messy and comes out just as nice. I used Snapseed for this option.
Steps
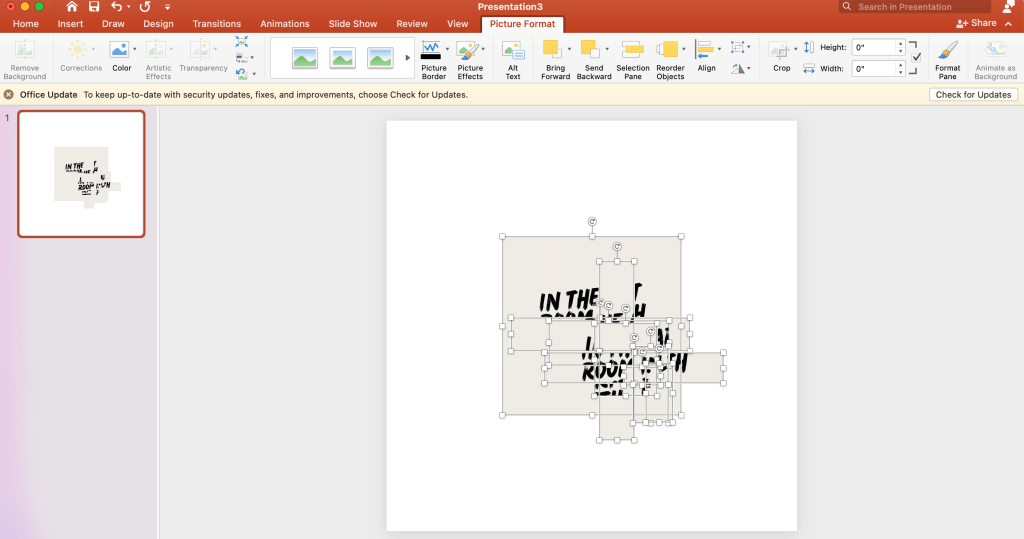
I will be going over the digital option The cut and paste option is just like the digital except they will be printing out the pictures and cutting them rather than arranging them in a program. I have found PowerPoint to work great for this for it allows you to layer and adjust pictures easier than other programs. It is also free with a Microsoft 360 account
- Have the students either choose a picture or take a picture ( they will need a digital version to complete the rest of the steps)
- Import photo into an app or program with editing software (google photos, iPhotos, etc)
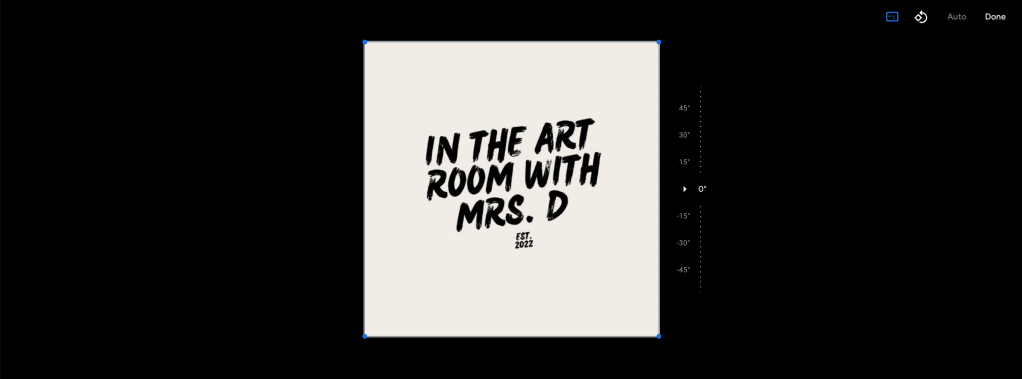
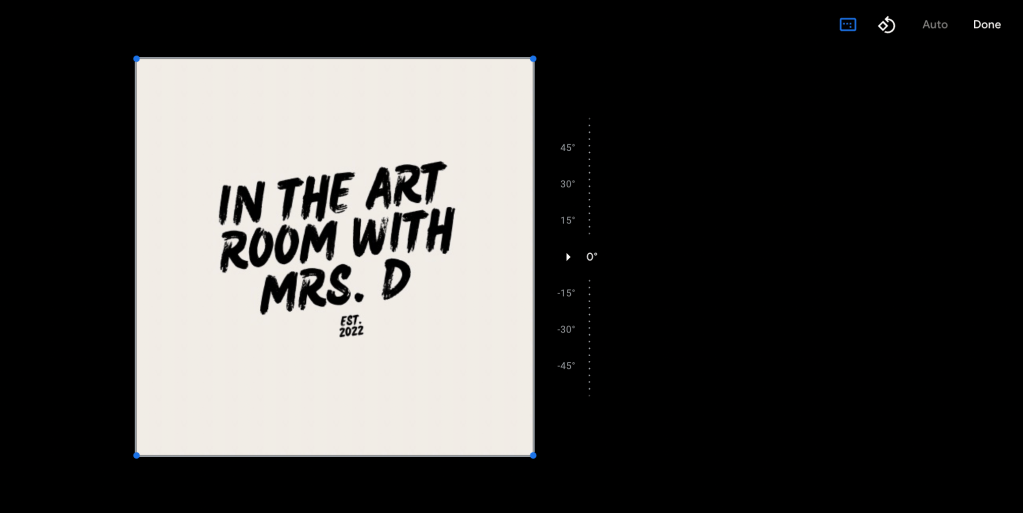
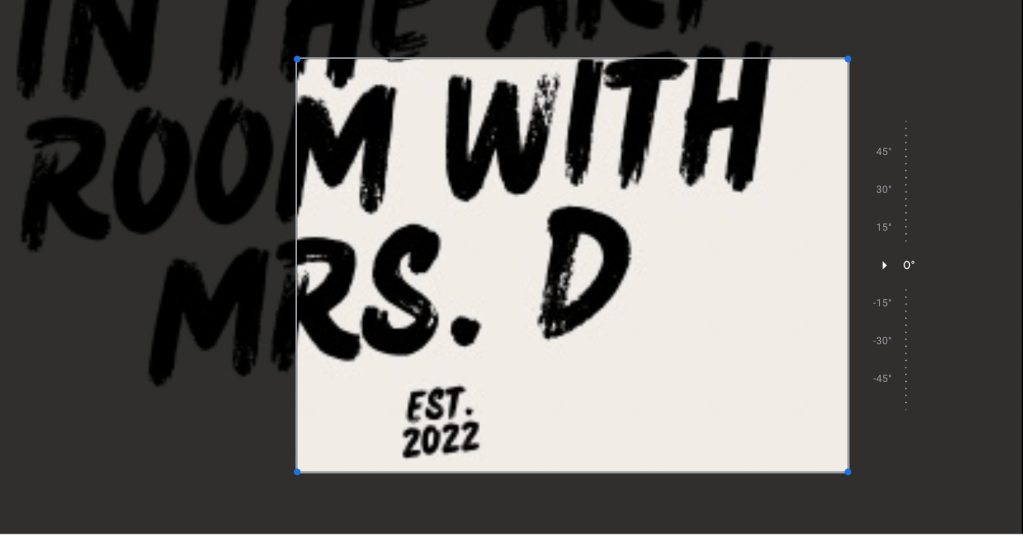
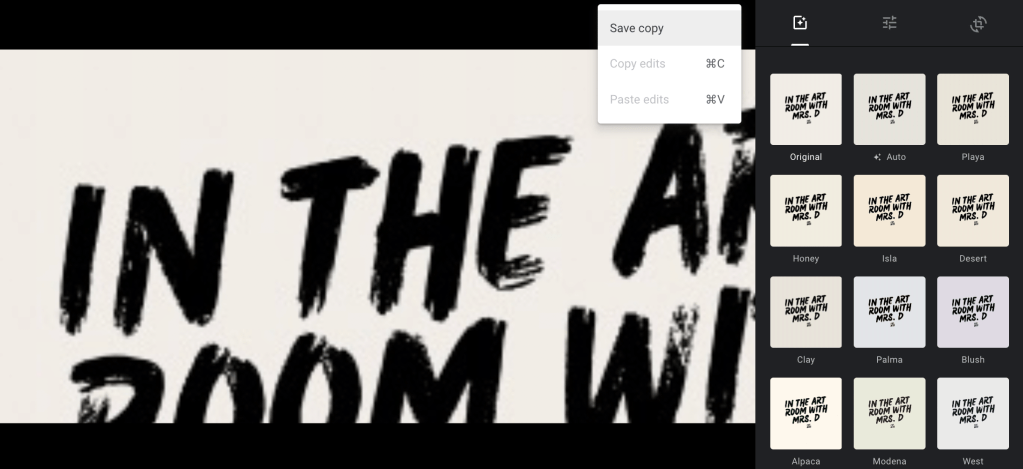
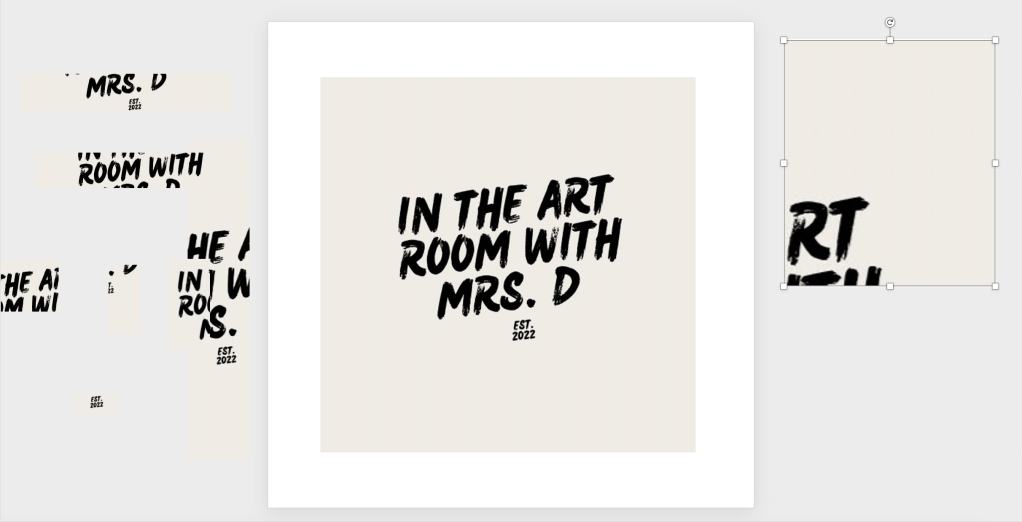
- Students will now crop the image multiple time being sure to save the cropped image as a copy (see image below) so that they do not lose the original. They should crop the image at least 20 times to get enough photos for their artwork.
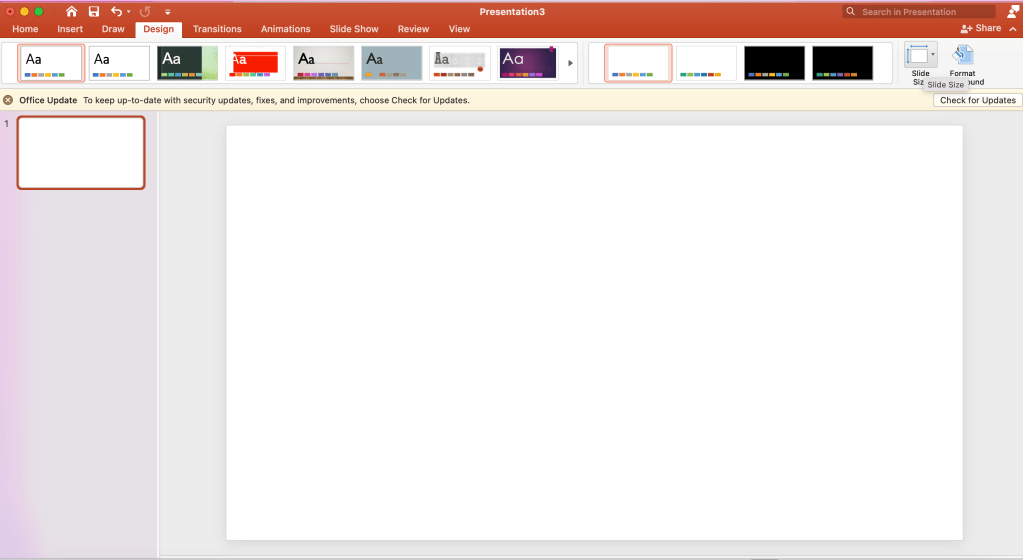
- Download the pictures to a folder if using Google Photos. This will make it easier to upload the photos to PowerPoint or other programs. When opening PowerPoint, you can adjust the size of the canvas by going to Design and then clicking on Slide Size.
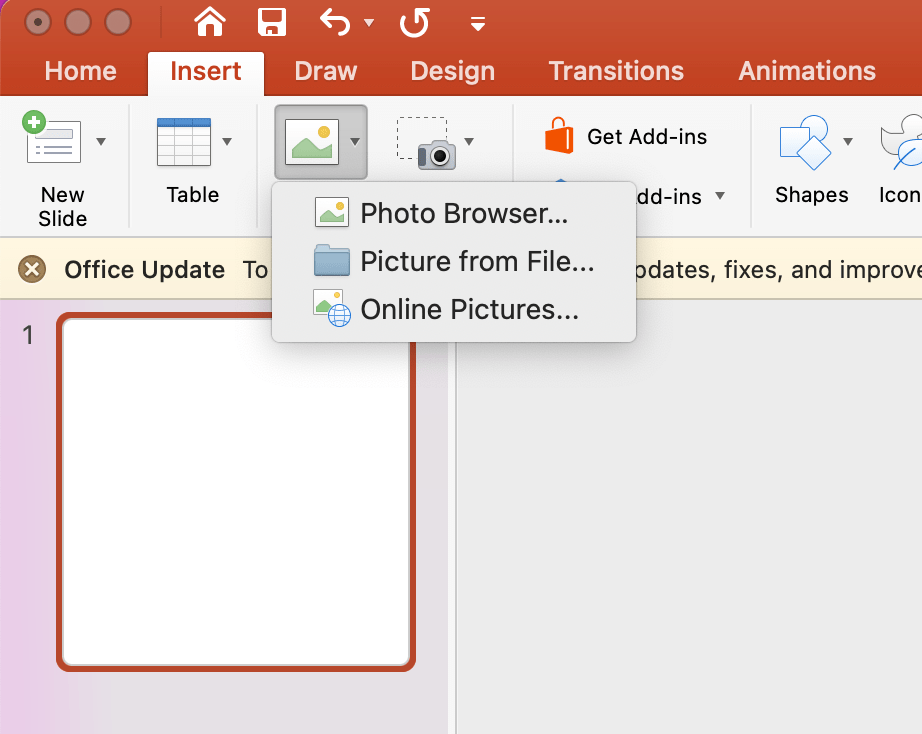
- Import your photos by clicking on Insert and then choosing Pictures. If you used an editing software on your computer, you’ll be able to use Photo Browser. If you used another source and downloaded it, choose Picture from File.
- All your images will be imported to the canvas and then you’ll be able to adjust the size and arrange the photos as they please. You can control the placement of the photos by sending images to the back and front as seen below.

- Final images can be printed out for display or uploaded to class sites or school webpages.
- Again, printed options are the same as the digital version. They just need to be printed.
- If students are using disposable or digital cameras, they will need to take all their pictures at once to ensure the same lighting being sure to get different angles, close ups, and distant images. Disposables will be printed while digital images can be done either way.
