

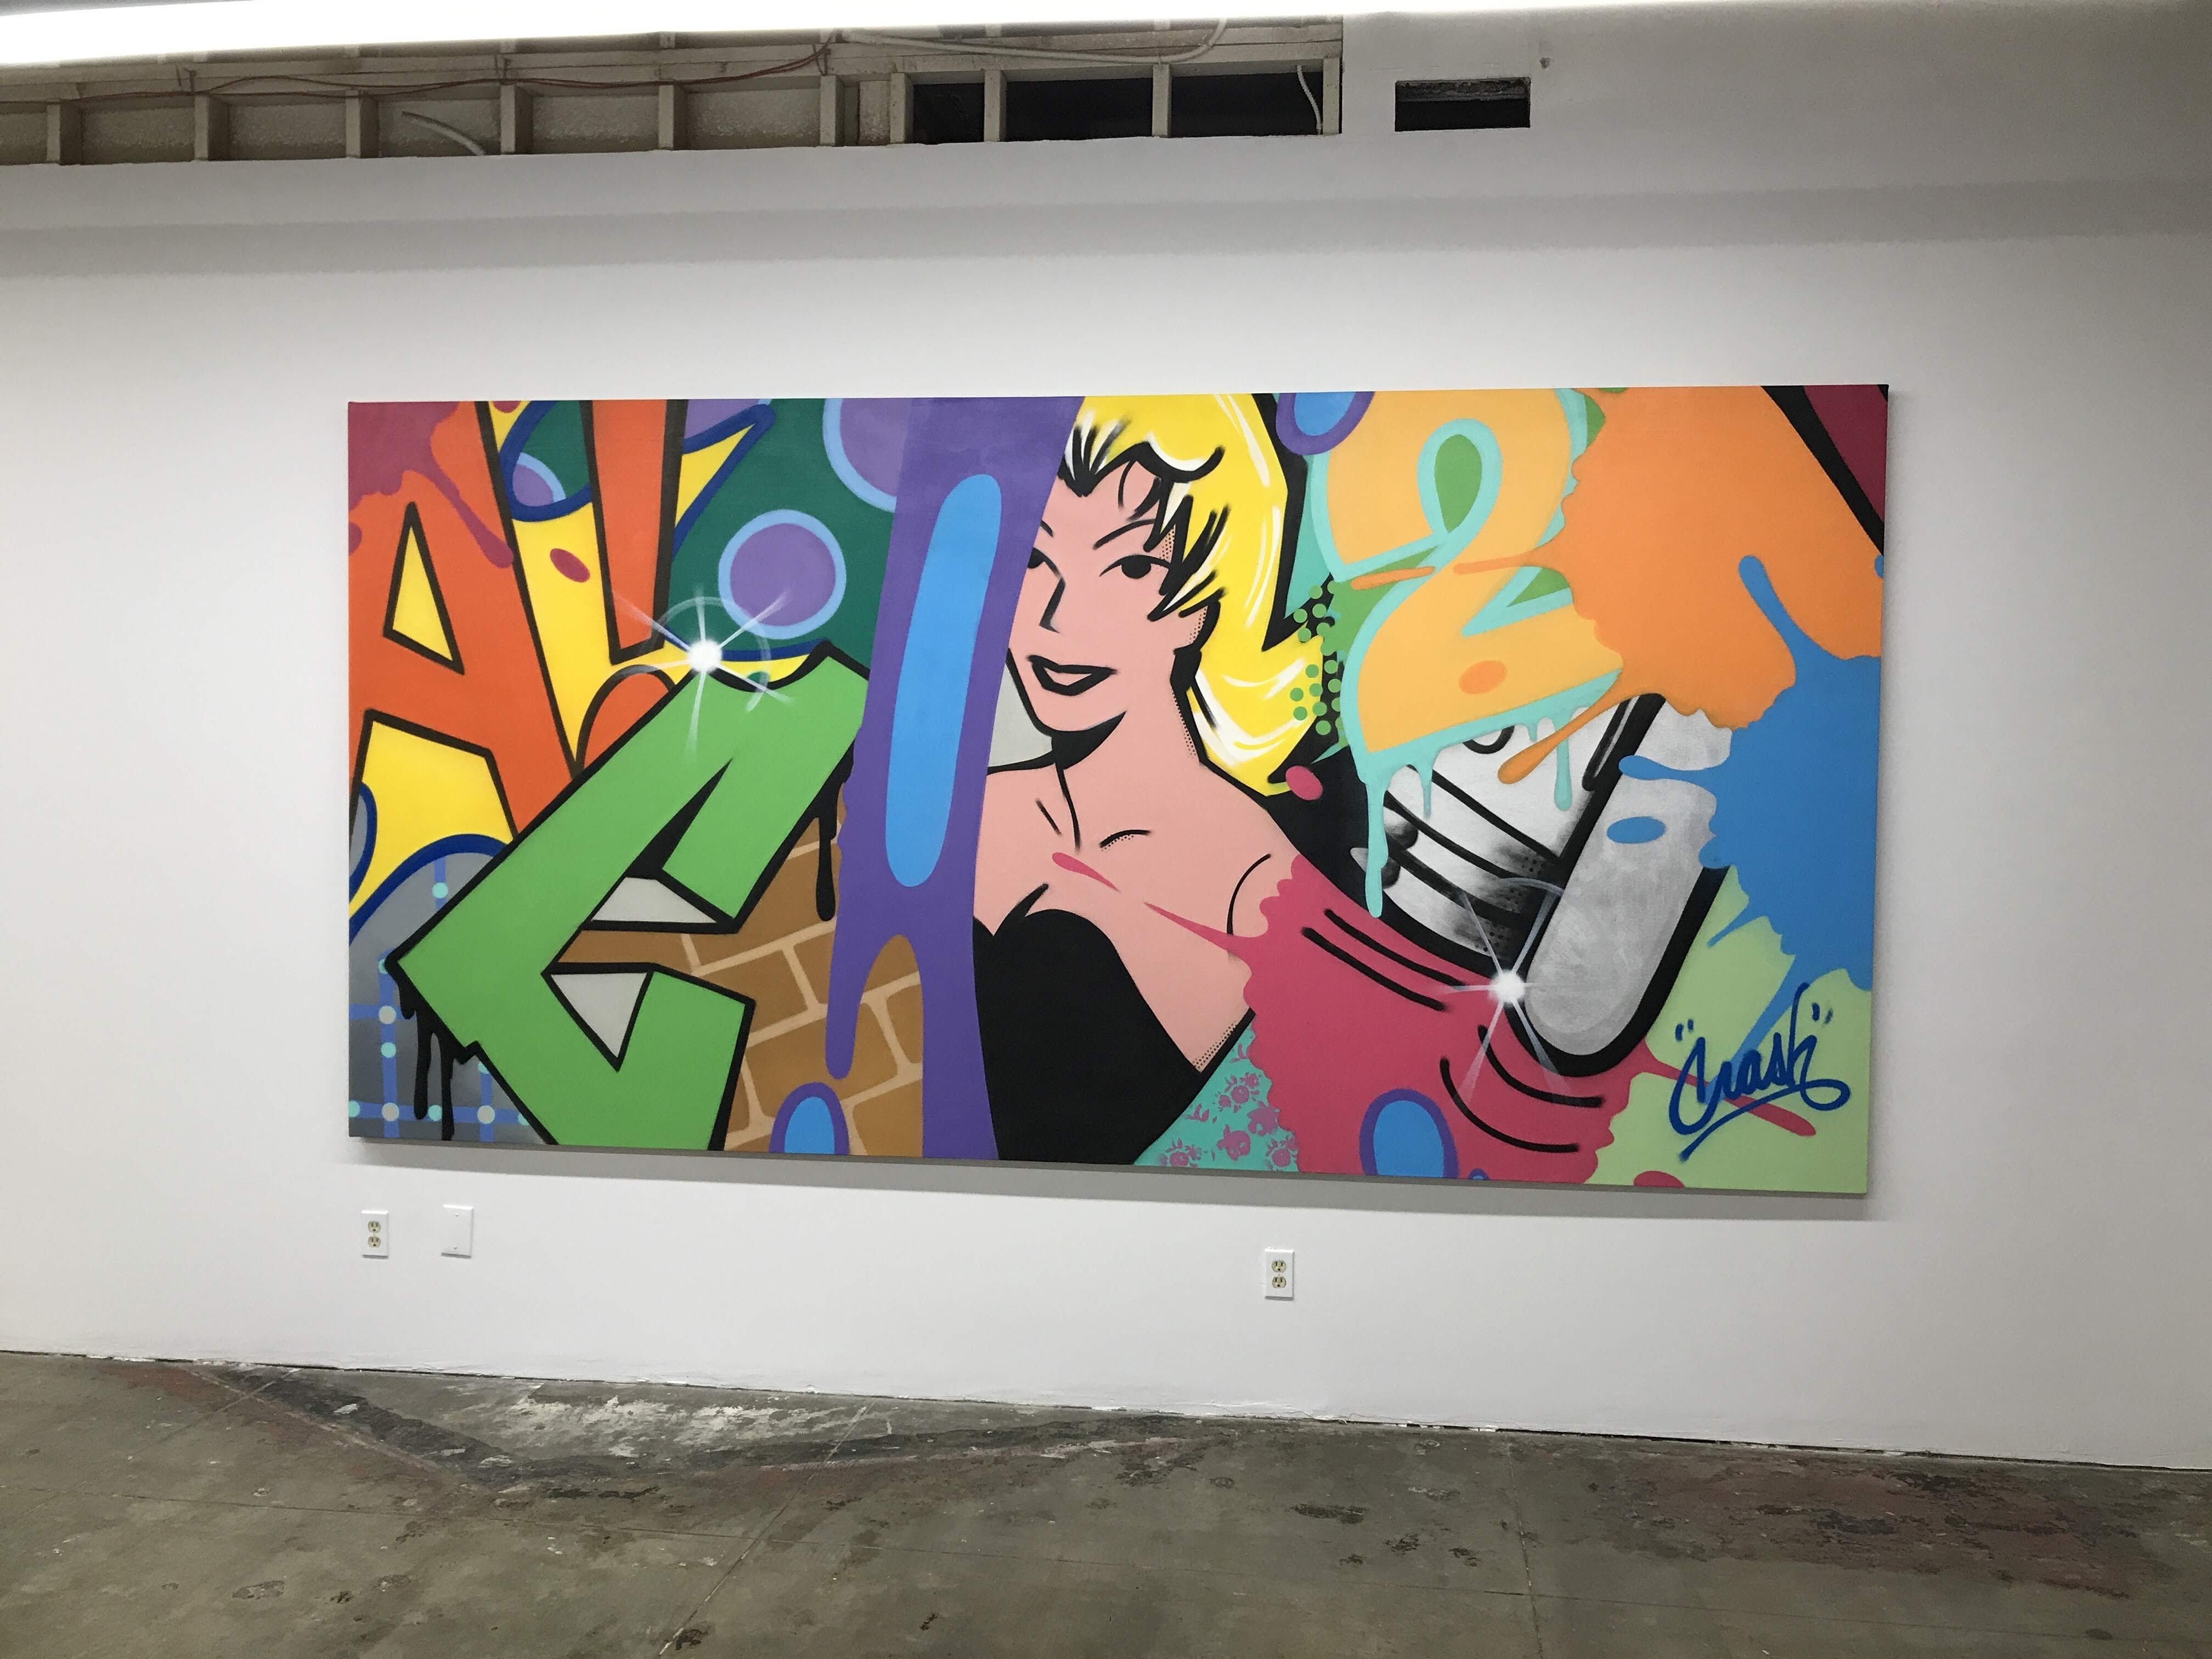
In 2018, my 8th grade art class was fortunate enough to visit the Beyond the Streets art exhibit of graffiti and street artists. It was a real treat for them because it showed a medium that was normally seen in a negative light displayed in a more traditional setting. Having your art doesn’t validate it as art, but the size of the exhibit and the way the art work was displayed definitely gave my students a new perspective.


Bill Barminski
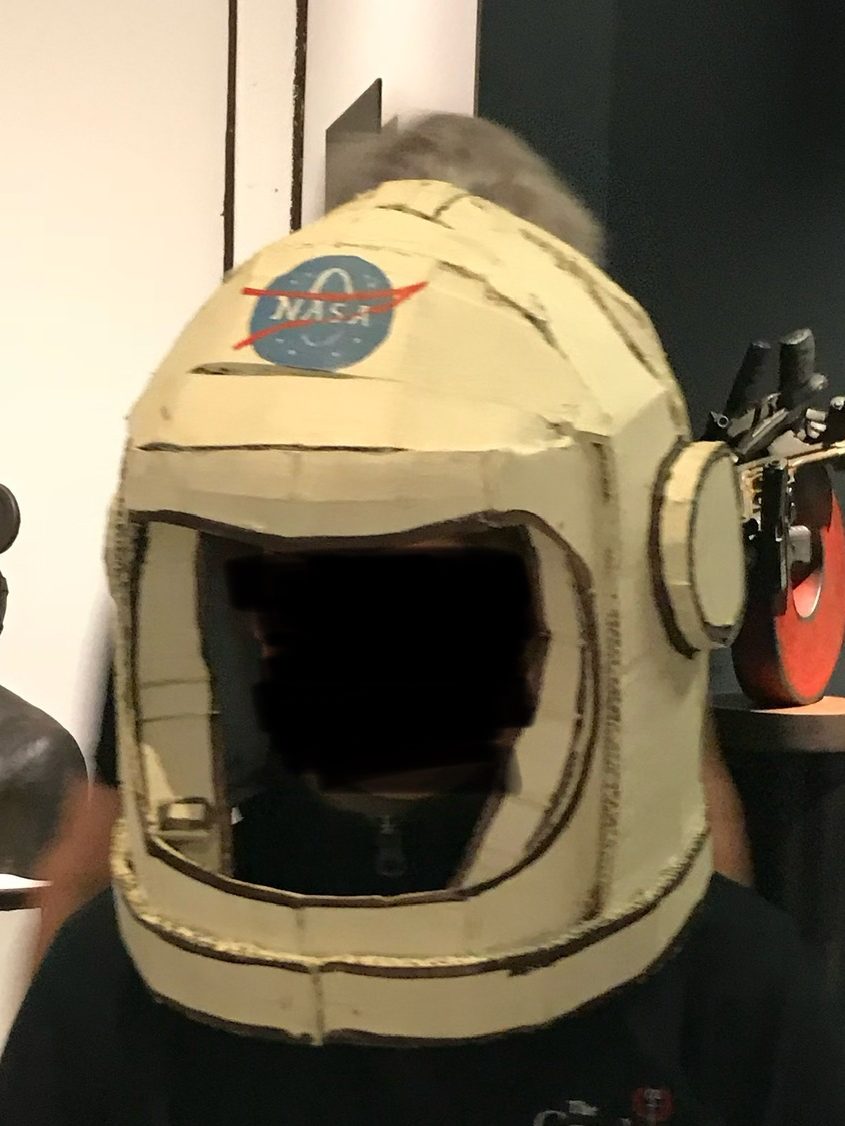
One specific exhibit the student’s loved was that of sculptor Bill Barminski. This exhibit was interactive and included a living room made of cardboard where the students were able to sit on a cardboard couch and pick up the pieces that lay around. One student even put on an astronaut helmet. I tried my best to let the students dictate the time spent in each exhibit and they spent a good amount of time in this one since it was fun and interesting and the artist happen to be there which gave the experience even more of a positive effect of my students. This gave me the idea for the students to make their own cardboard sculptures for an art project helping connect the field trip and an exhibit they found interesting into our classroom.
Materials
- Cardboard (This is especially easy during the holidays since so many people order items for gifts, however, if it is not the holidays, I would send out an email to the school/parents for any donations. If you are looking for unspoiled cardboard, I recommend ordering cardboard sheets since they are smaller and easy to cut)
- Glue Sticks
- Glue Guns
- Utility Knives or Scissors (utility knives come in handy because they are easier to cut more complex shapes than scissors. I buy a good amount because they break easily, but are less expensive than exacto knives making it a preferred purchase)
- Cutting boards (either actual cutting boards or left over cardboard scraps to protect your tables)
- Paint (if coloring)
As an Amazon Associate I earn from qualifying purchases

Steps
- My students went on the field trip and got to see the artist work up close. I would suggest showing the artists work and discussing a bit of the artist’s background to start getting them excited about the project.
- Rough drafts: I had the students come up with three ideas for their sculpture and draw out how they wanted the end product to look like. This was helpful for the planning stage because it gave the student and I time to discuss how to actually build their design and any obstacles they might face.
- Final draft: After discussing their rough drafts, students are to draw a final draft with more detail and building plans before they begin.
- Once their final draft is approved, the students can start constructing their cardboard sculptures. BE SURE to discuss cutting and gluing safety with the students prior to starting construction. The utility knives are sharp and glue hot.
- When construction is done, I gave students the option to paint, however, you can also make this a requirement in order to add another level of design criteria to your rubric.


Here are two student examples from the project. I used these two exam-les because the bird cage required innovation on how to make the cage bend while the phone was able to be picked up,adding to the interactive quality of the project. For my students, I did not put a lot of parameters on what they could do. However, this could easily be adapted into a theme for an art show installation. All in all, this lesson is fun, adaptable, and can be used for a variety of grades.
