When teaching art, it is important to go over the elements of art early and one of my favorite is the element of space. Space in art is the area within a composition while positive space is the subject or areas of interest in a piece making anything in the background or surrounding the subject the negative space. I like to teach this concept because this project helps students really grasp the concept about space in art.

When I first introduce the lesson, I always like to start off with the example above of the face/vase asking students what they see first when. You will get a mix between some who see the faces first and others who see the vase, but that is why this is a good example to use. Those who see the vase see the white as the positive space and those who see the vase see the black as the positive space. The black area is not necessarily always the positive space or vice versa. What makes space positive is what the area of interest is in the artwork and that can change depending on where you focus. Below are a few more examples of how artists play with negative and positive space.


Positive and negative space is also an important skill to use when discussing composition with your students. Artwork can have a significant amount of negative space. Using negative space thoughtfully in order to bring more attention to the positive space of your piece. These two examples below show how using negative space can be used as an advantage in making the positive space stand out or have more emphasis.


Project
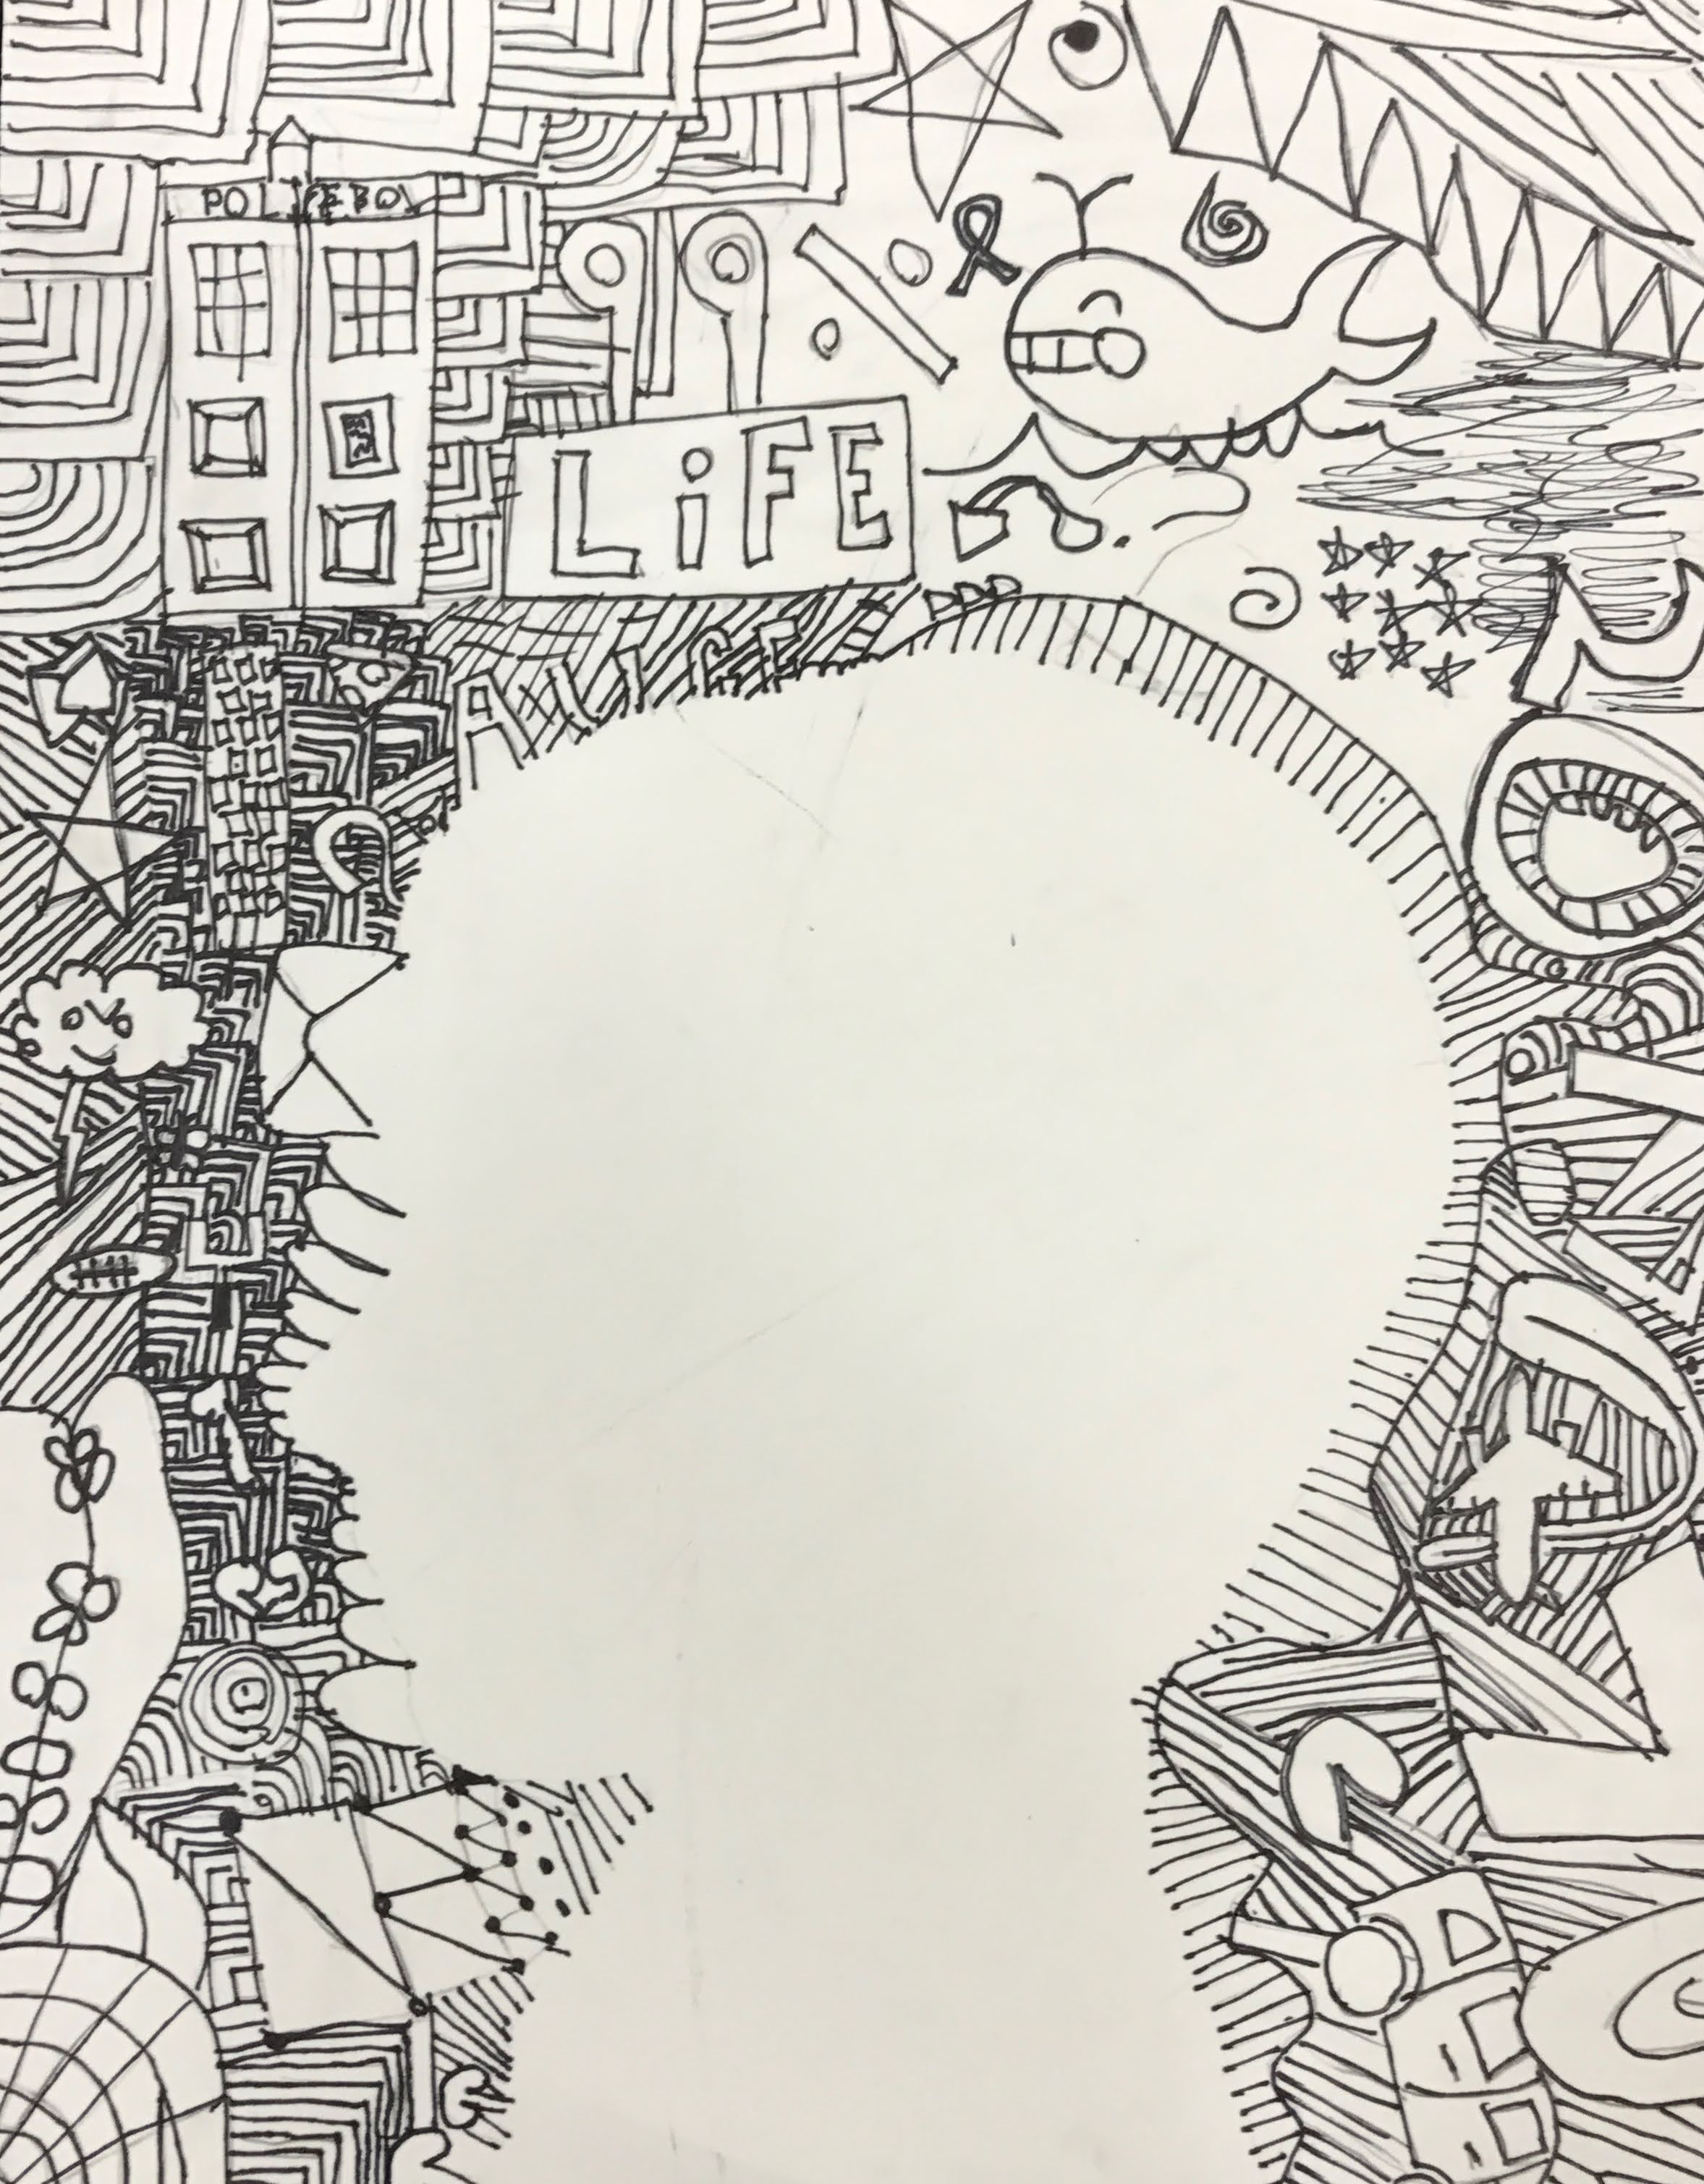
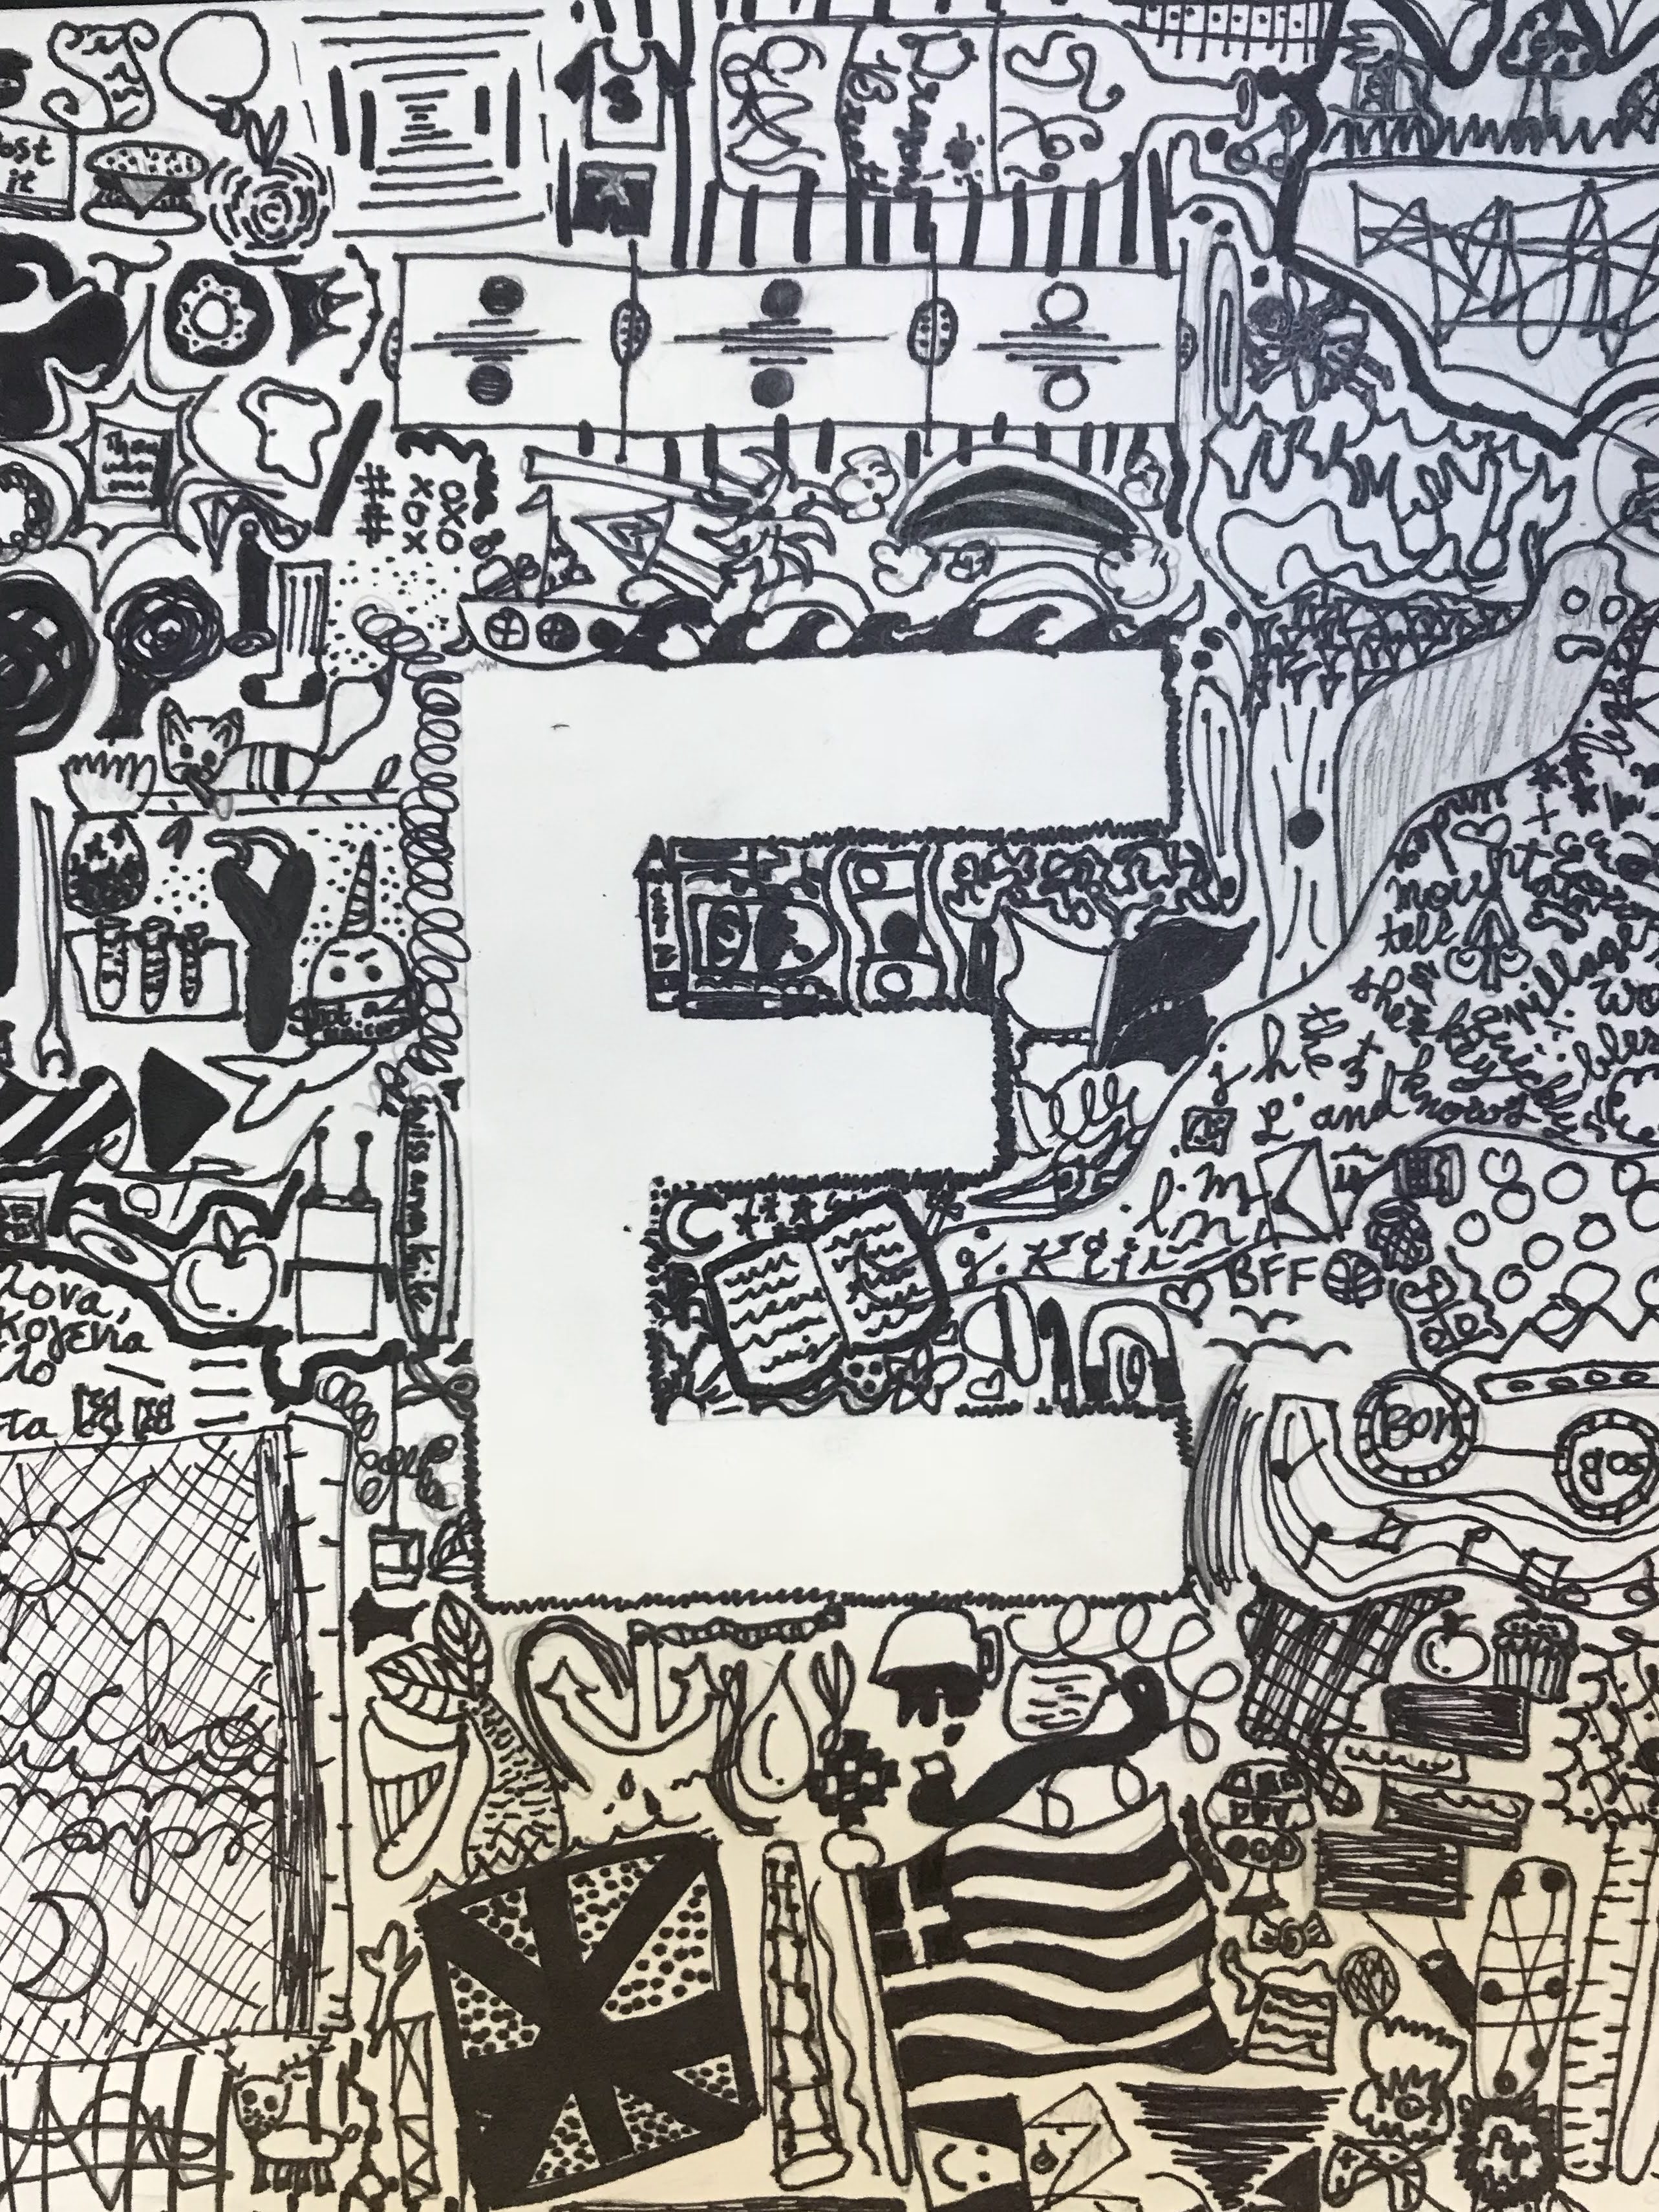
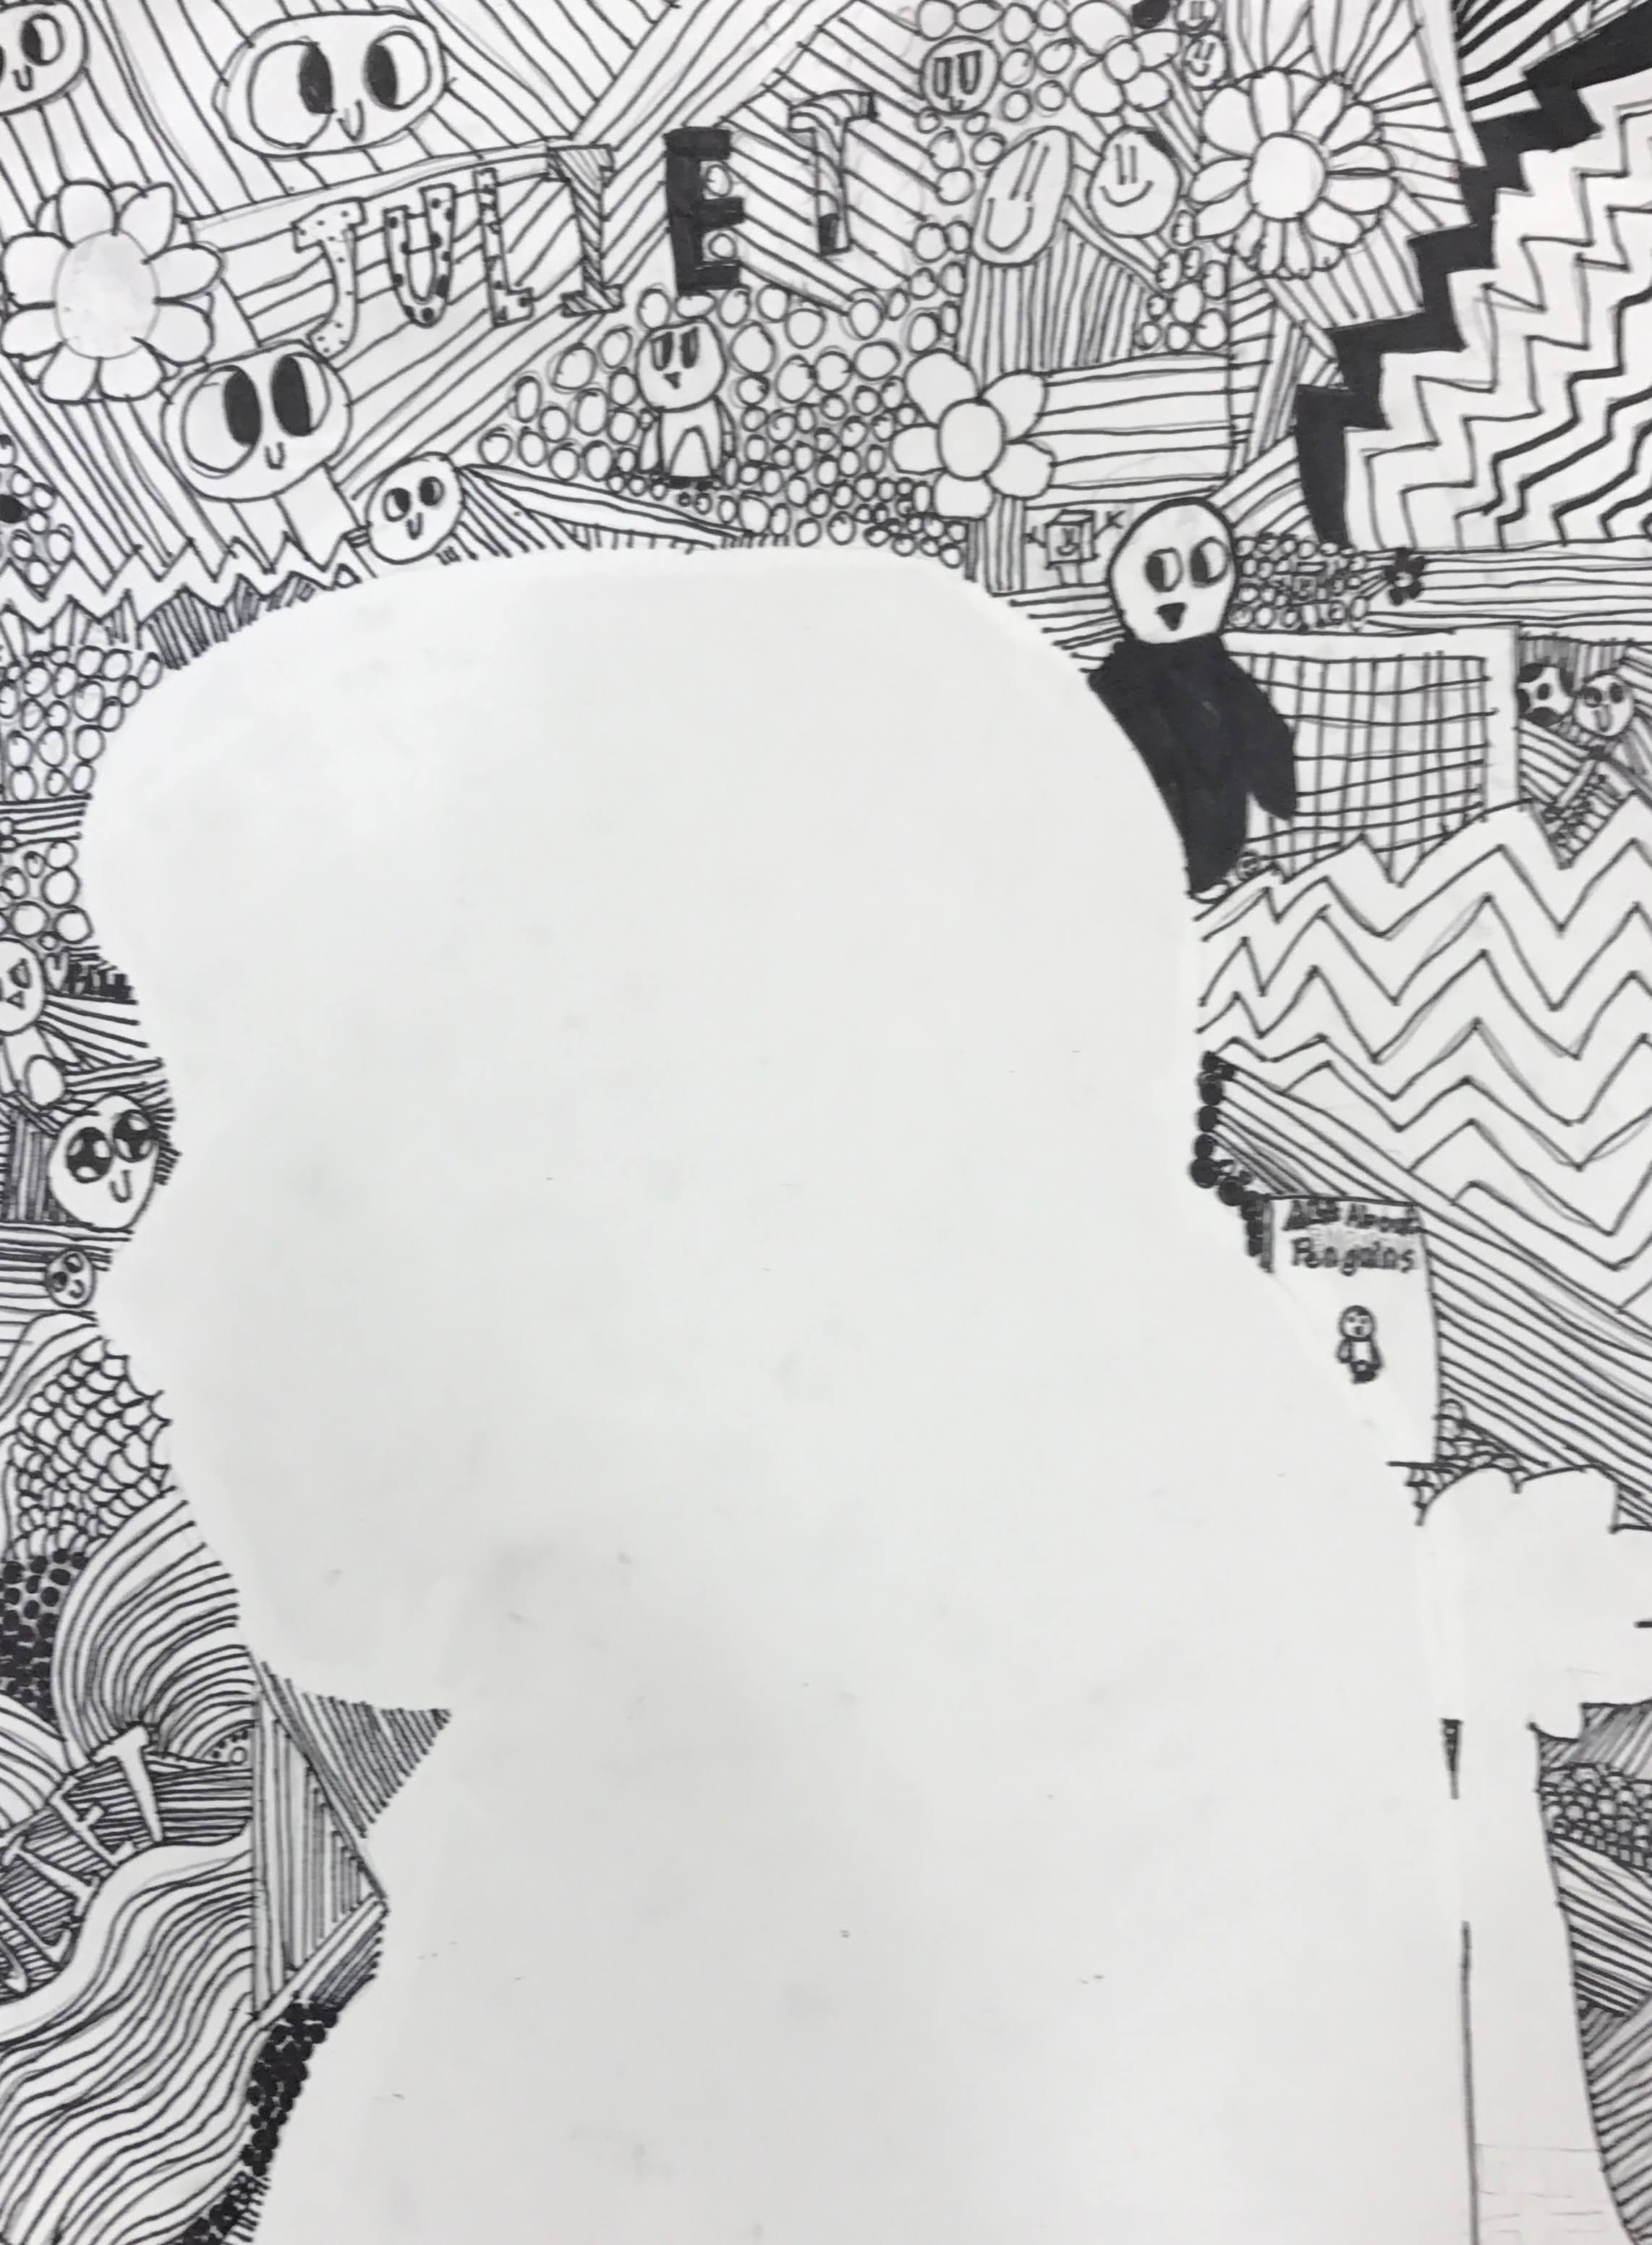
My favorite way to teach positive and negative space is through a silhouette project. This can be done with student silhouettes, initials, stencils, or drawings. In my examples, I had student silhouettes and initials. The video below shows me drawing a light picture of a jack o lantern that I used for a Halloween theme silhouette. The possibilities are endless for how to execute this project. As an art teacher, you can create a theme you want the students to follow or give the students creative freedom of the subject of their artwork. If you are a homeschool parent or SAHM, the silhouettes are a fun way to include personal artwork in your home. For the silhouettes of the students, I had students include drawings and designs that were unique to themselves as a way to show their personalities in their work.
Materials
- Cardstock or heavy paper
- Pencil
- Eraser
- Sharpies (thin and thick)
Steps
- Before beginning this project, I would have your students or children come up with a theme for their work. Having a theme prior to starting will help with coming up with ideas to fill the space, which could be difficult if you don’t have a game plan to start. I like to use my students as a theme because kids usually have an easy time thinking of things they like. For the silhouettes, my students could add anything to their drawing that interested them. In the video, I came up with a Halloween theme so my stencil and the drawing I created all followed items that fit the Halloween theme.
- Once the theme has been decided, students/children are to draw the image that will become the negative/positive space very lightly. This will be erased eventually so draw light or it will be difficult to erase. This can be done with a stencil or freehand.
- Students start creating designs, drawings, patterns, or text in the background. I recommend having this be done in pencil first, however, this can also be done in sharpie (but mistakes cannot be undone). DO NOT TRACE THE DRAWING. The designs around the drawing make it stand out. Outlining it defeats the purpose of the project.
- Once the negative space is filled with drawings, have students blur their eyes and look at the artwork. There should be an even amount of black and white. You do not want one are to be more white or more black. A balance of both colors are ideal.
- Erase any pencil marks visible and see how the initial drawing pops with the drawing created.