
This project is one of the first lessons I do with my kindergarten classes. Color is an important element of art and one of the easiest for the students to feel successful with.
Introduction
Primary Colors
A great way to intro this lesson is to first ask if anyone knows what the primary colors are. You can discuss why they are called the primary colors, what makes them special, and what new colors they make when mixed. I also like to show the musical group, OK Go, music video on primary colors. Watch the video below, which originally aired on Sesame Street. It is very catchy and can be a great way to help your students retain the information.
Piet Mondrian
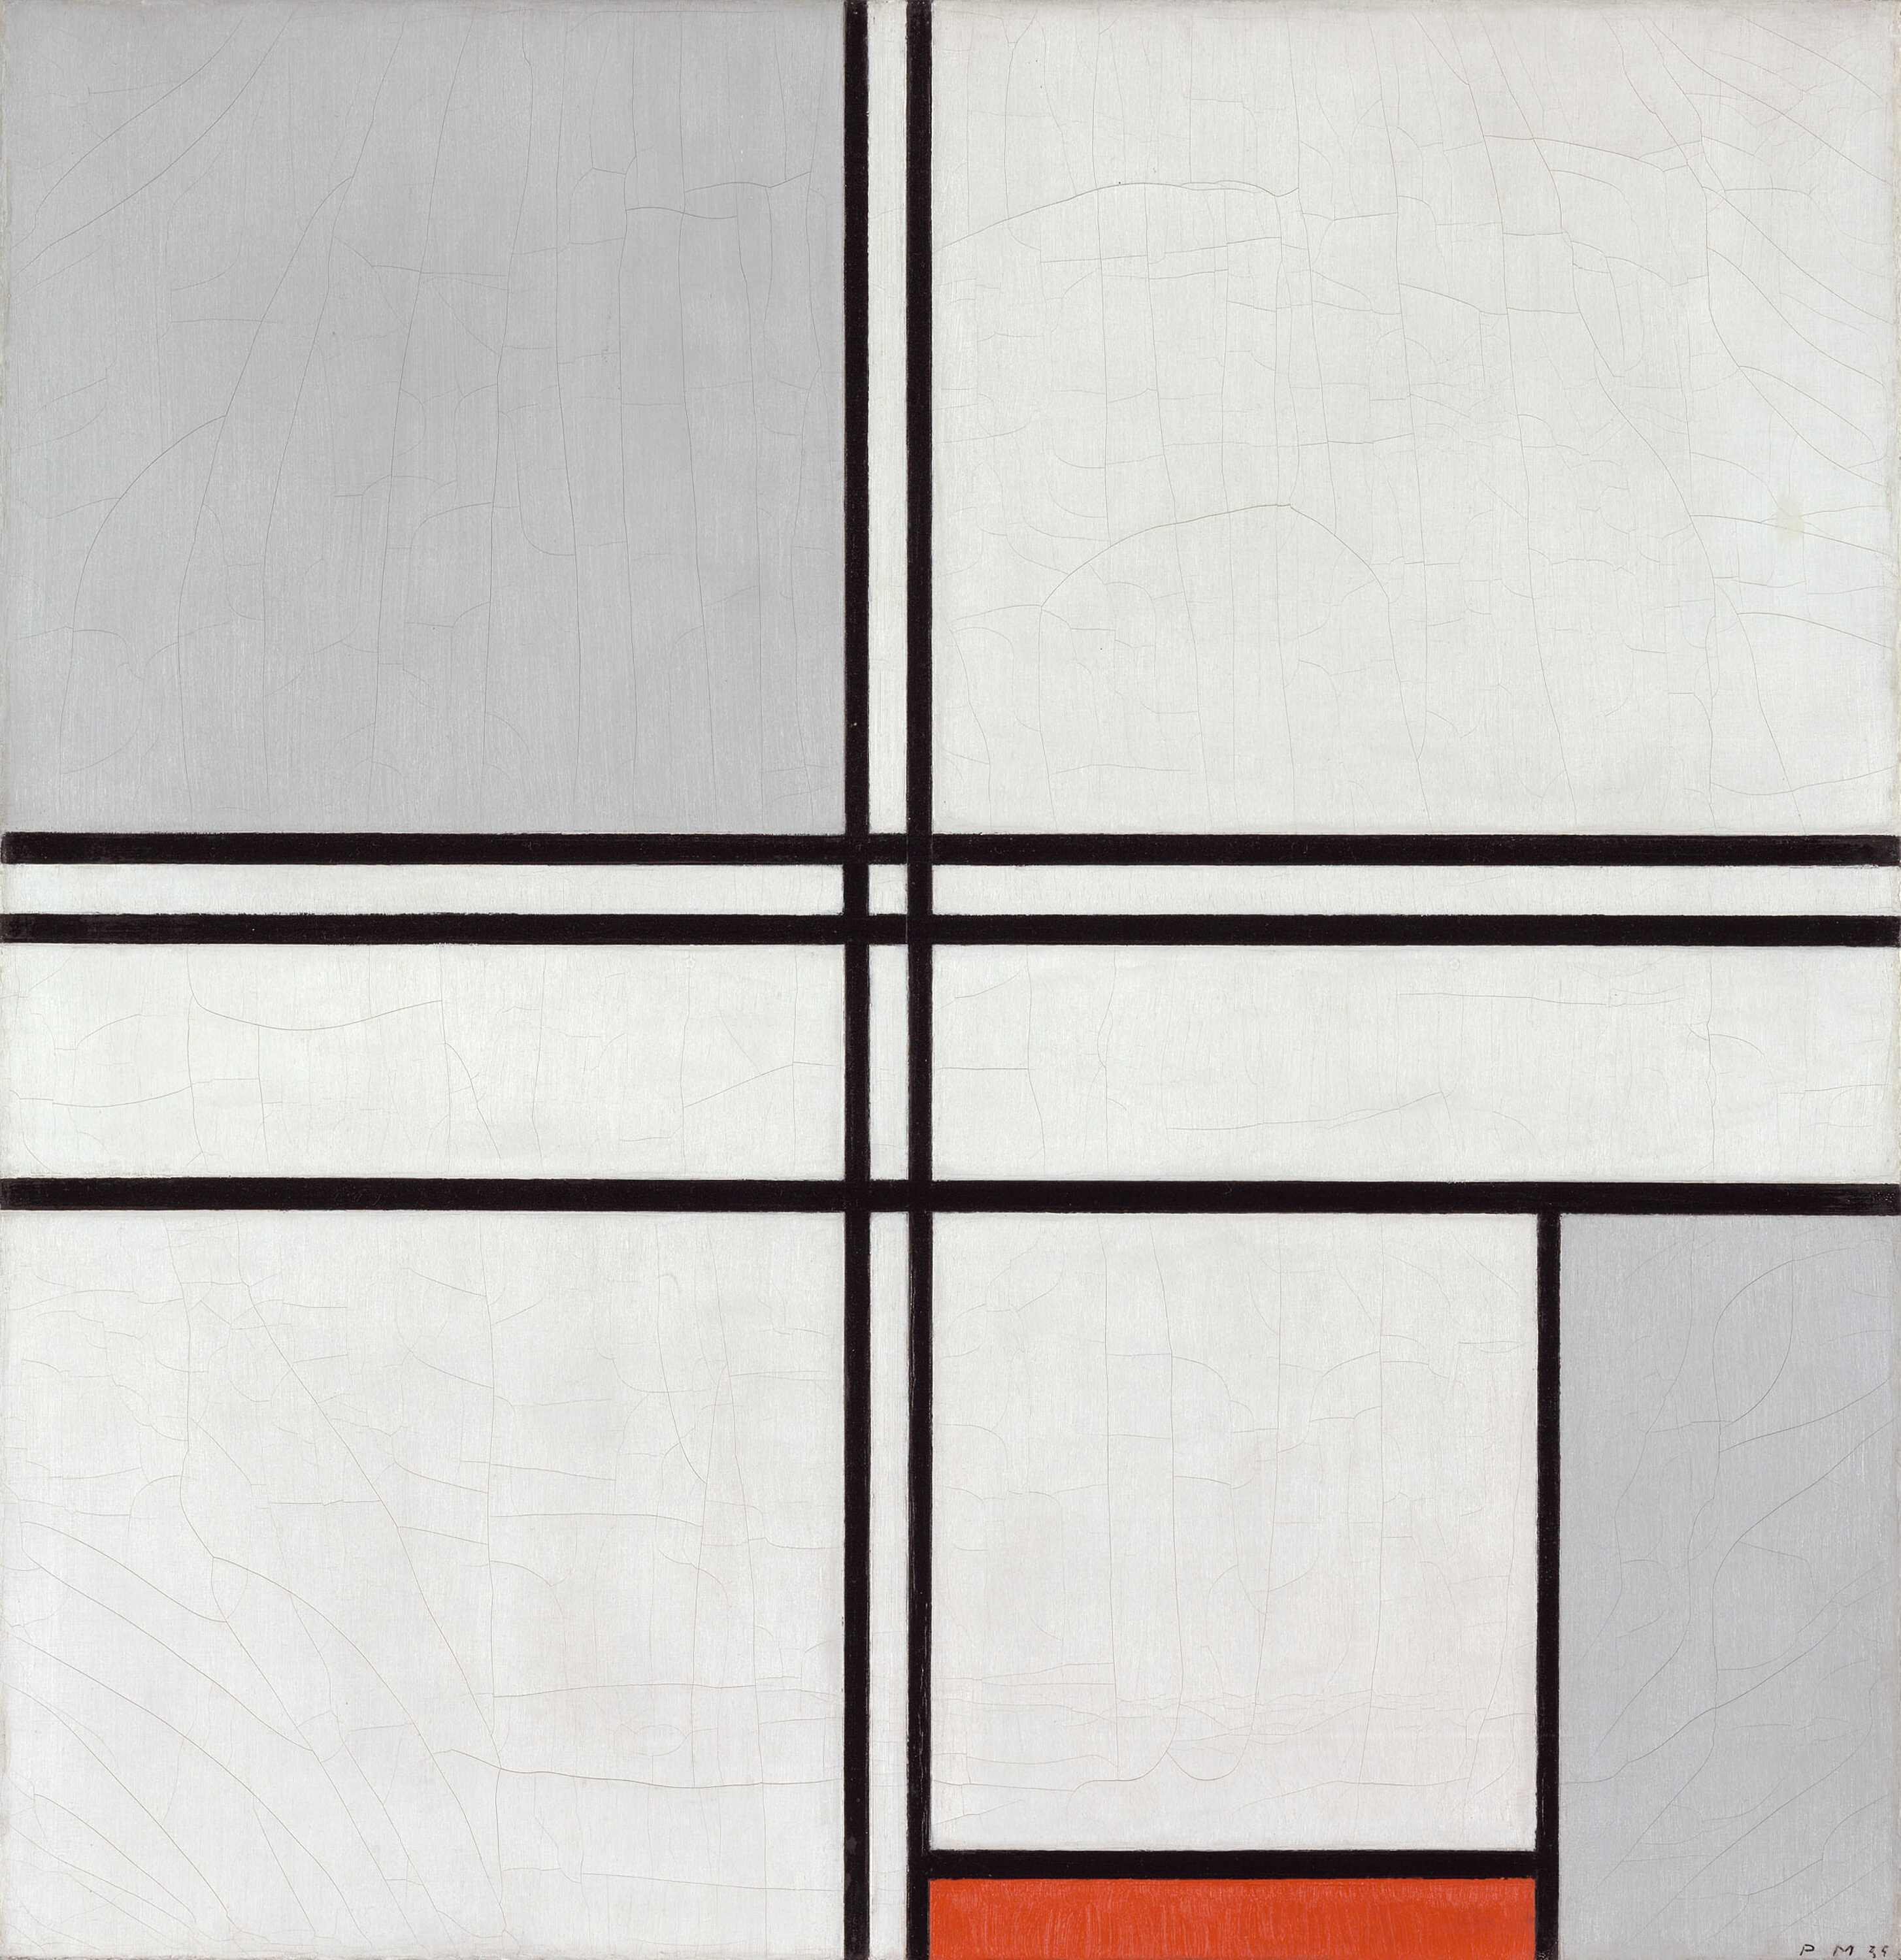
Piet Mondrian is a wonderful artist to introduce to kindergarten since he used primary colors, lines, and shapes frequently in his art. You can hit on three different elements of art in one lesson.
Piet Mondrian was a Dutch painter who is considered one of the most important artist of the 20th century. He produced many pieces in a variety of styles art, however, the pieces I used for this lesson are from his Modernism period. When displaying the artwork for your kinders, ask;
- What colors do you see?
- What else do you see in the artwork?
- What does this artwork remind you of?
These types of questions will help the students start looking at the elements of an artwork and then make connections to their own life/world. Once you have had a small discussion on Piet Mondrian and his art, you can then begin your art project.
Art Project
There are many variations to complete this lesson. I have used simple paper and markers or more complex pieces using construction paper and paint. No matter the students skill level or your budget, you can easily make exciting creations from your students, children at home looking for something fun to do, or homeschoolers.
Supplies (depending on how you will complete the project
- paper
- markers or crayons
- ruler
- primary colored construction paper (pre-cut out black strips and squares/rectangles of varying sizes)
- glue
- paint
- cardboard (cut into long strips)
- black construction paper (pre-cut out squares of varying sized/colored squares and rectangles)
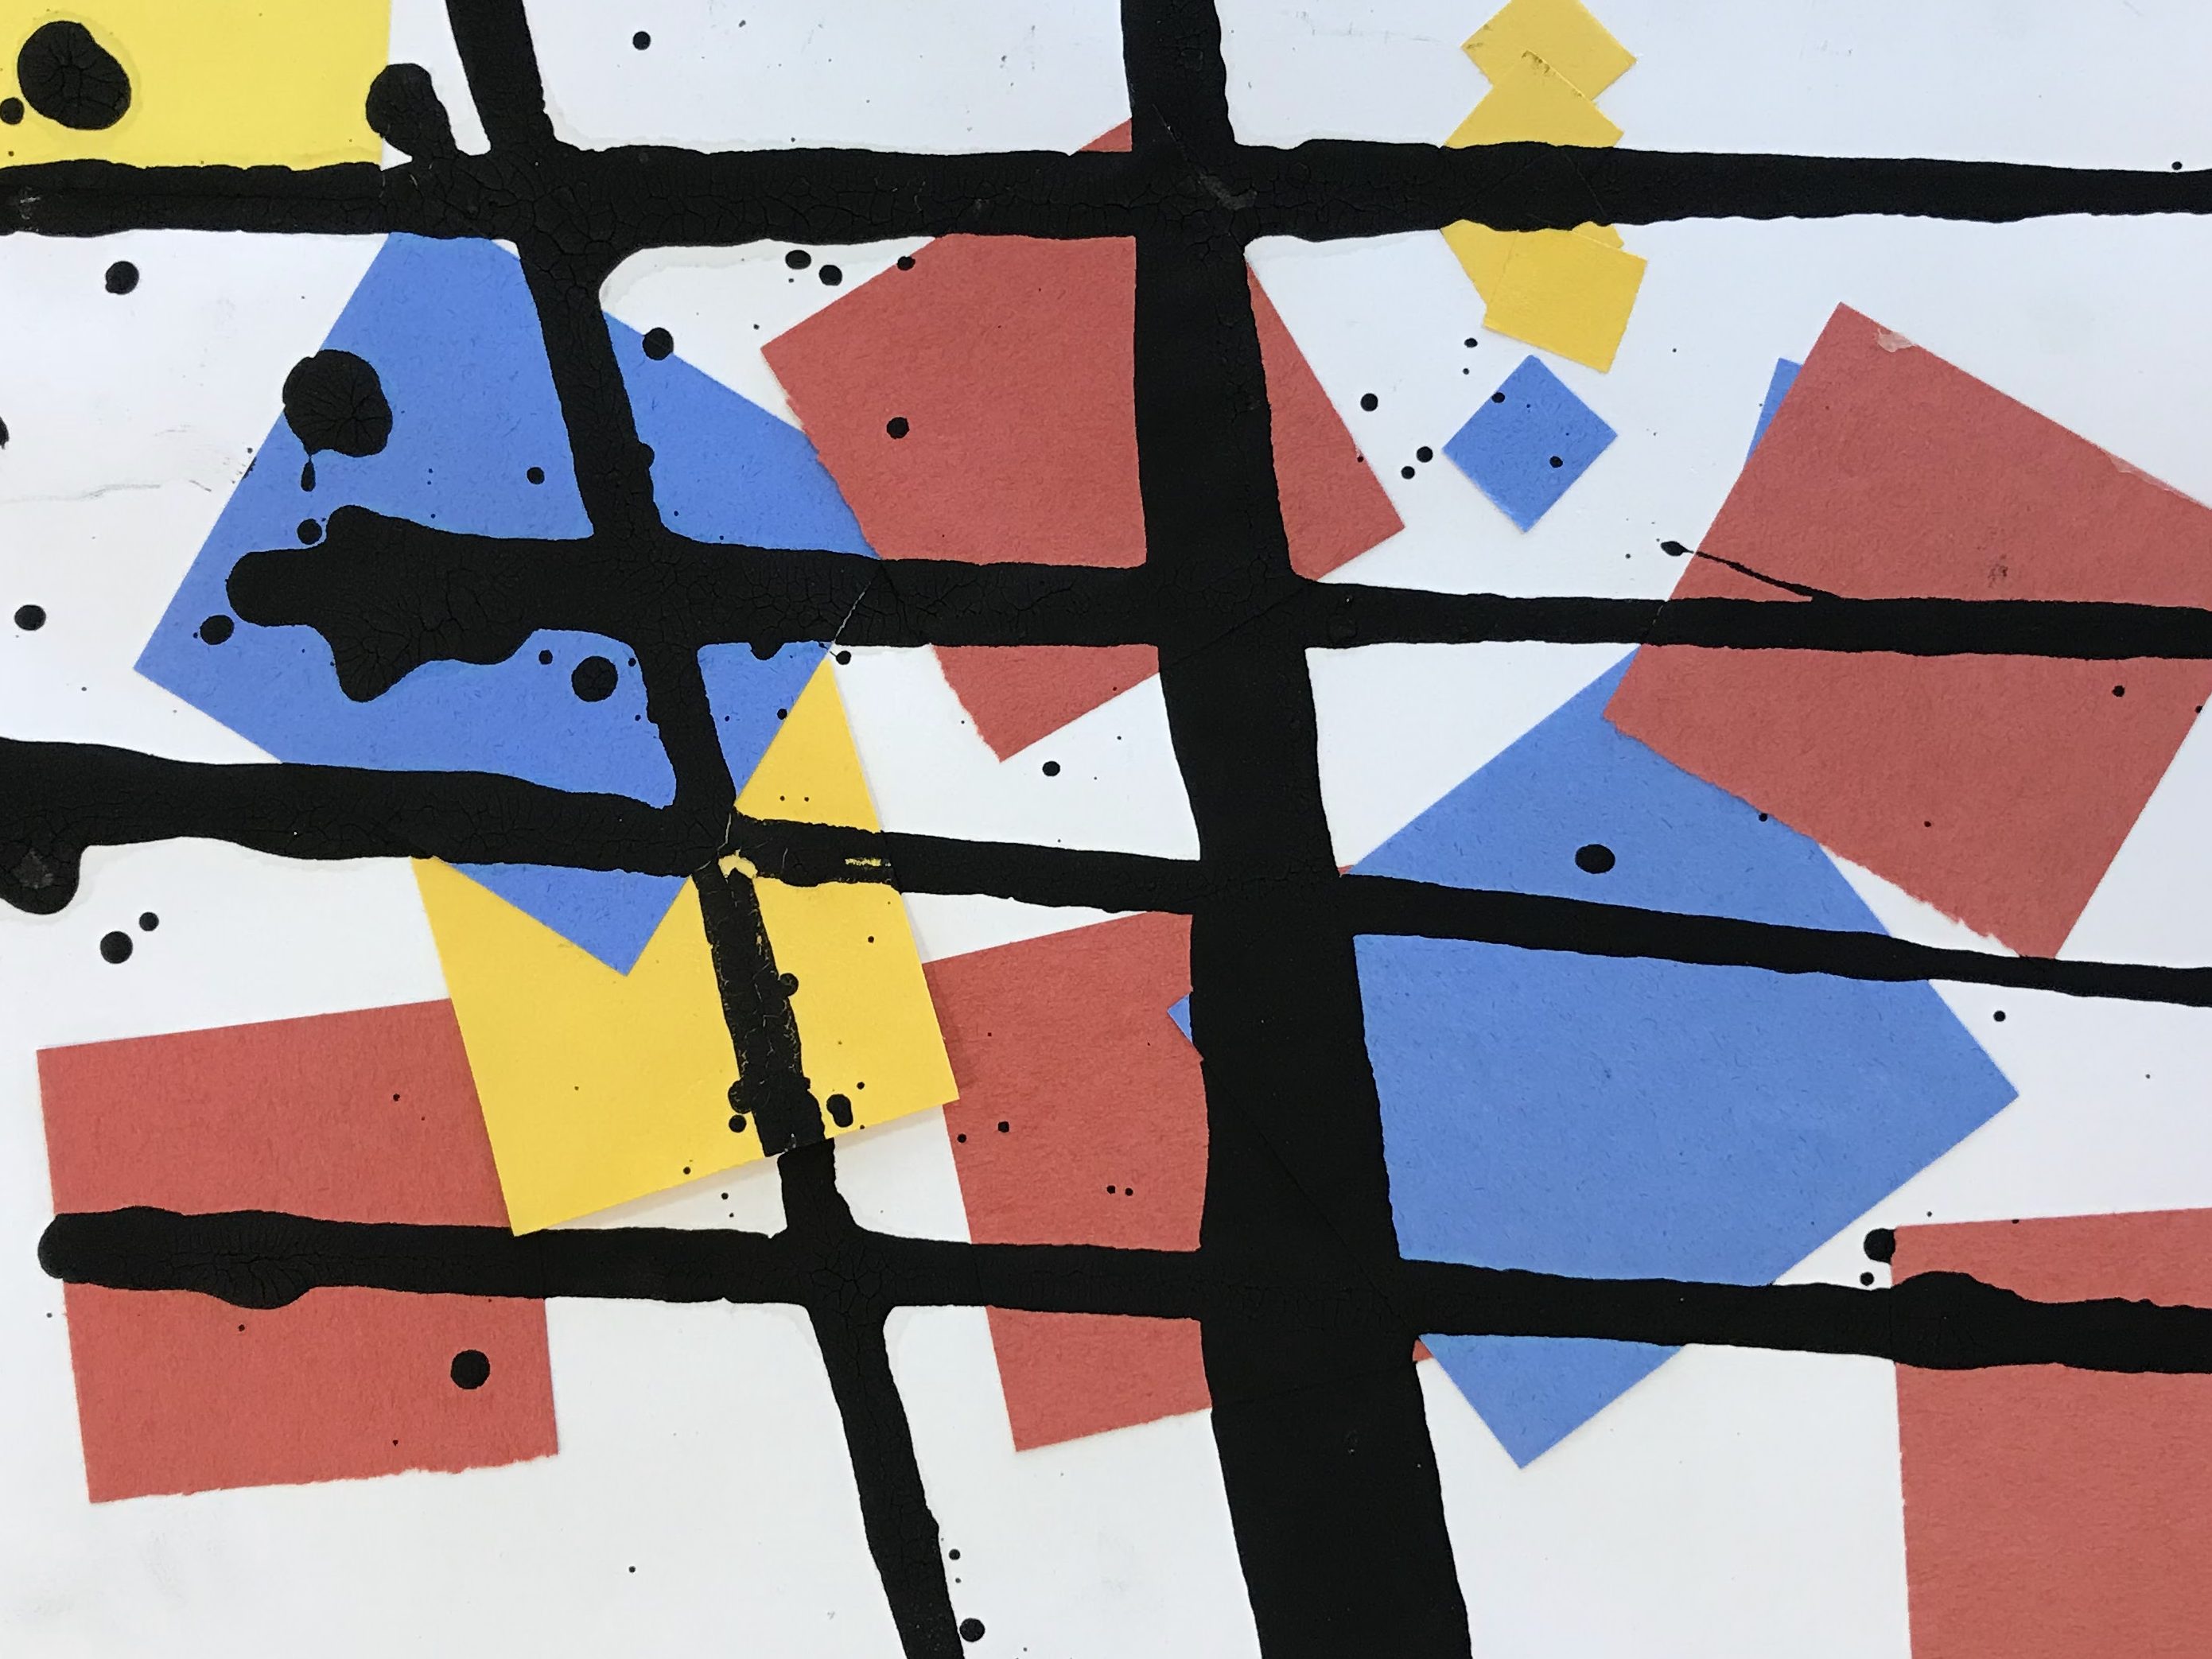
Construction paper, paint, and cardboard
For the first variation of the project, I used construction paper, glue, black paint and cardboard.
- First prep your lesson by cutting the red, yellow, and blue construction paper into squares and rectangles of different sizes as well as cutting the cardboard into long rectangular strips. This will be used to print the black lines using one edge of the cardboard.
- Place pre-cut squares and rectangles on the table along with glue sticks or white glue (depending on what you have, but prefer glue sticks)
- Allow students to be creative with the placement of their shapes. I try not to give too much direction during this portion so that there is a level of creative freedom. My only suggestions to the students is to glue the edges of the squares and the rectangles so that the pieces do not come up and eventually fall off.
- Set up a separate print table to add the black lines. When students are done, they can raise their hand to be brought to the printing table. I would have 4 printing stations depending on your class size (a printing station for every 4 students is a good rule) Each station will have a piece of cardboard and a plate with black paint. The student will dip the cardboard edge into the black paint and create lines going horizontally, vertically, and diagonally.
- Again, I do not give too much direction except help with the actual application. I try not to say where to place the lines or how many to make.

Construction Paper and Markers
Another variation is to use construction paper and markers using the primary colors.
- Prep your lesson by cutting up black construction paper into long and short strip as well as squares and rectangles of varying sizes.
- Place the precut strips and shapes on the table with glue (glue sticks or white glue depending on what you have, but prefer glue sticks)
- Have the students glue the strips and the black squares/rectangles onto the paper. I do not give too much direction during this step but suggest that they leave enough white of the paper so they can add the primary colors.
- When the students are done gluing, they can take the primary color markers and fill in their white squares/rectangles with the block colors. Some of the squares/rectangles can be left white (like in the inspirational artwork)
- Cut off any extra black construction paper that may be hanging off the paper.


Markers/Crayons
One thing that is important when teaching art is to be able to be resourceful. During the pandemic, I began using a catch phrase “We do what we can with what we have”. Sometimes student’s didn’t have all the supplies at home and had to make do. This goes for an art teacher as well. Budgets vary and some more expensive materials might be saved for a different project. This project can easily be done with paper, a ruler (a must), and a coloring material.
- Give a white sheet of paper, a ruler, and a black crayon/marker
- Have the students start with adding black lines vertically, horizontally, or diagonally. Try not to give too much direction here creatively, but do suggest that the lines reach from one side of the paper to the other. Students should use a ruler to help with neatness.
- Give red, yellow, and blue crayons/markers in addition to the black crayon/marker they already have. Fill in the squares and rectangles the students made with their lines. Again, not too much direction at this point. If they only want to color in 3 boxes, so be it.
