

I’ve been teaching art for over 15 years and have taught every grade, K-12. In those years I have made resources and handouts helpful for the art room, contained classrooms, or homeschool parents. Check out my Etsy shop above.
First Steps
When I started teaching art, I had never curated an art show and the school I worked at didn’t really have a set plan for what they normally did. This led me to go out and learn different ways to show the students’ work in an interesting way that encourages visitors to stay and not just look for their own child’s or family member’s work.
Problems I faced
- where to have it since I taught classes in my room and our multipurpose room was reserved for the music performance that teamed up with the art show
- how to hang the work to make it more of a gallery setting
- how to organize it
Where to have it
Since we were a small school and there were not many shared spaces to use, I decided to have the show in my room. This did cause a problem logistically with classes, but I can ask if I can cancel some classes for the week. This is not a choice, especially in a public school setting. As I continued through the years I worked there, I began to better adapt to students in the work space, knowing what sections to do first and what to do last. I would also do a lot of “field trip classes” where I would take the students outside with clipboards and we would do some figure drawings, nature observations, landscapes, etc. My first year I used my room and the room across the hall, but that ended up being too difficult because I couldn’t put up anything in that room until the day of and it looked more sparse than my own room.

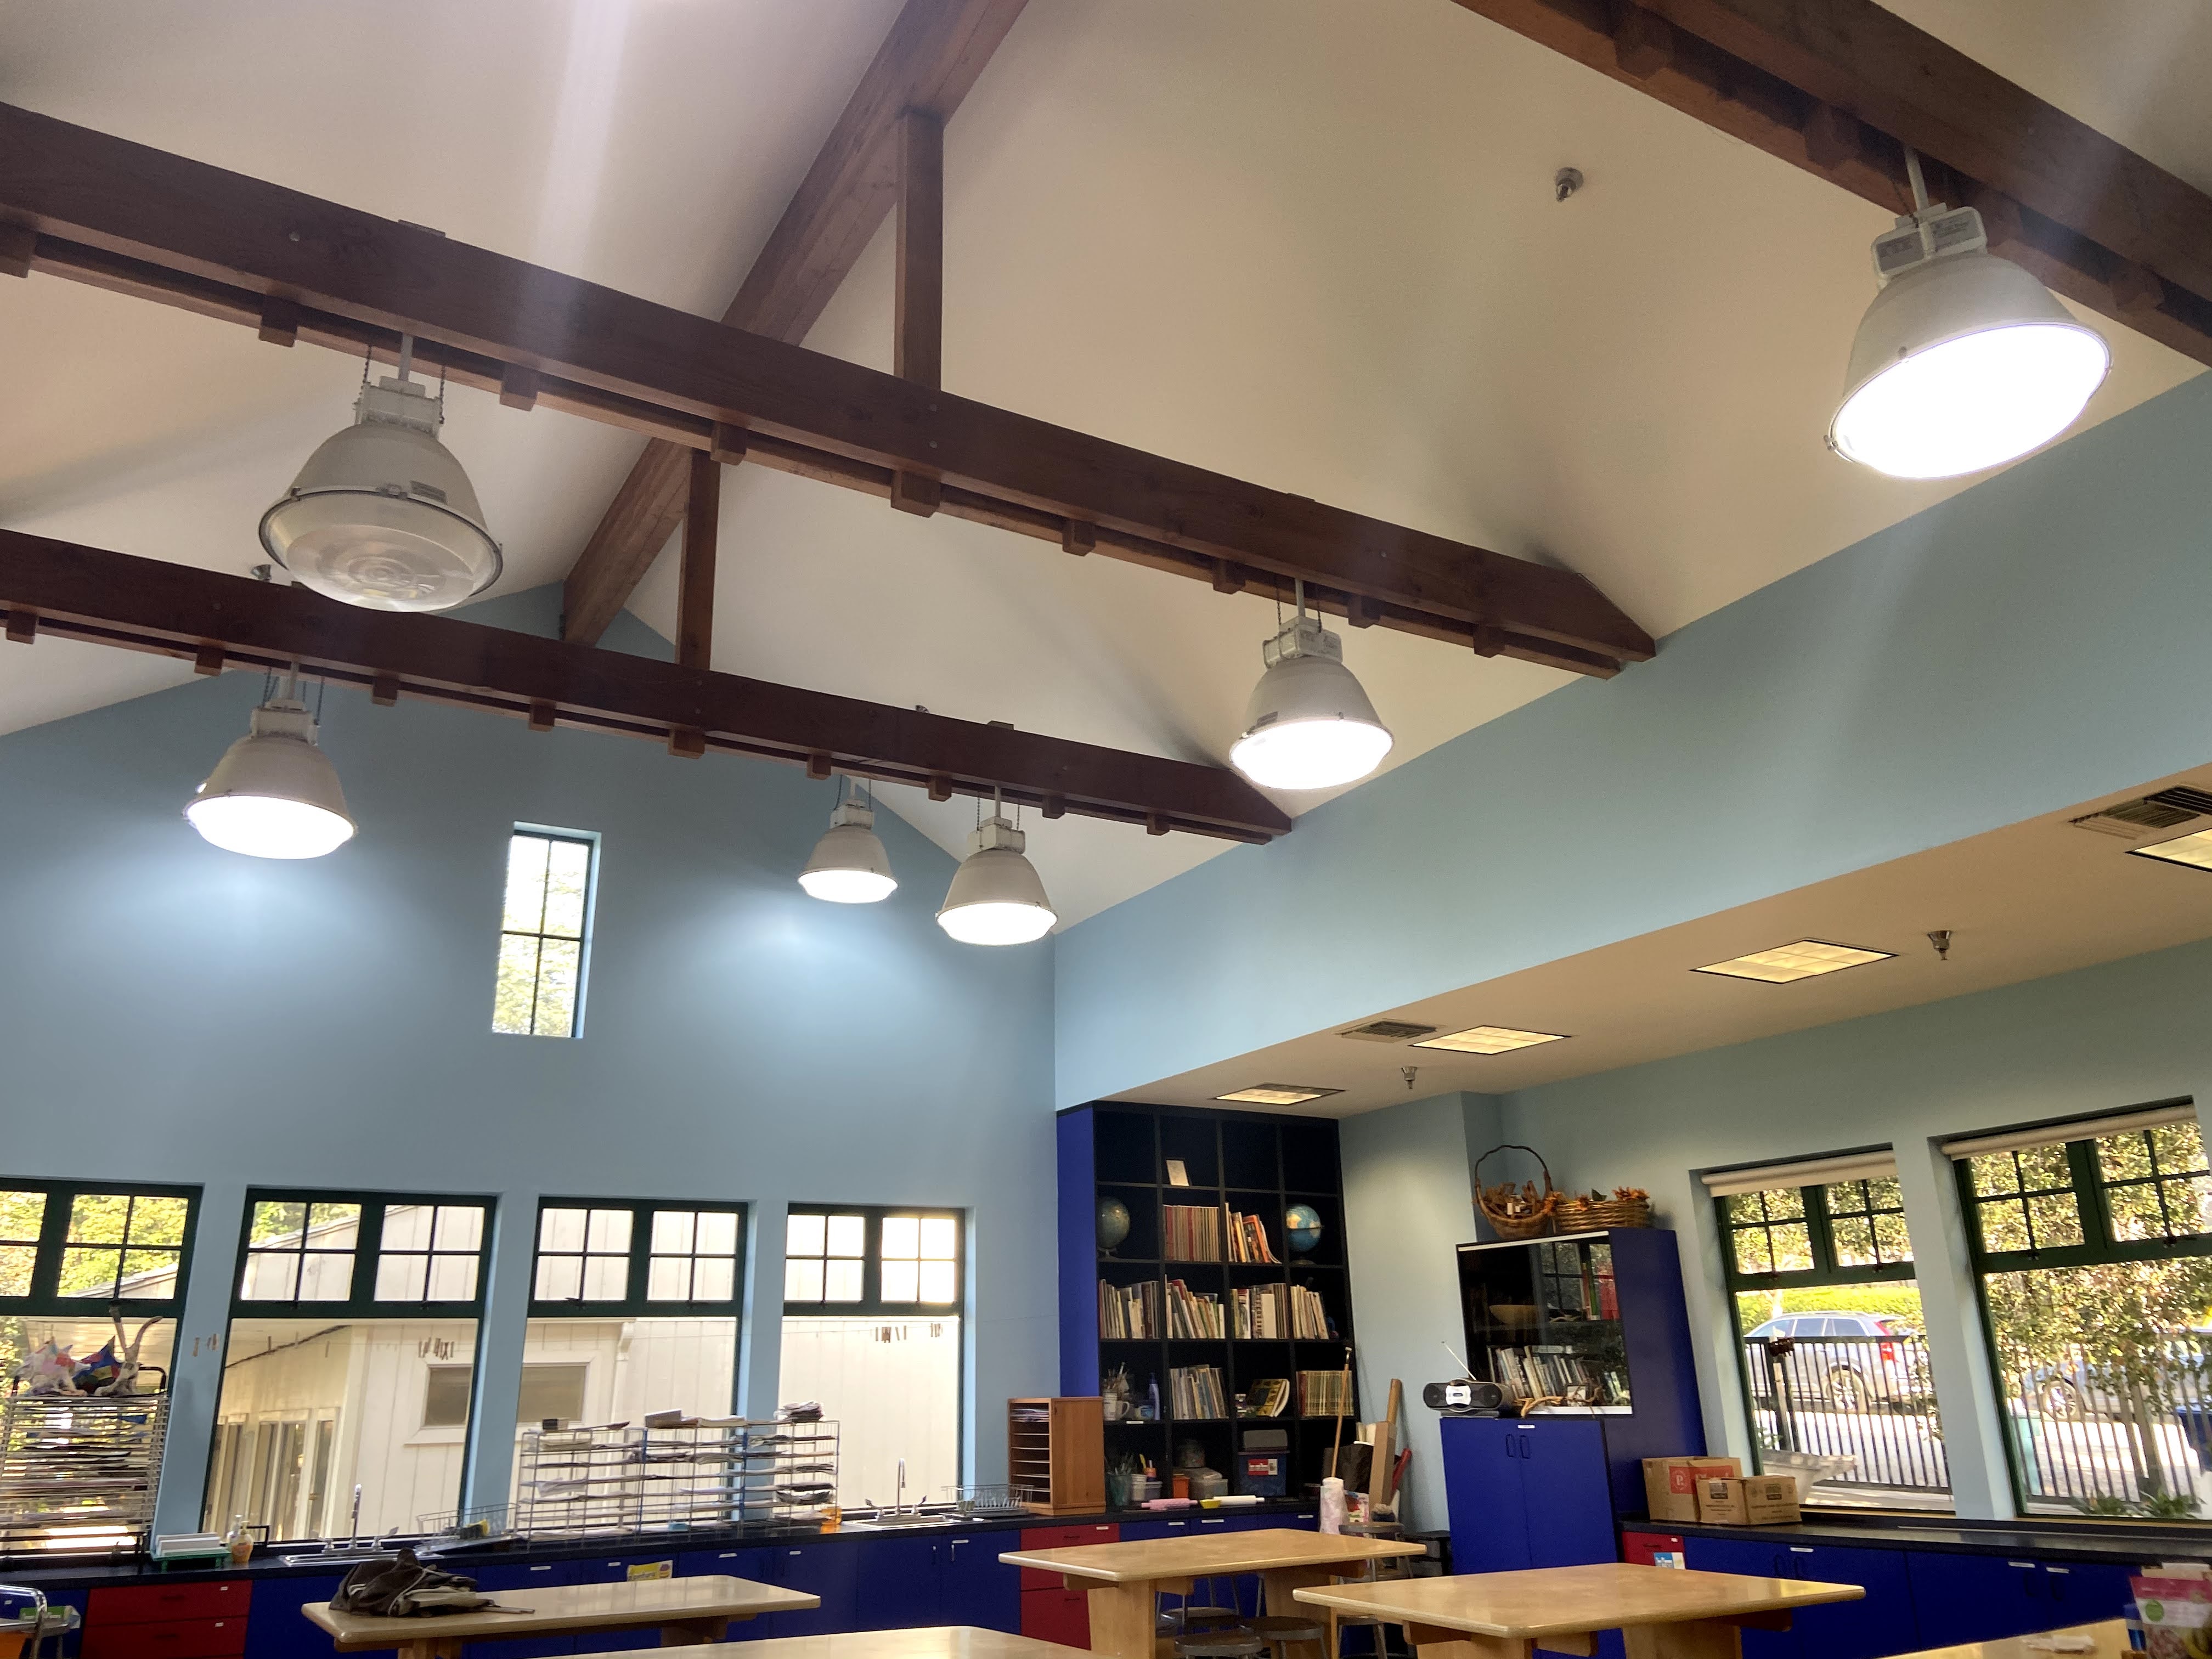
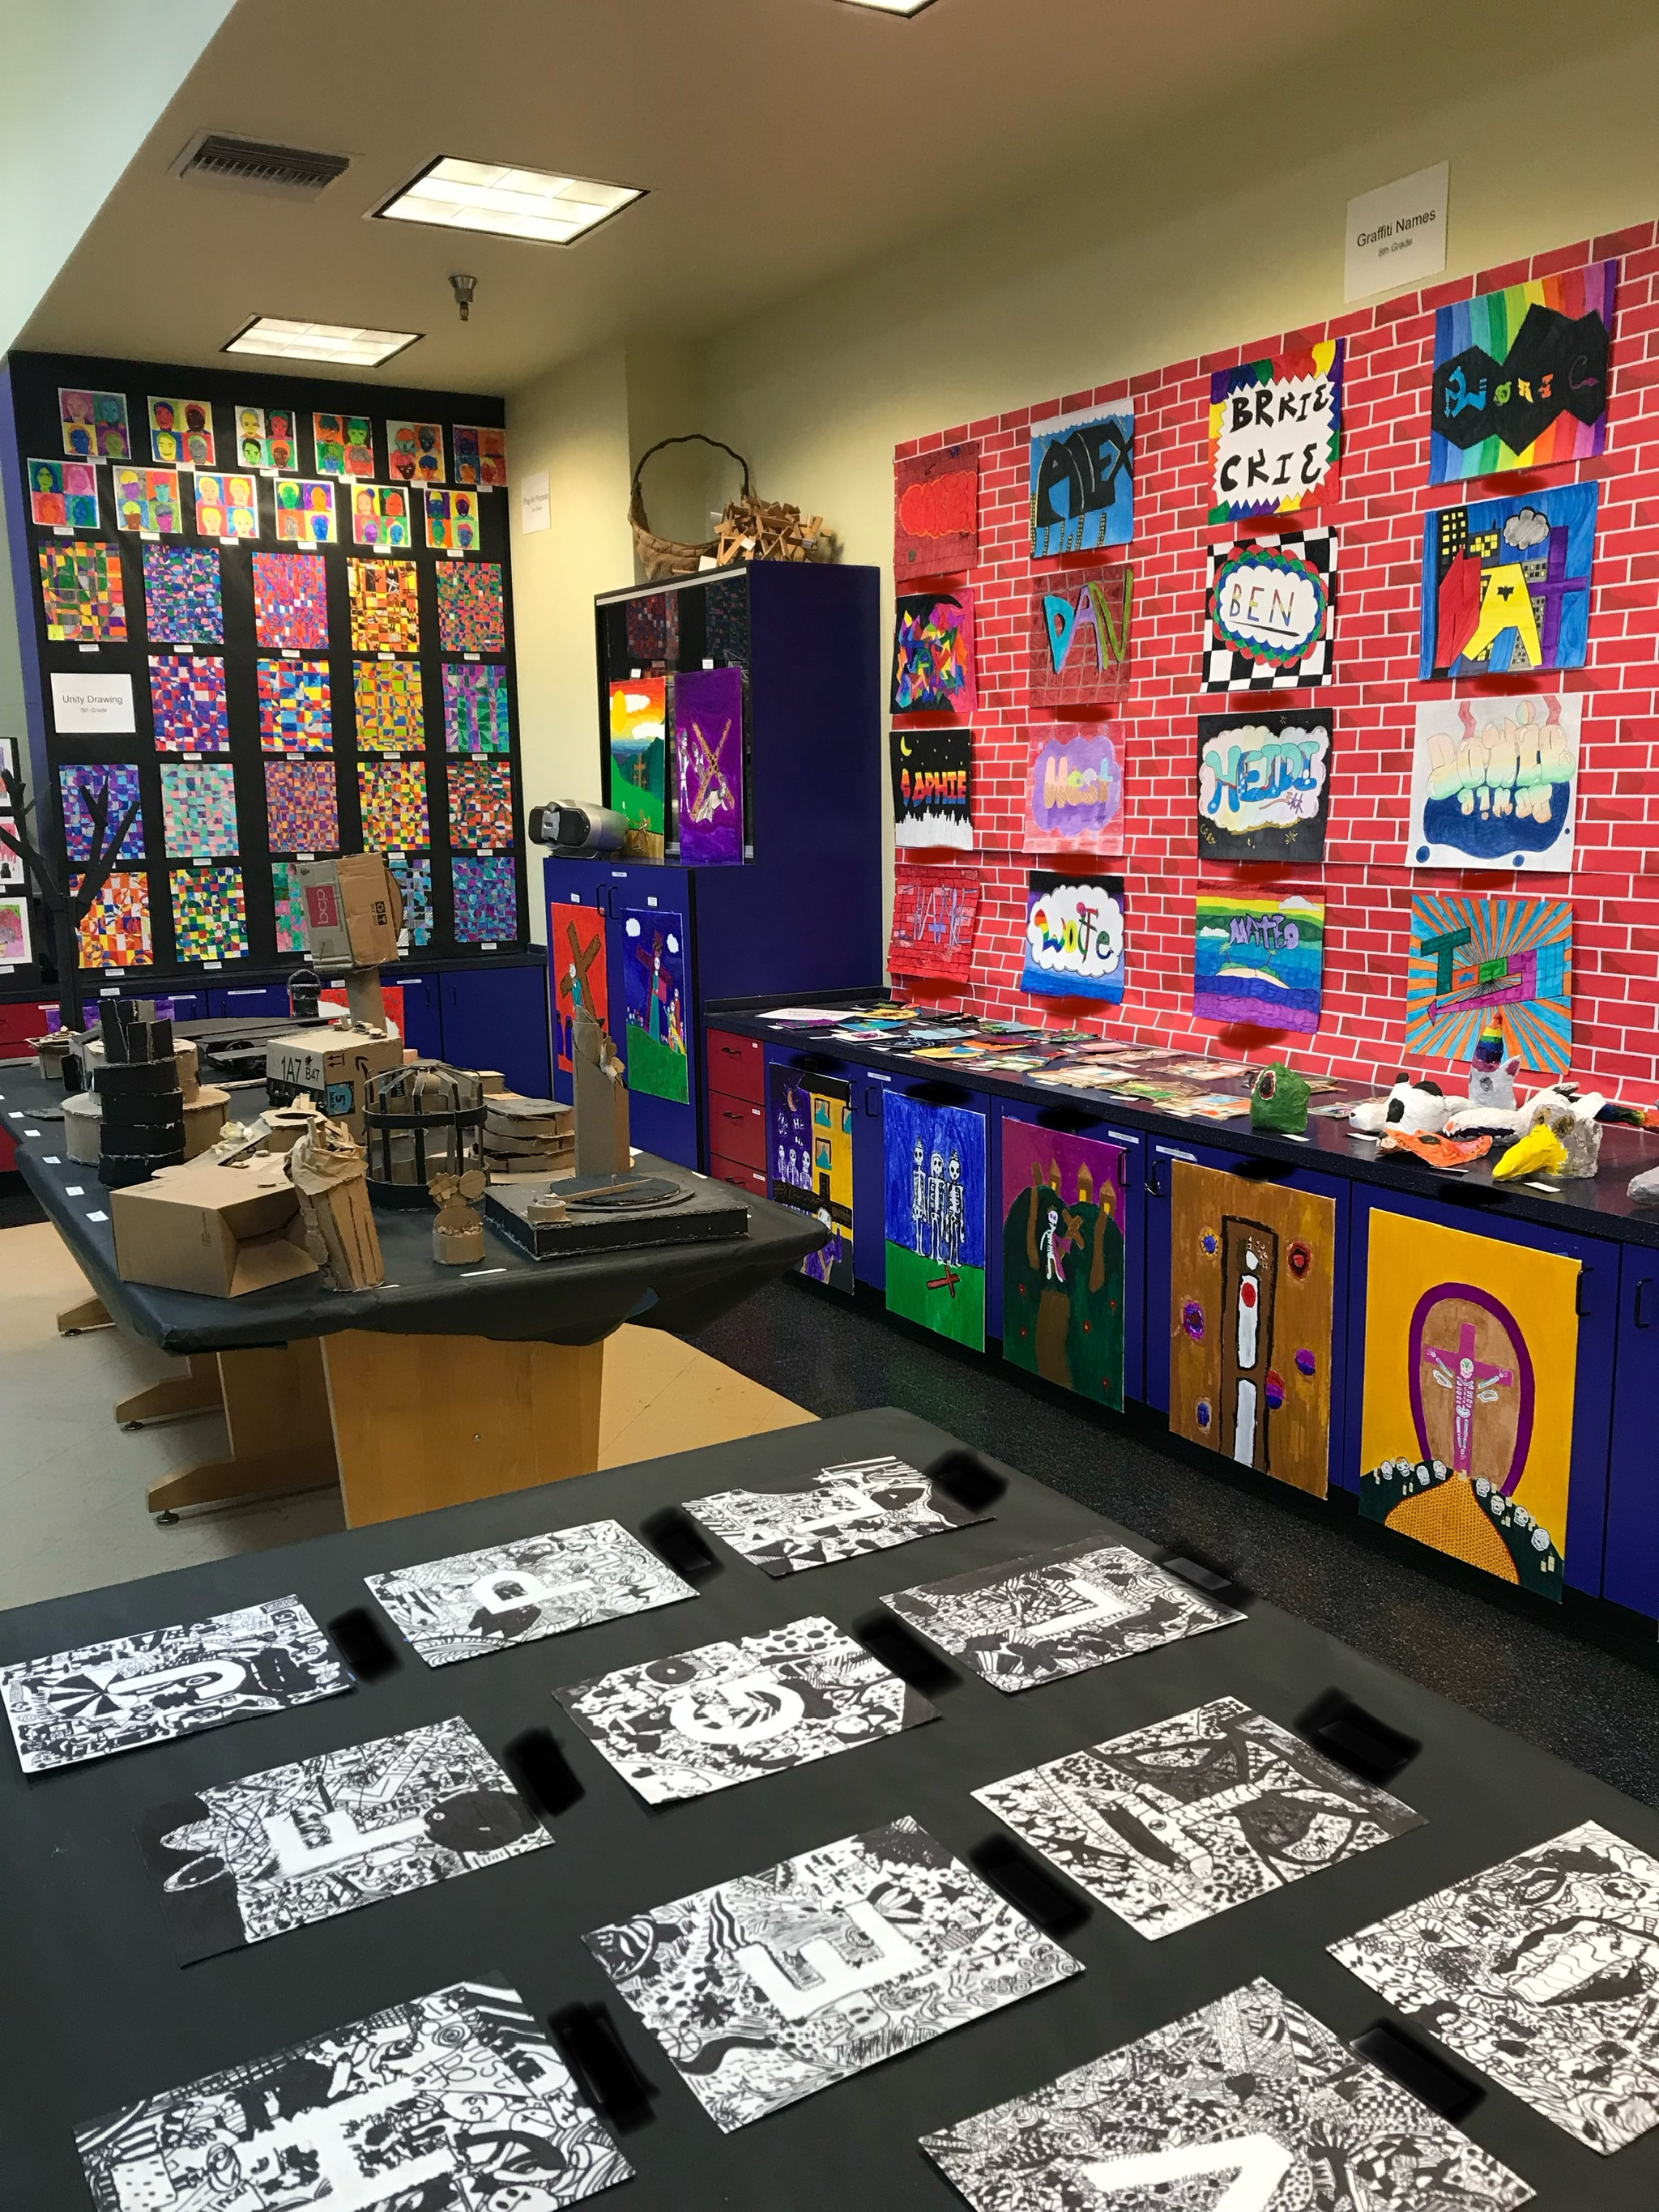
How to hang the art
I had to get very creative in creating enough wall space to hang art for 9 grades including multiple projects per grade. I would end up with every project for 6-8 and then 2-3 projects for kindergarten through 5th grade. This would usually give me about 30 plus projects to show in my room. My room was large so I had that going for me, but I still needed to brainstorm ways to create more room.
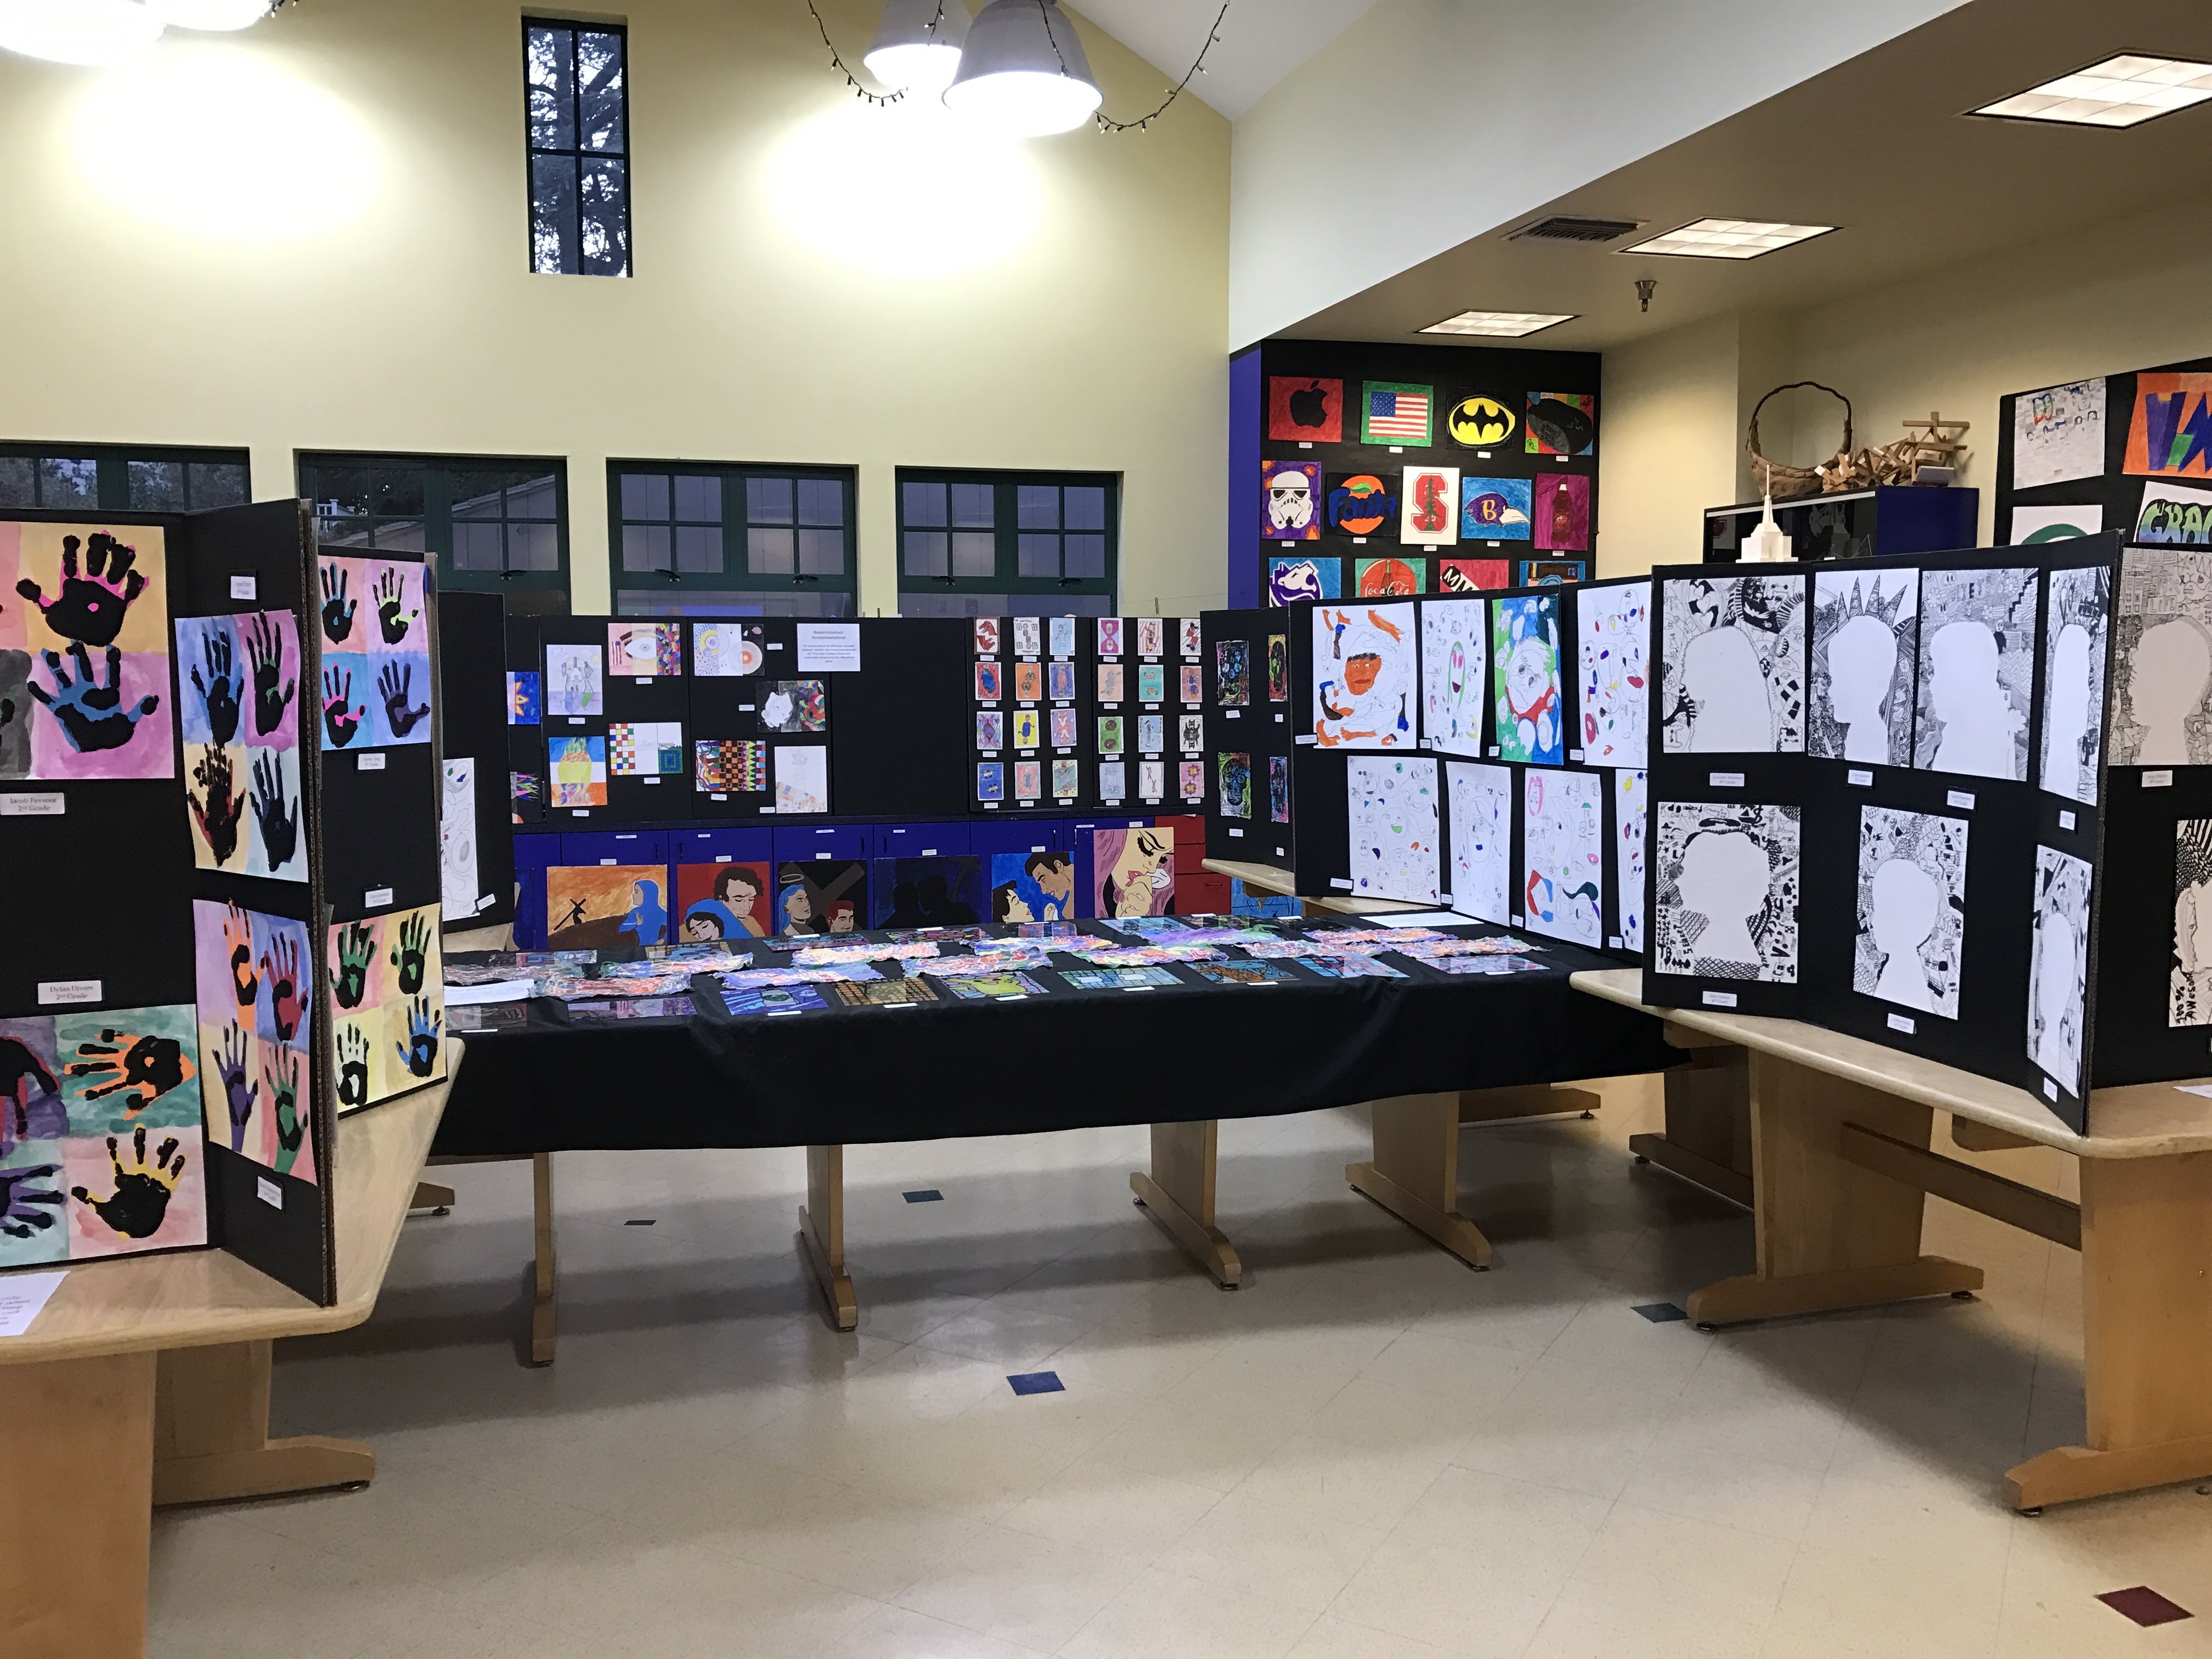
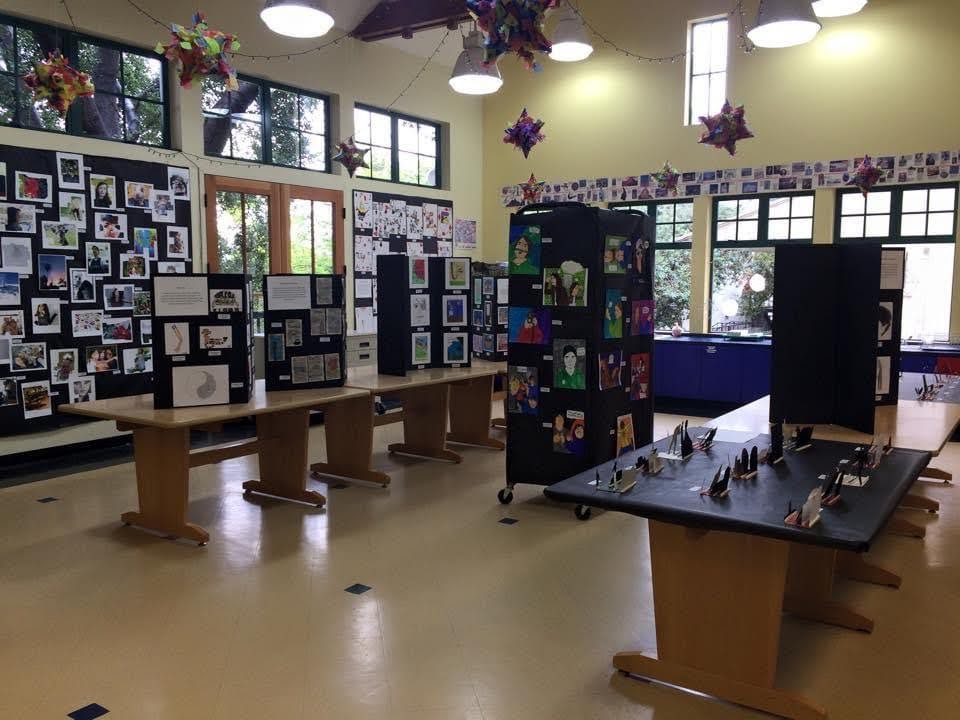
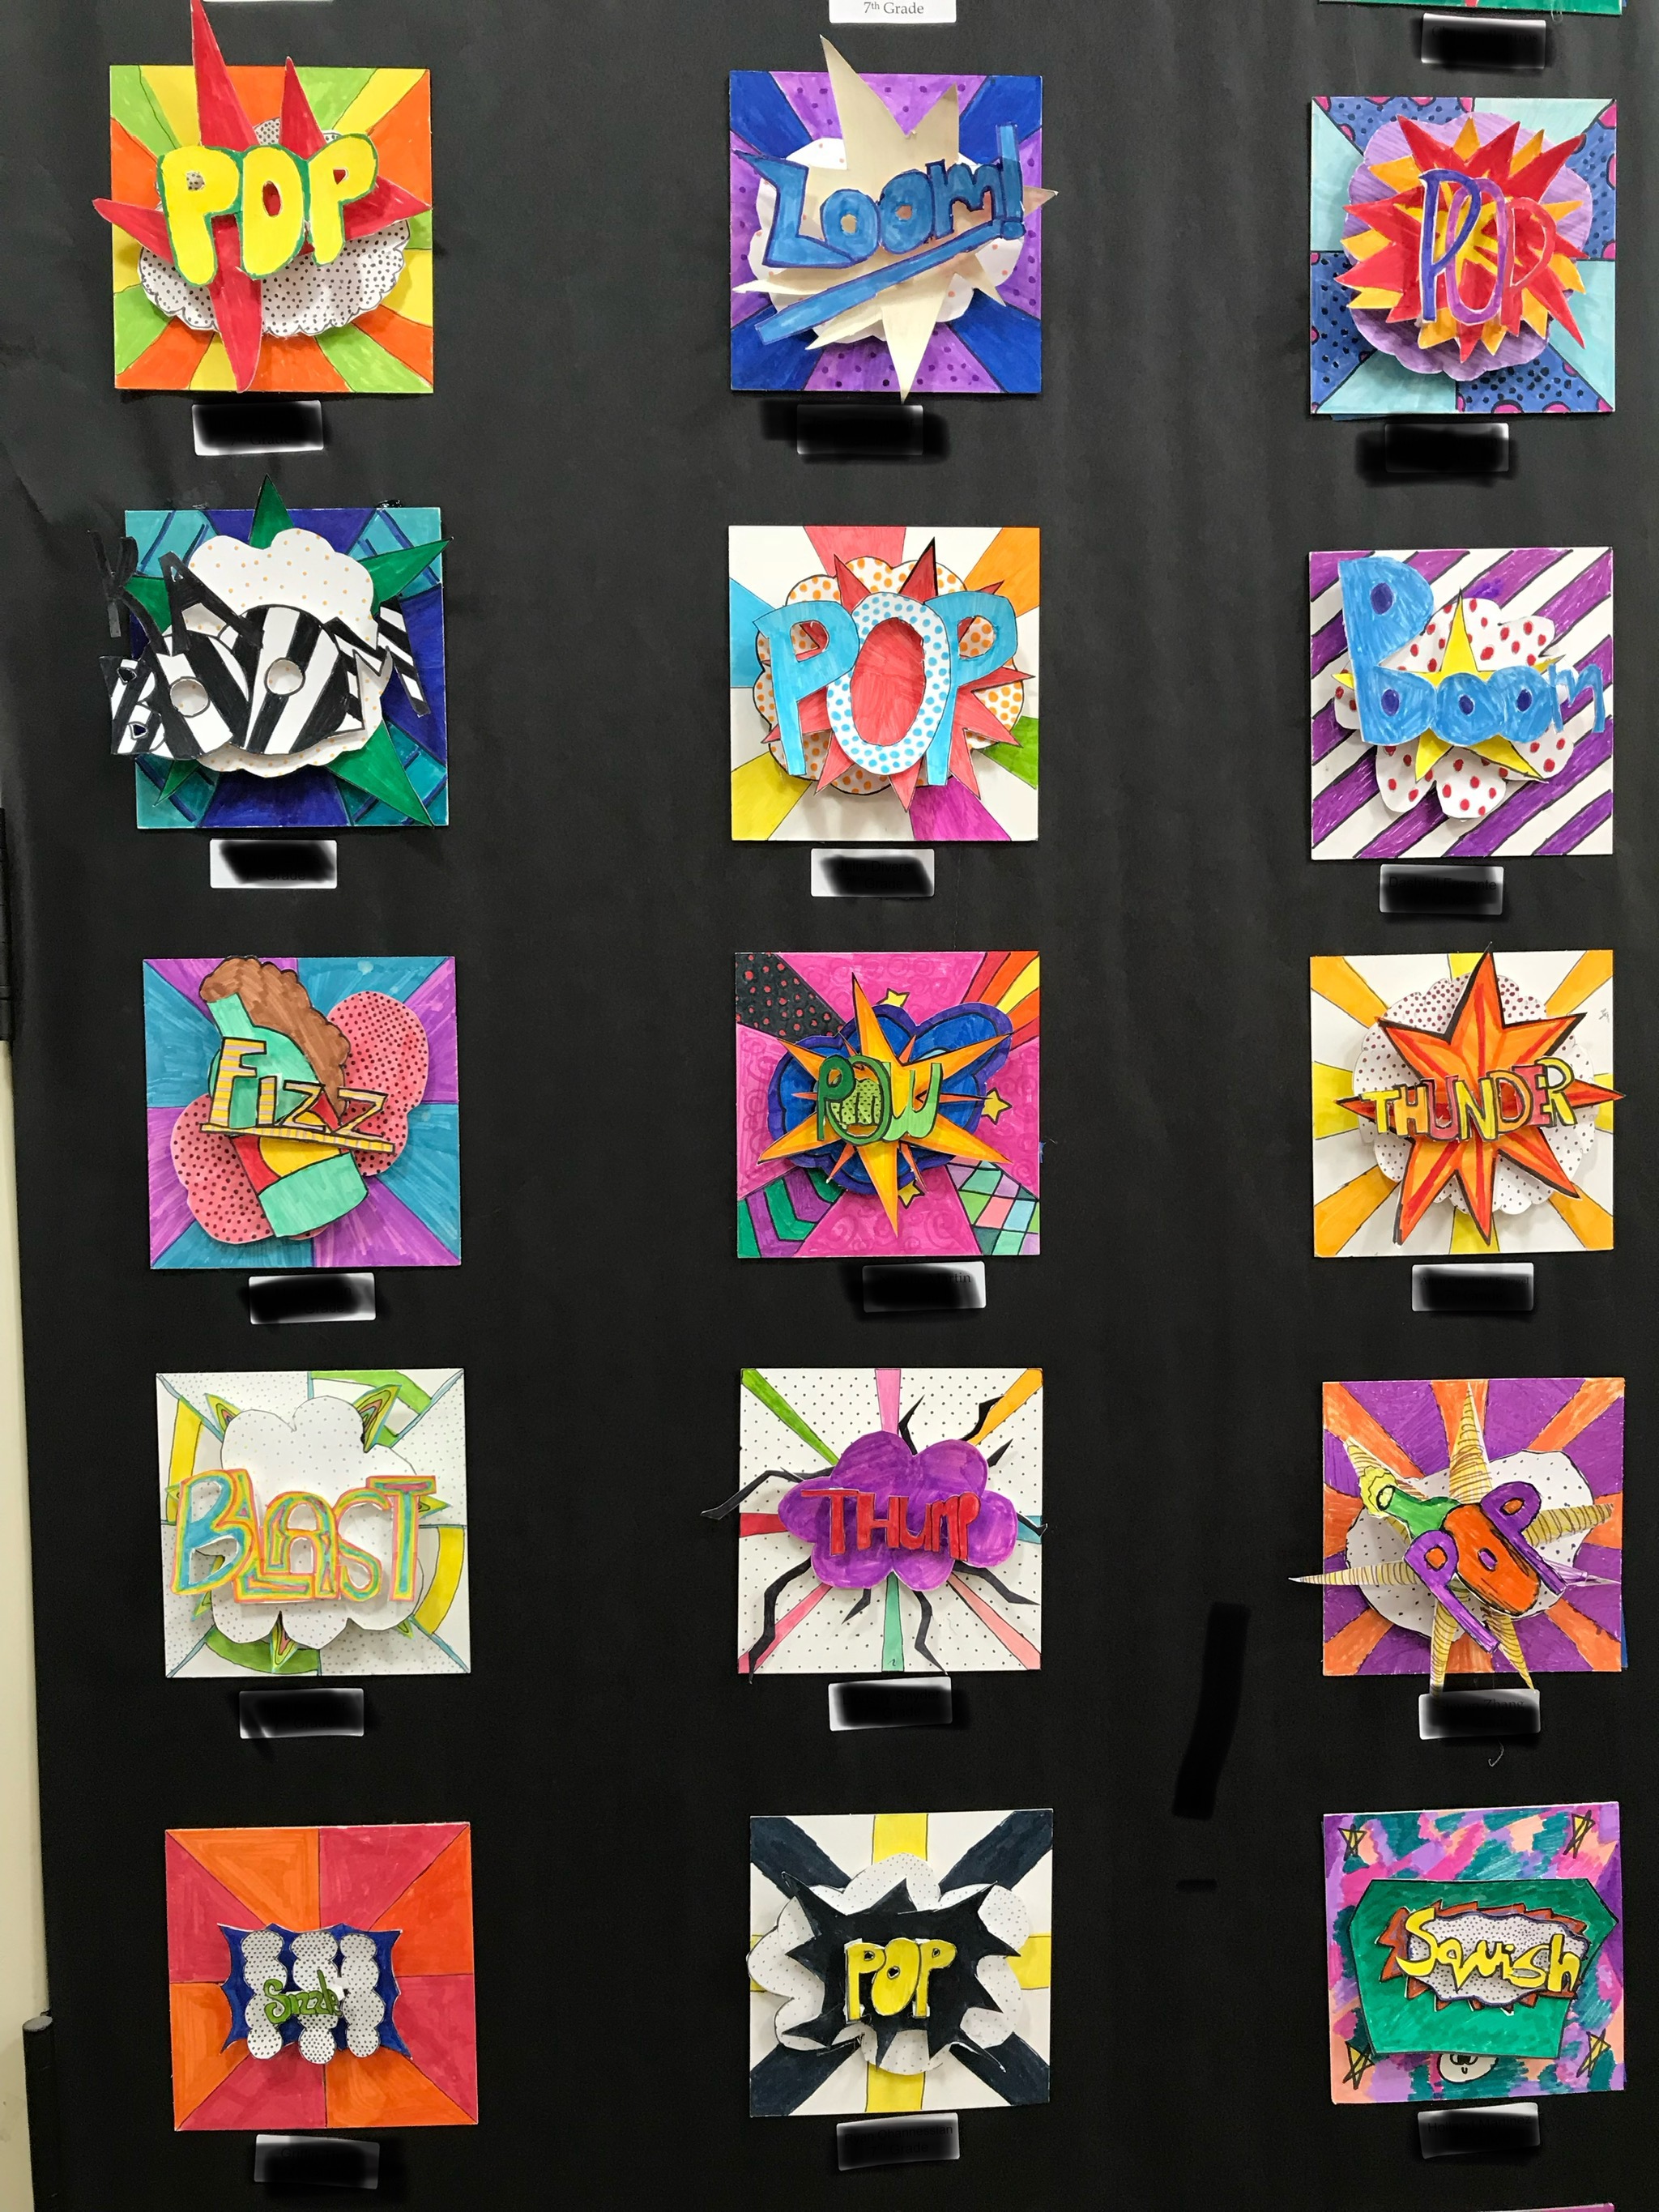
Luckily I had all these black display boards from the earlier teacher in my room. I taped these boards together to make mini-walls that were set on top of tables. I organized them in a way that moved visitors around the space so they were viewing artwork from all sides, which also gave me a lot of space to show smaller art pieces. Amazon has a ten pack for a reasonable price.
- Columns
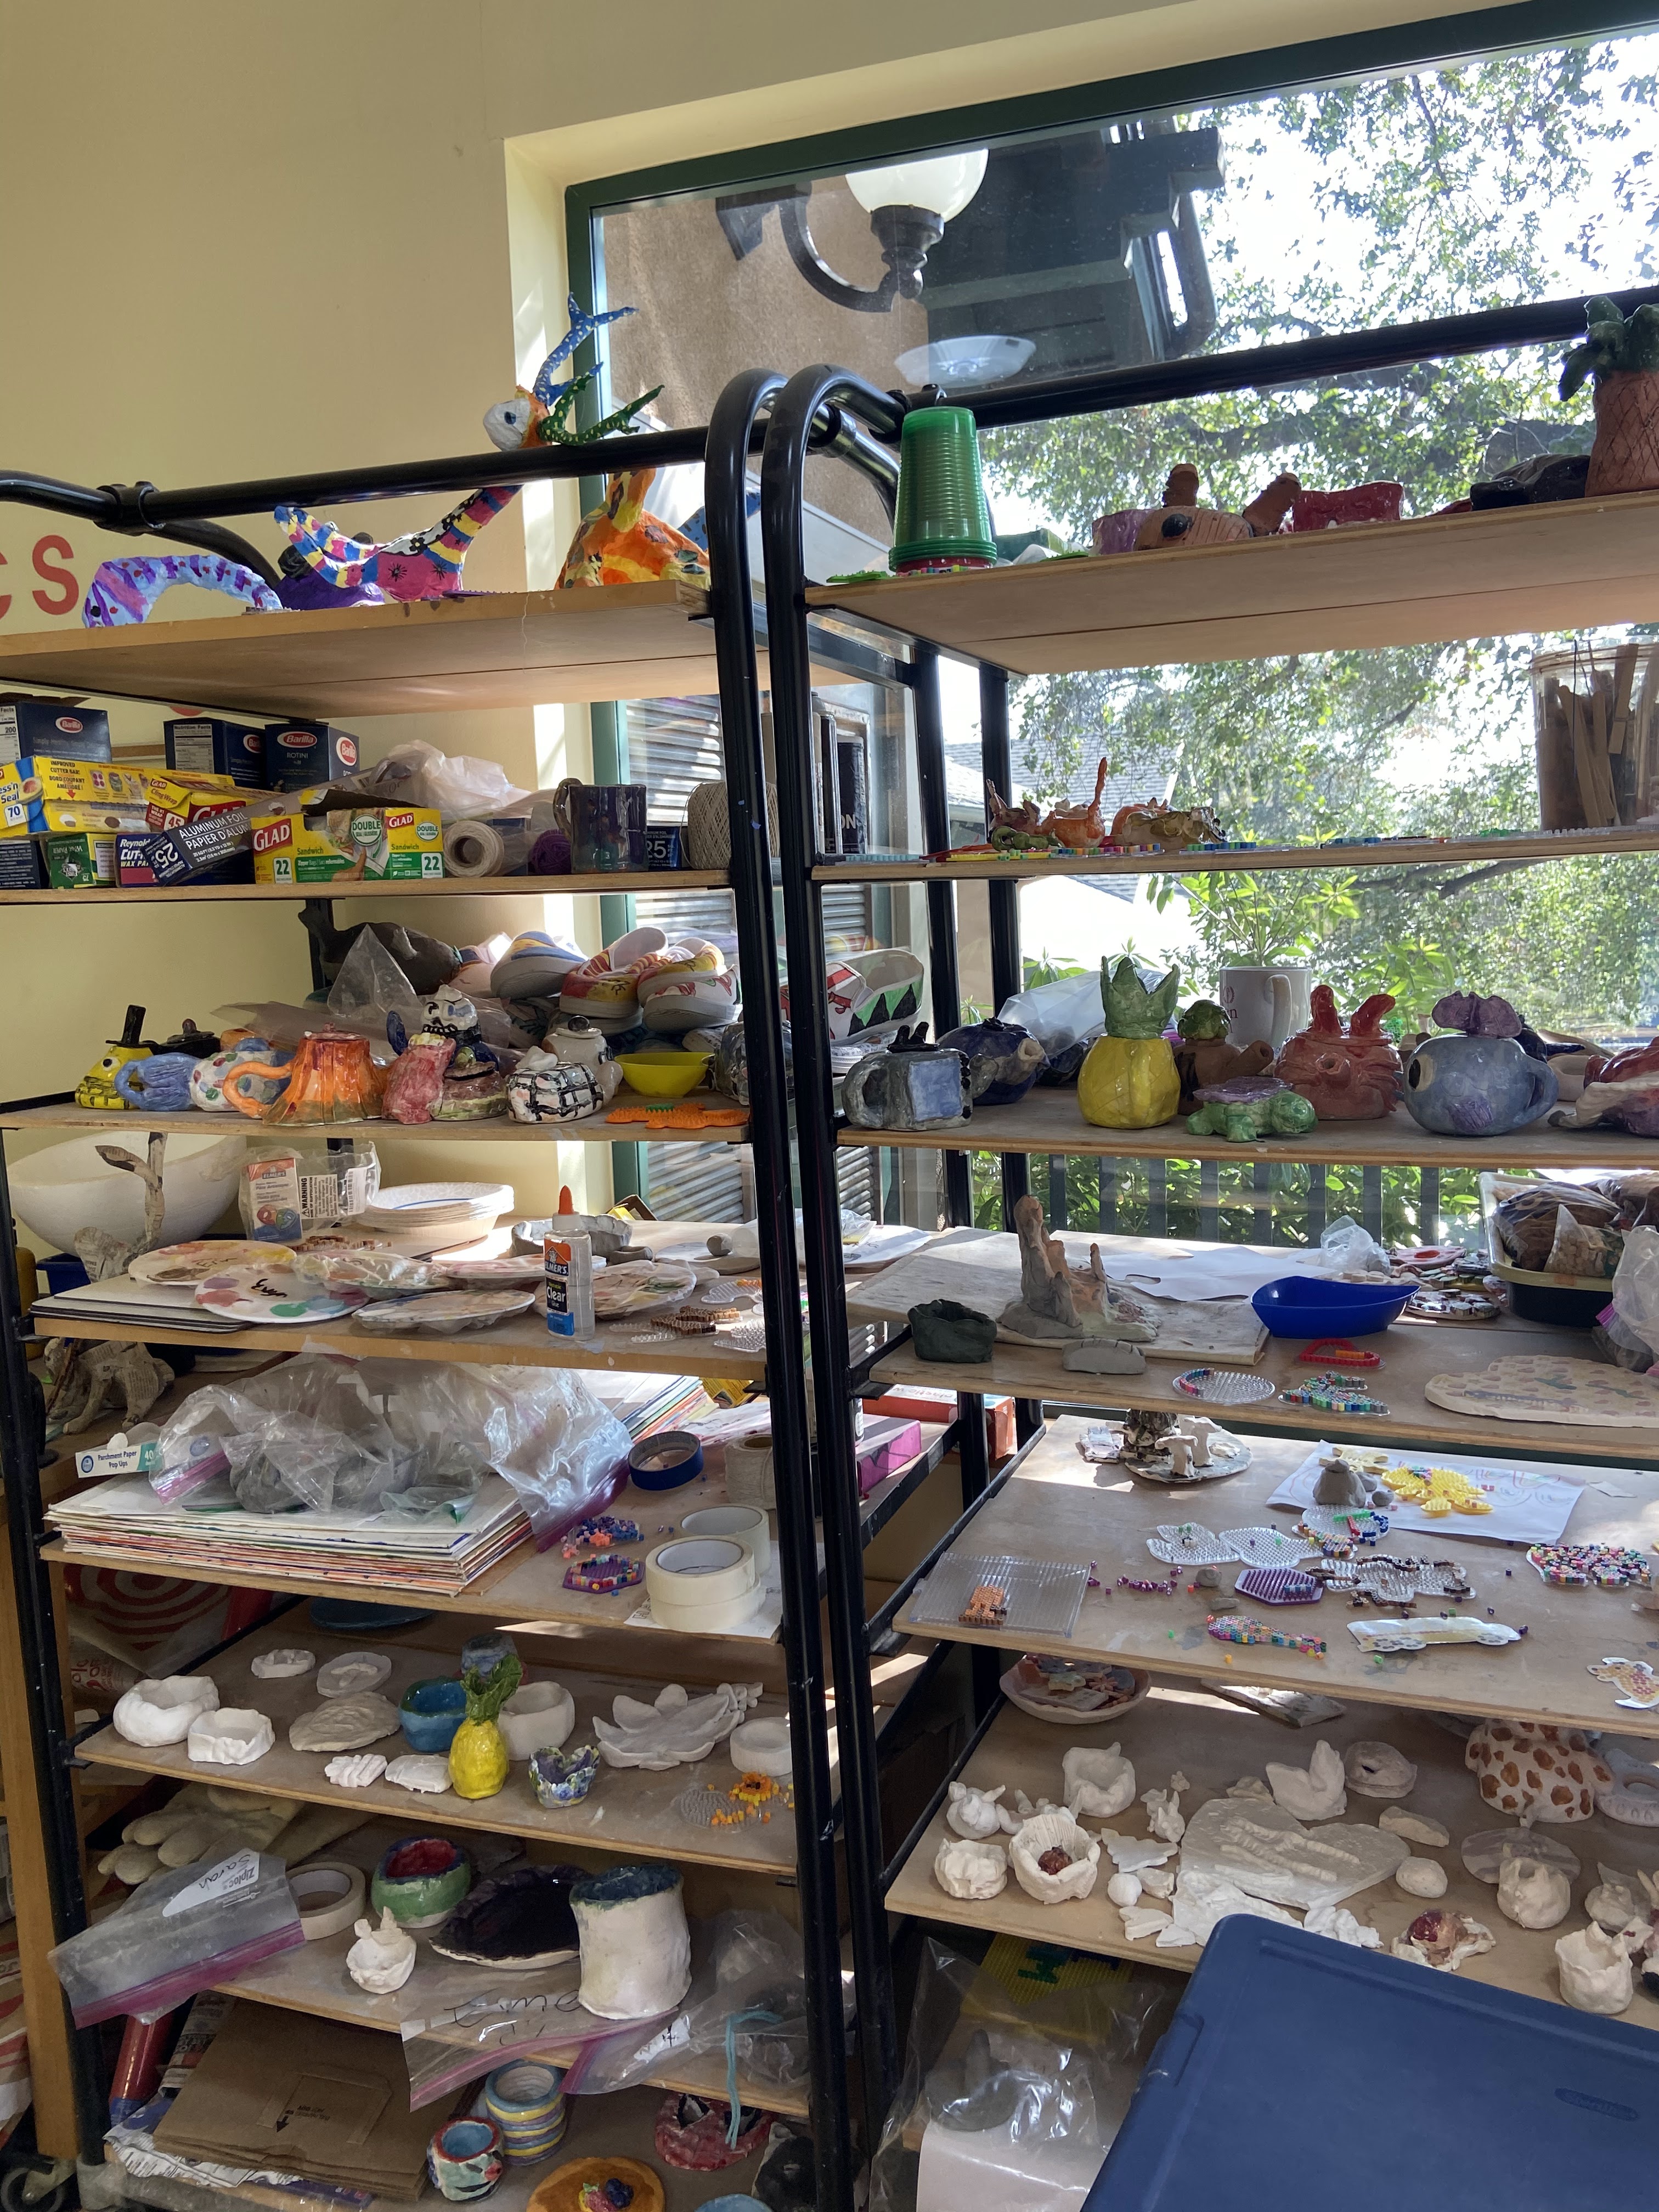
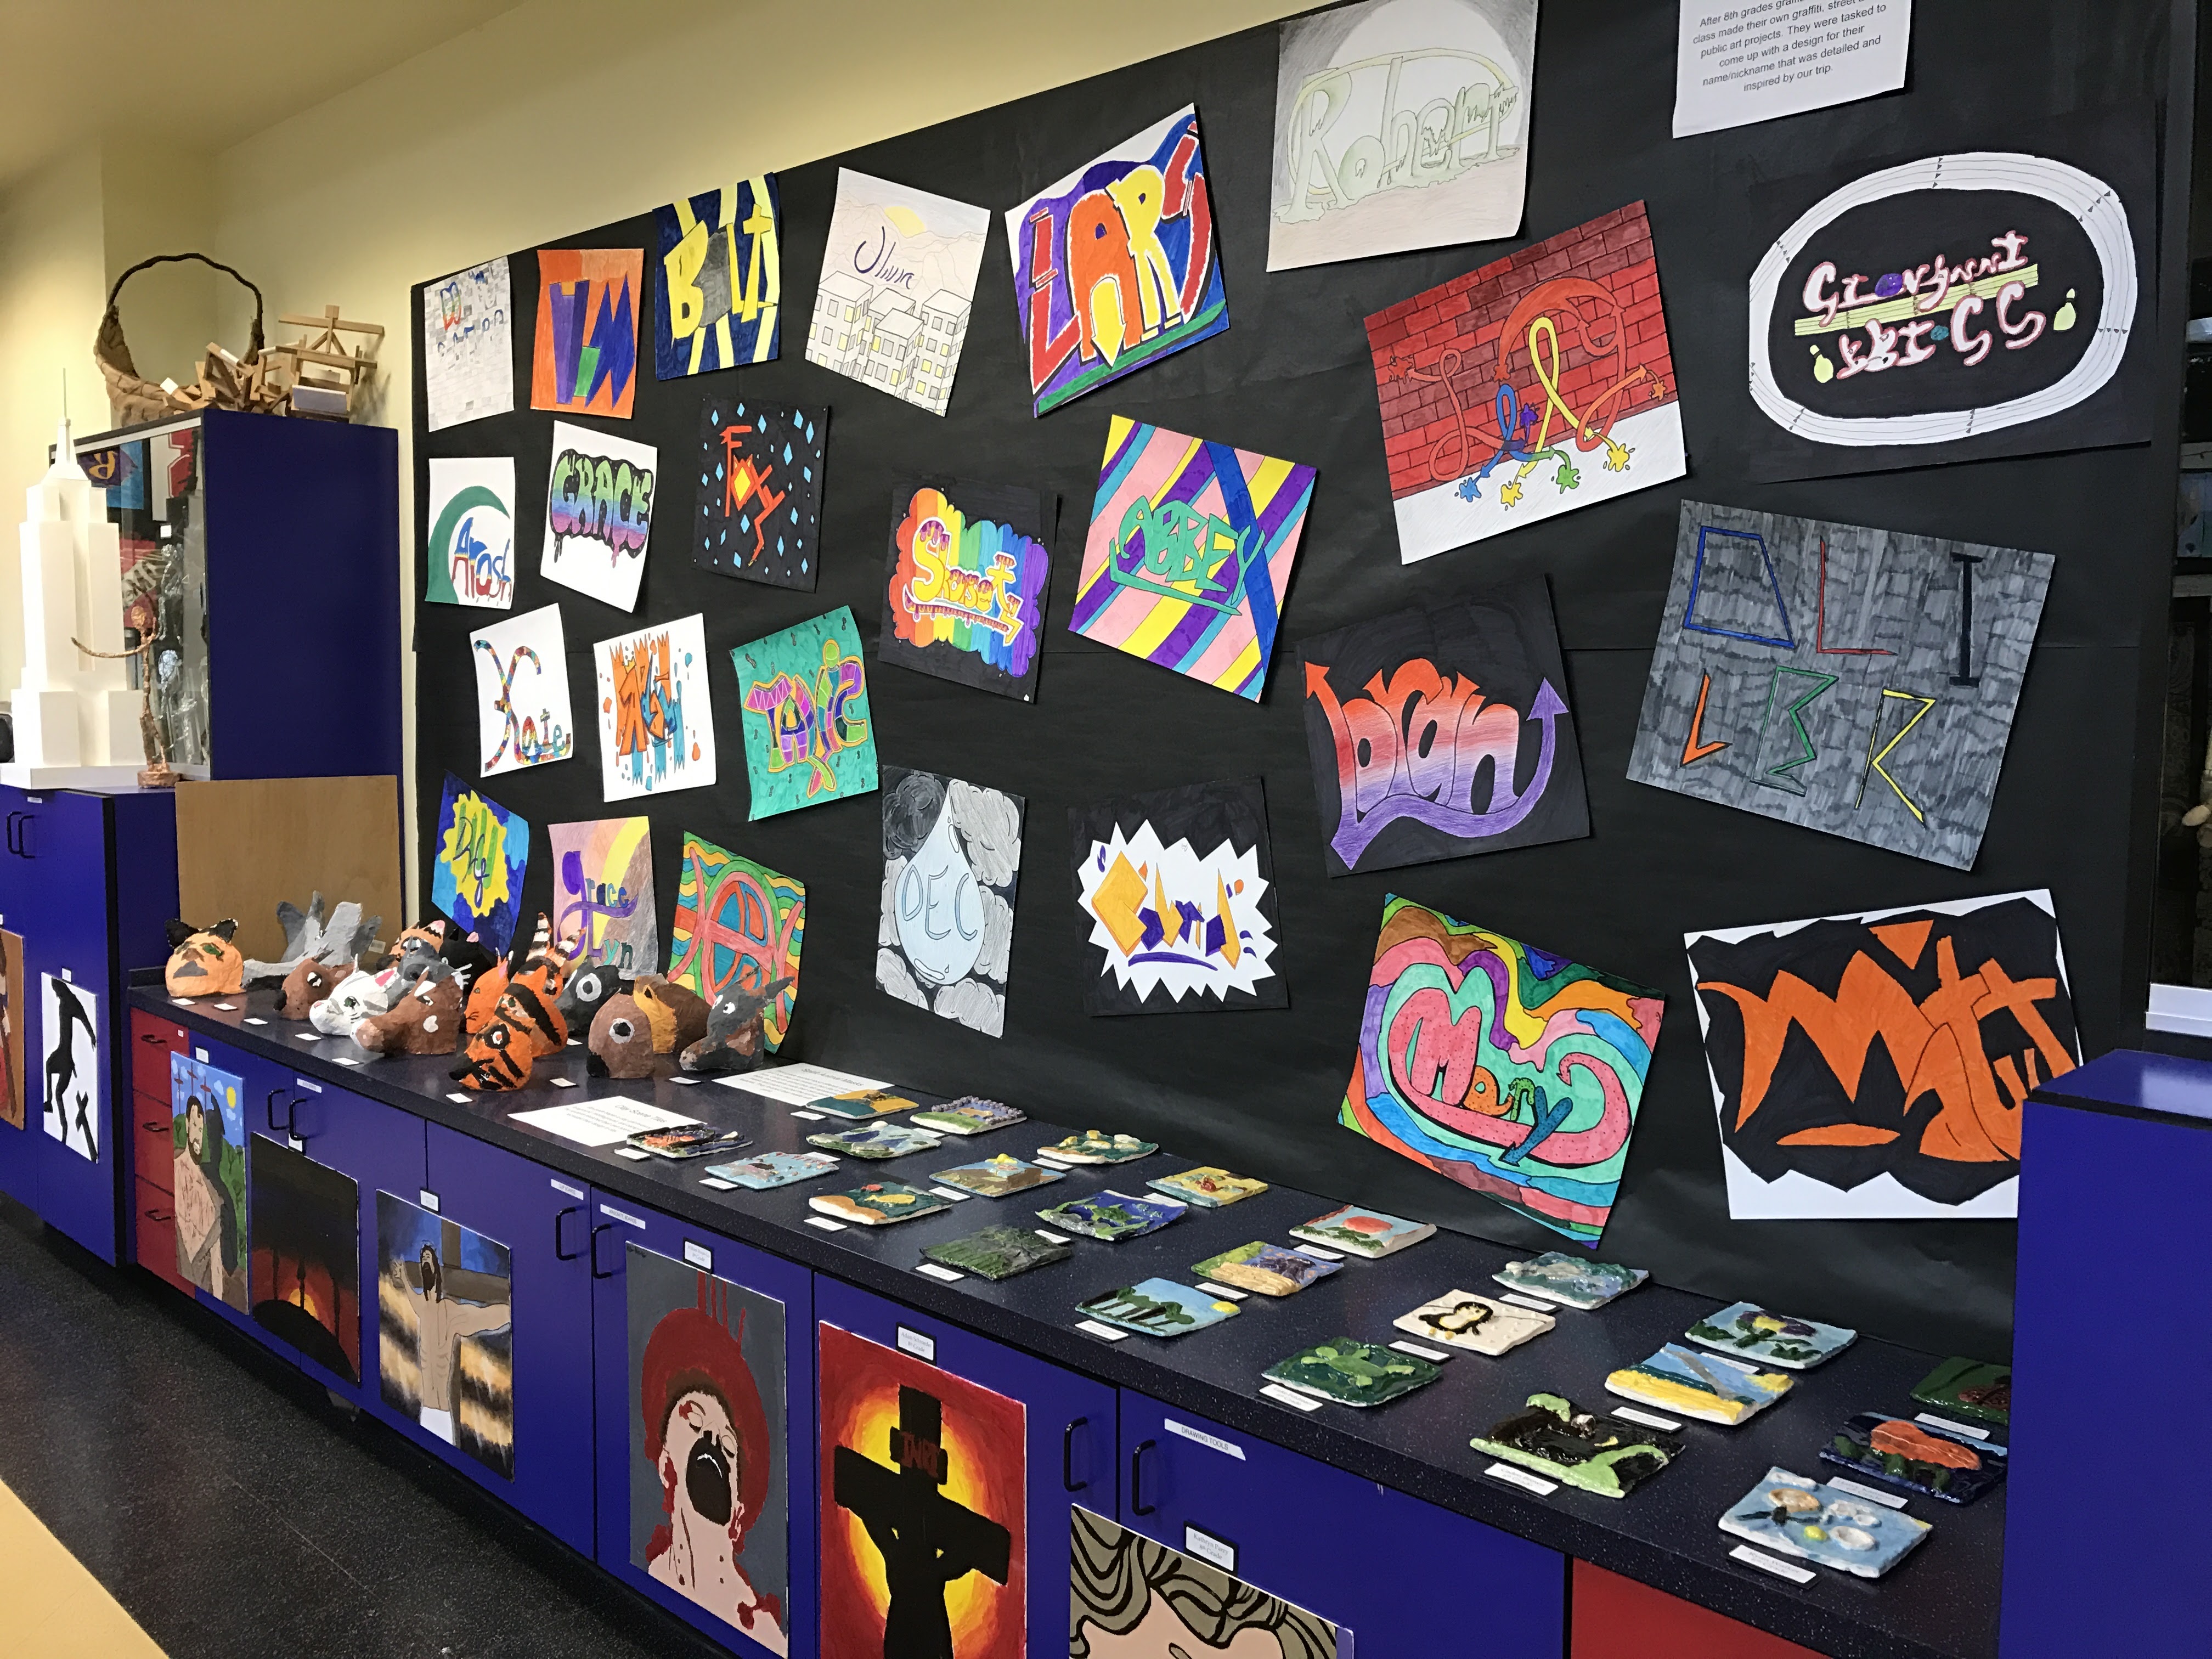
The trick is to use what you already have in your space. I had a kiln so these clay shelves were also already in my art room. I thought of the idea to wrap each shelf. This gave me a 360 degree column to display art on and since they had wheels, I was able to position them wherever I wanted in the space.
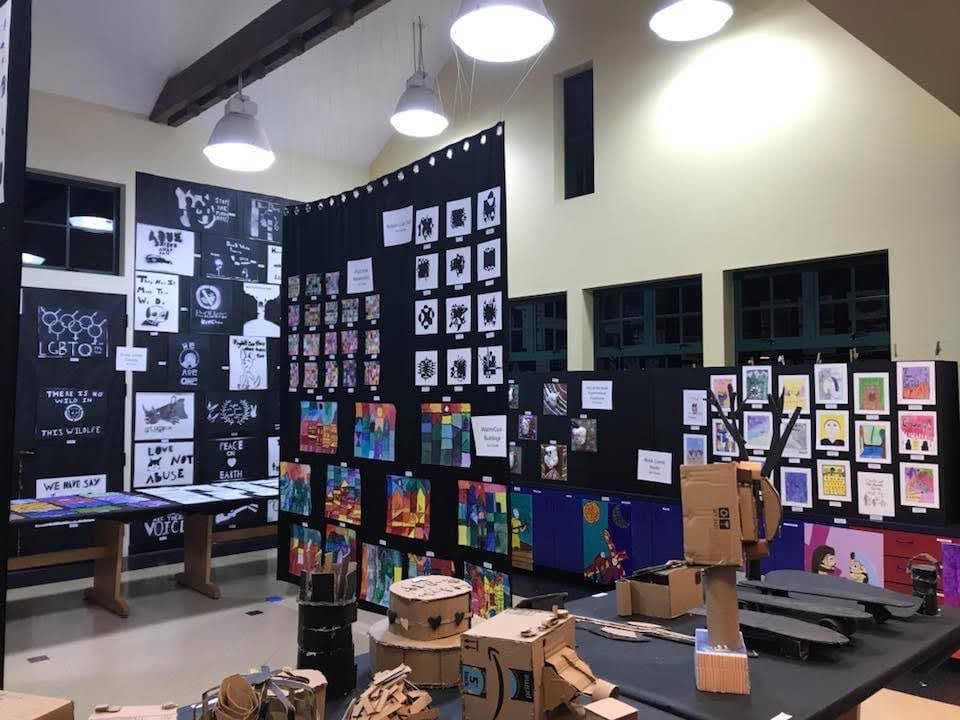
My crowning achievement were my make shift walls. I read how another art teacher would put painters tape up on the walls and then hot glue butcher paper on top of the painters tape. Doing so made it so I had wall space without ruining my walls. This worked so well I did it every year and create so much space in my room that I never needed anyone else’s room again. Plus, this could be done a week prior to the art show for painters tape last two weeks without damaging the walls giving me a week of prep and a week of show. For this you will need,
- painters tape (6 pack with a .94 thickness)
- glue gun and glue sticks (I bought this cordless one and it made gluing in high places a breeze. If you already have a glue gun, then an extension cord is necessary)
- black butcher paper
- extension cord
- ladder (depending on how tall your walls are)
As an Amazon Associate I earn from qualifying purchases
- Hanging Curtain Walls
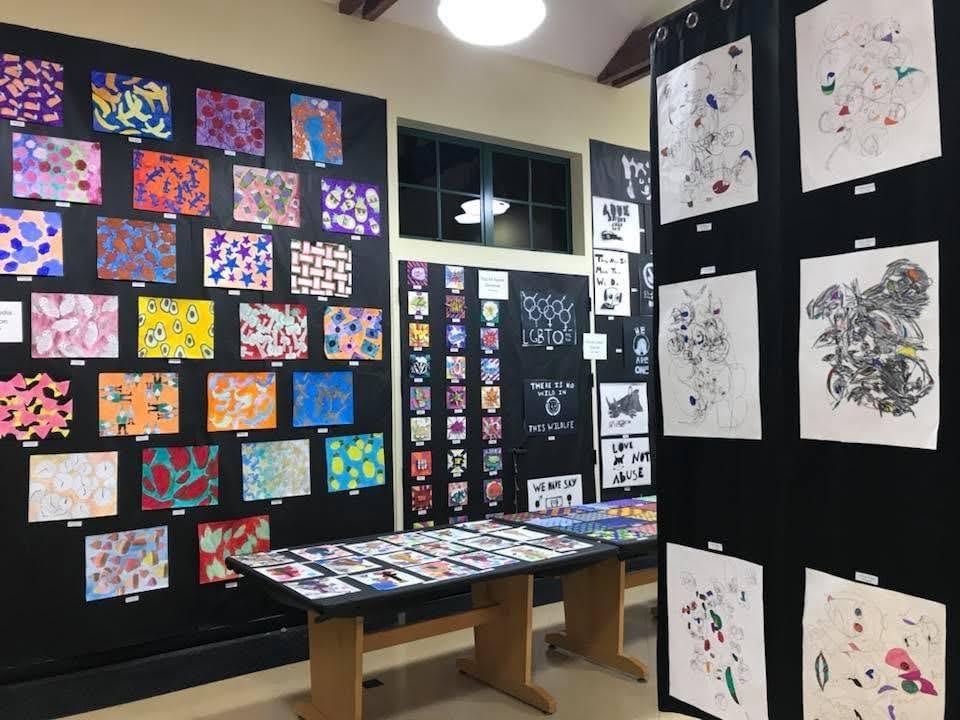
I only did this one year because it was a lot of work, but it did come out very well and create an even more gallery-esque environment. I bought long black curtains and hung them with fishing wire from the rafters and weighted them down to the floor. I hung the art on both sides, again, giving me a lot more space to show the art.
Once your walls and display areas are created, I would then use painters tape to hang up the pieces. Painters tape was less likely to tear the artwork than masking tape. I would either wrap the painters tape into a circle and attached it to all four corners or I would do similar to the butcher paper walls and add four pieces of tape to each corner and then hot glue those pieces. You have to be quick with the latter or the glue will cool and won’t attach to your wall.
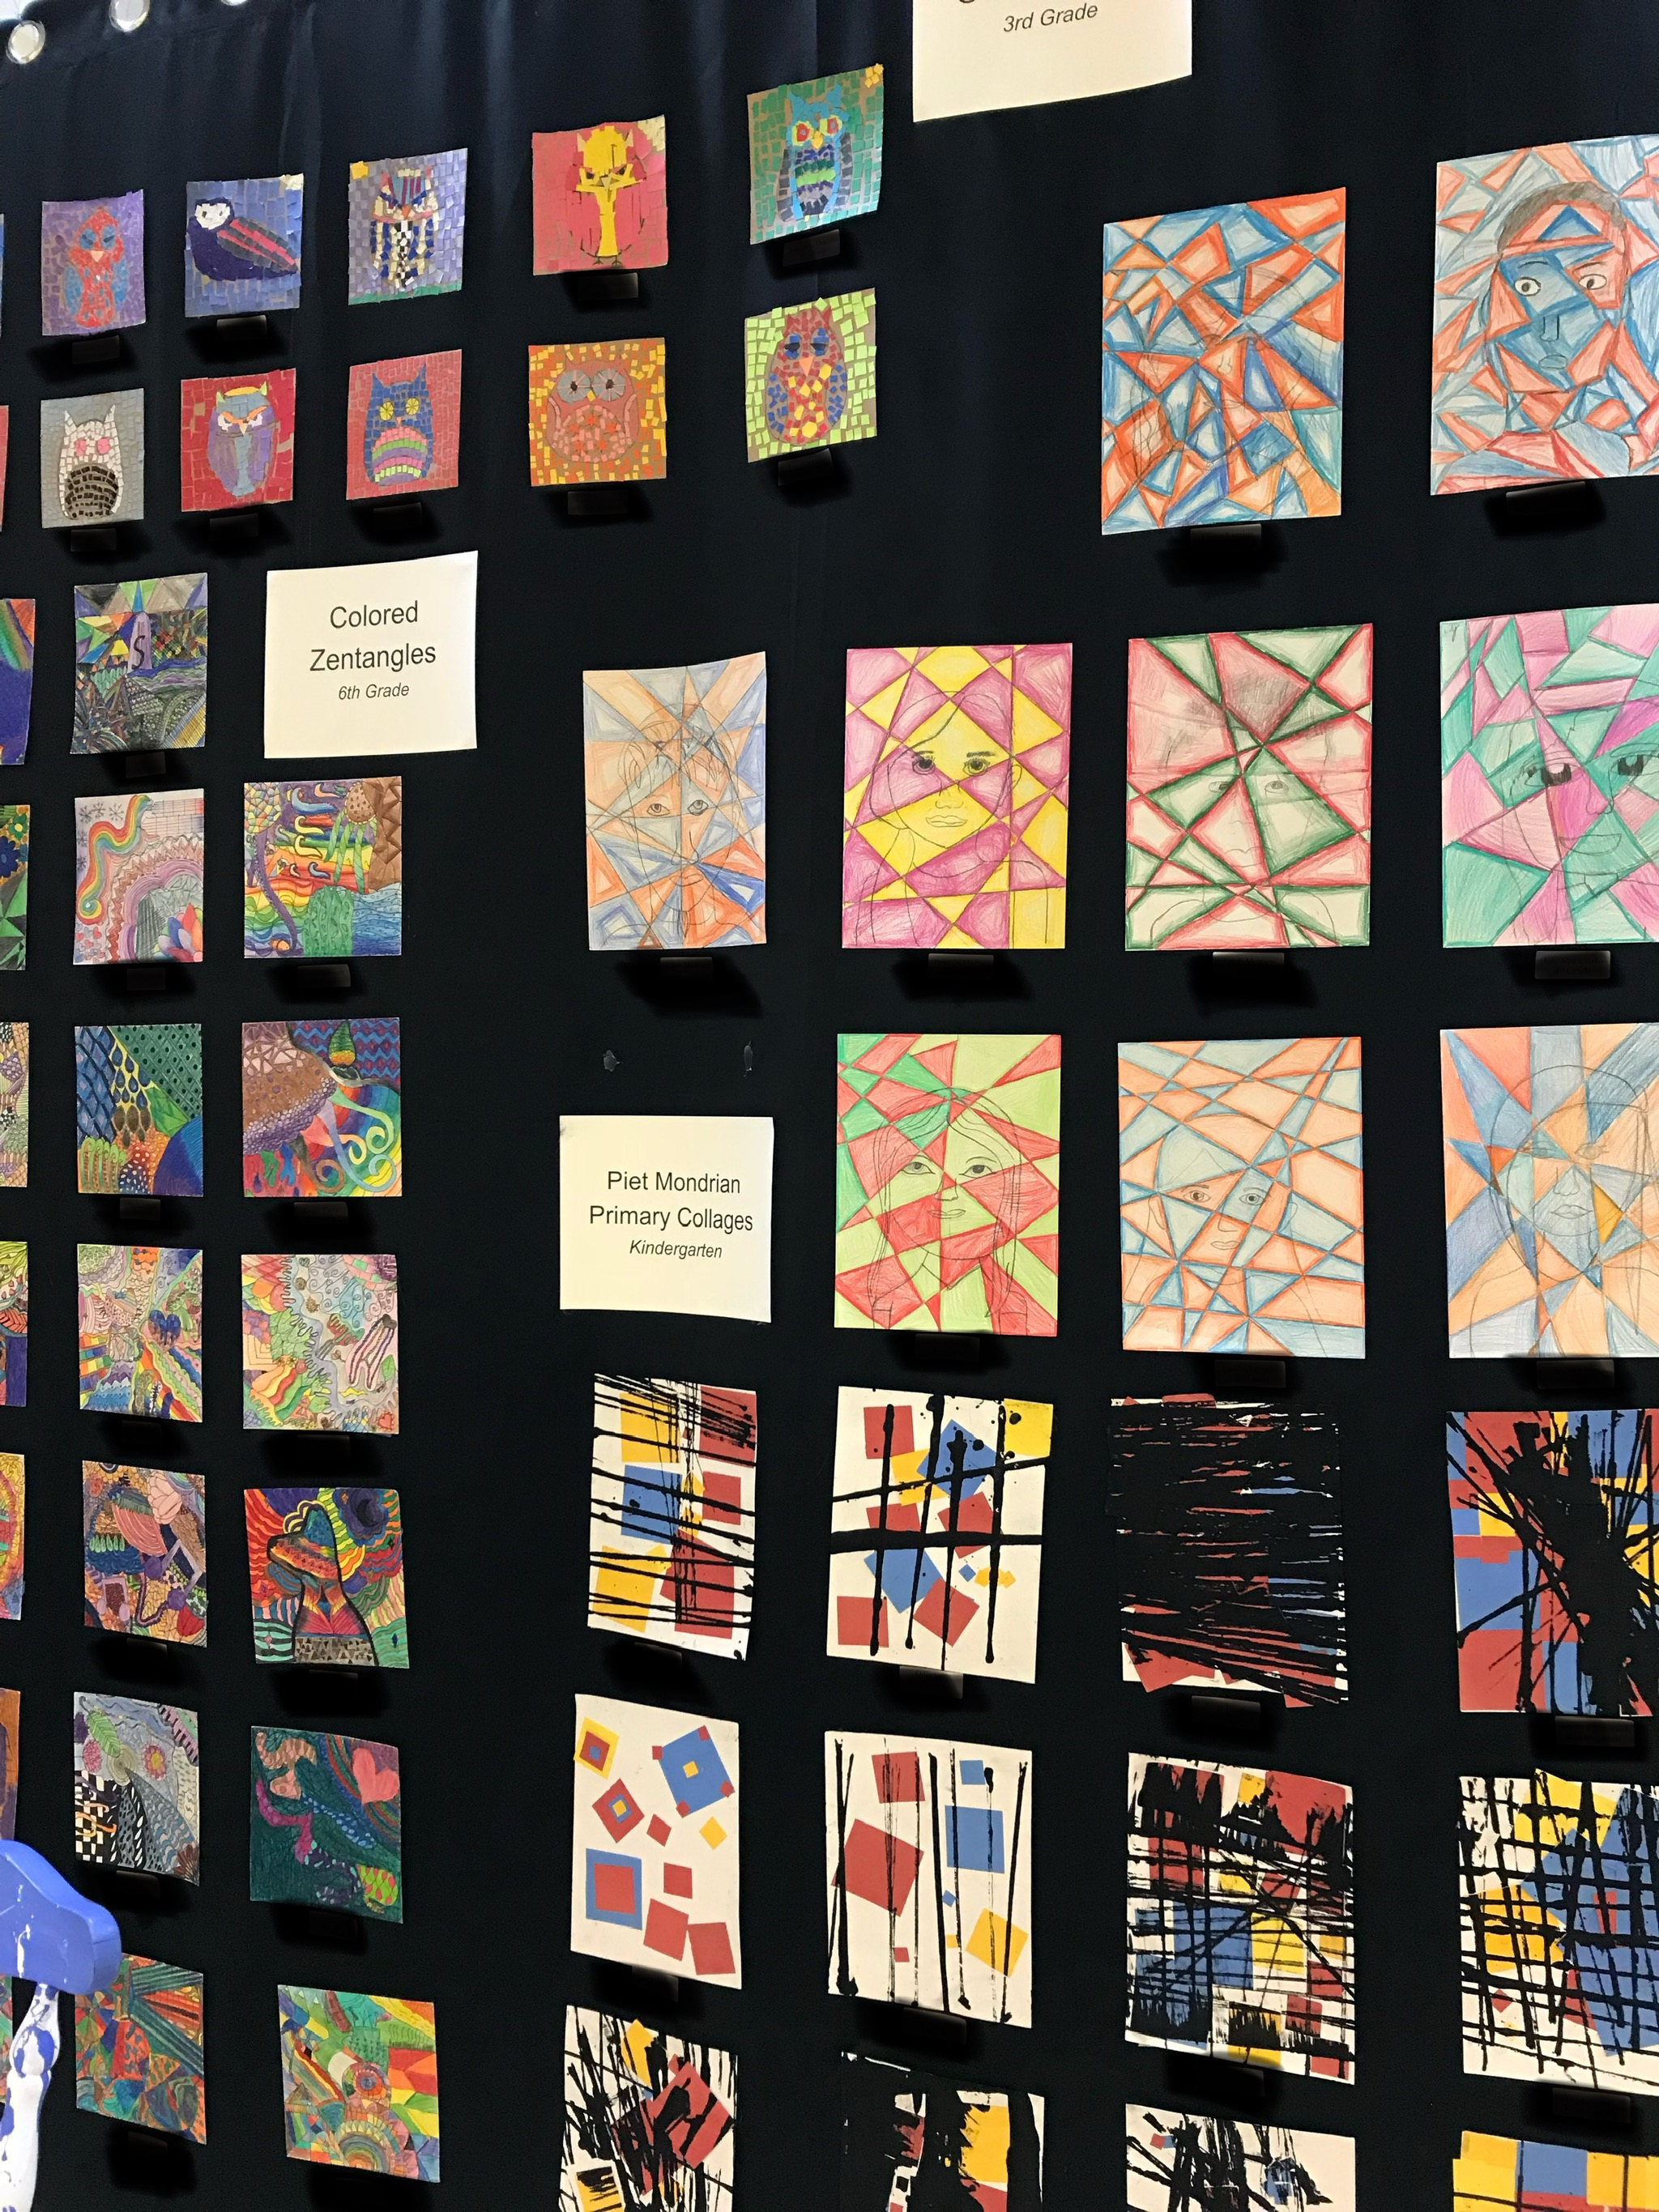
How to organize it
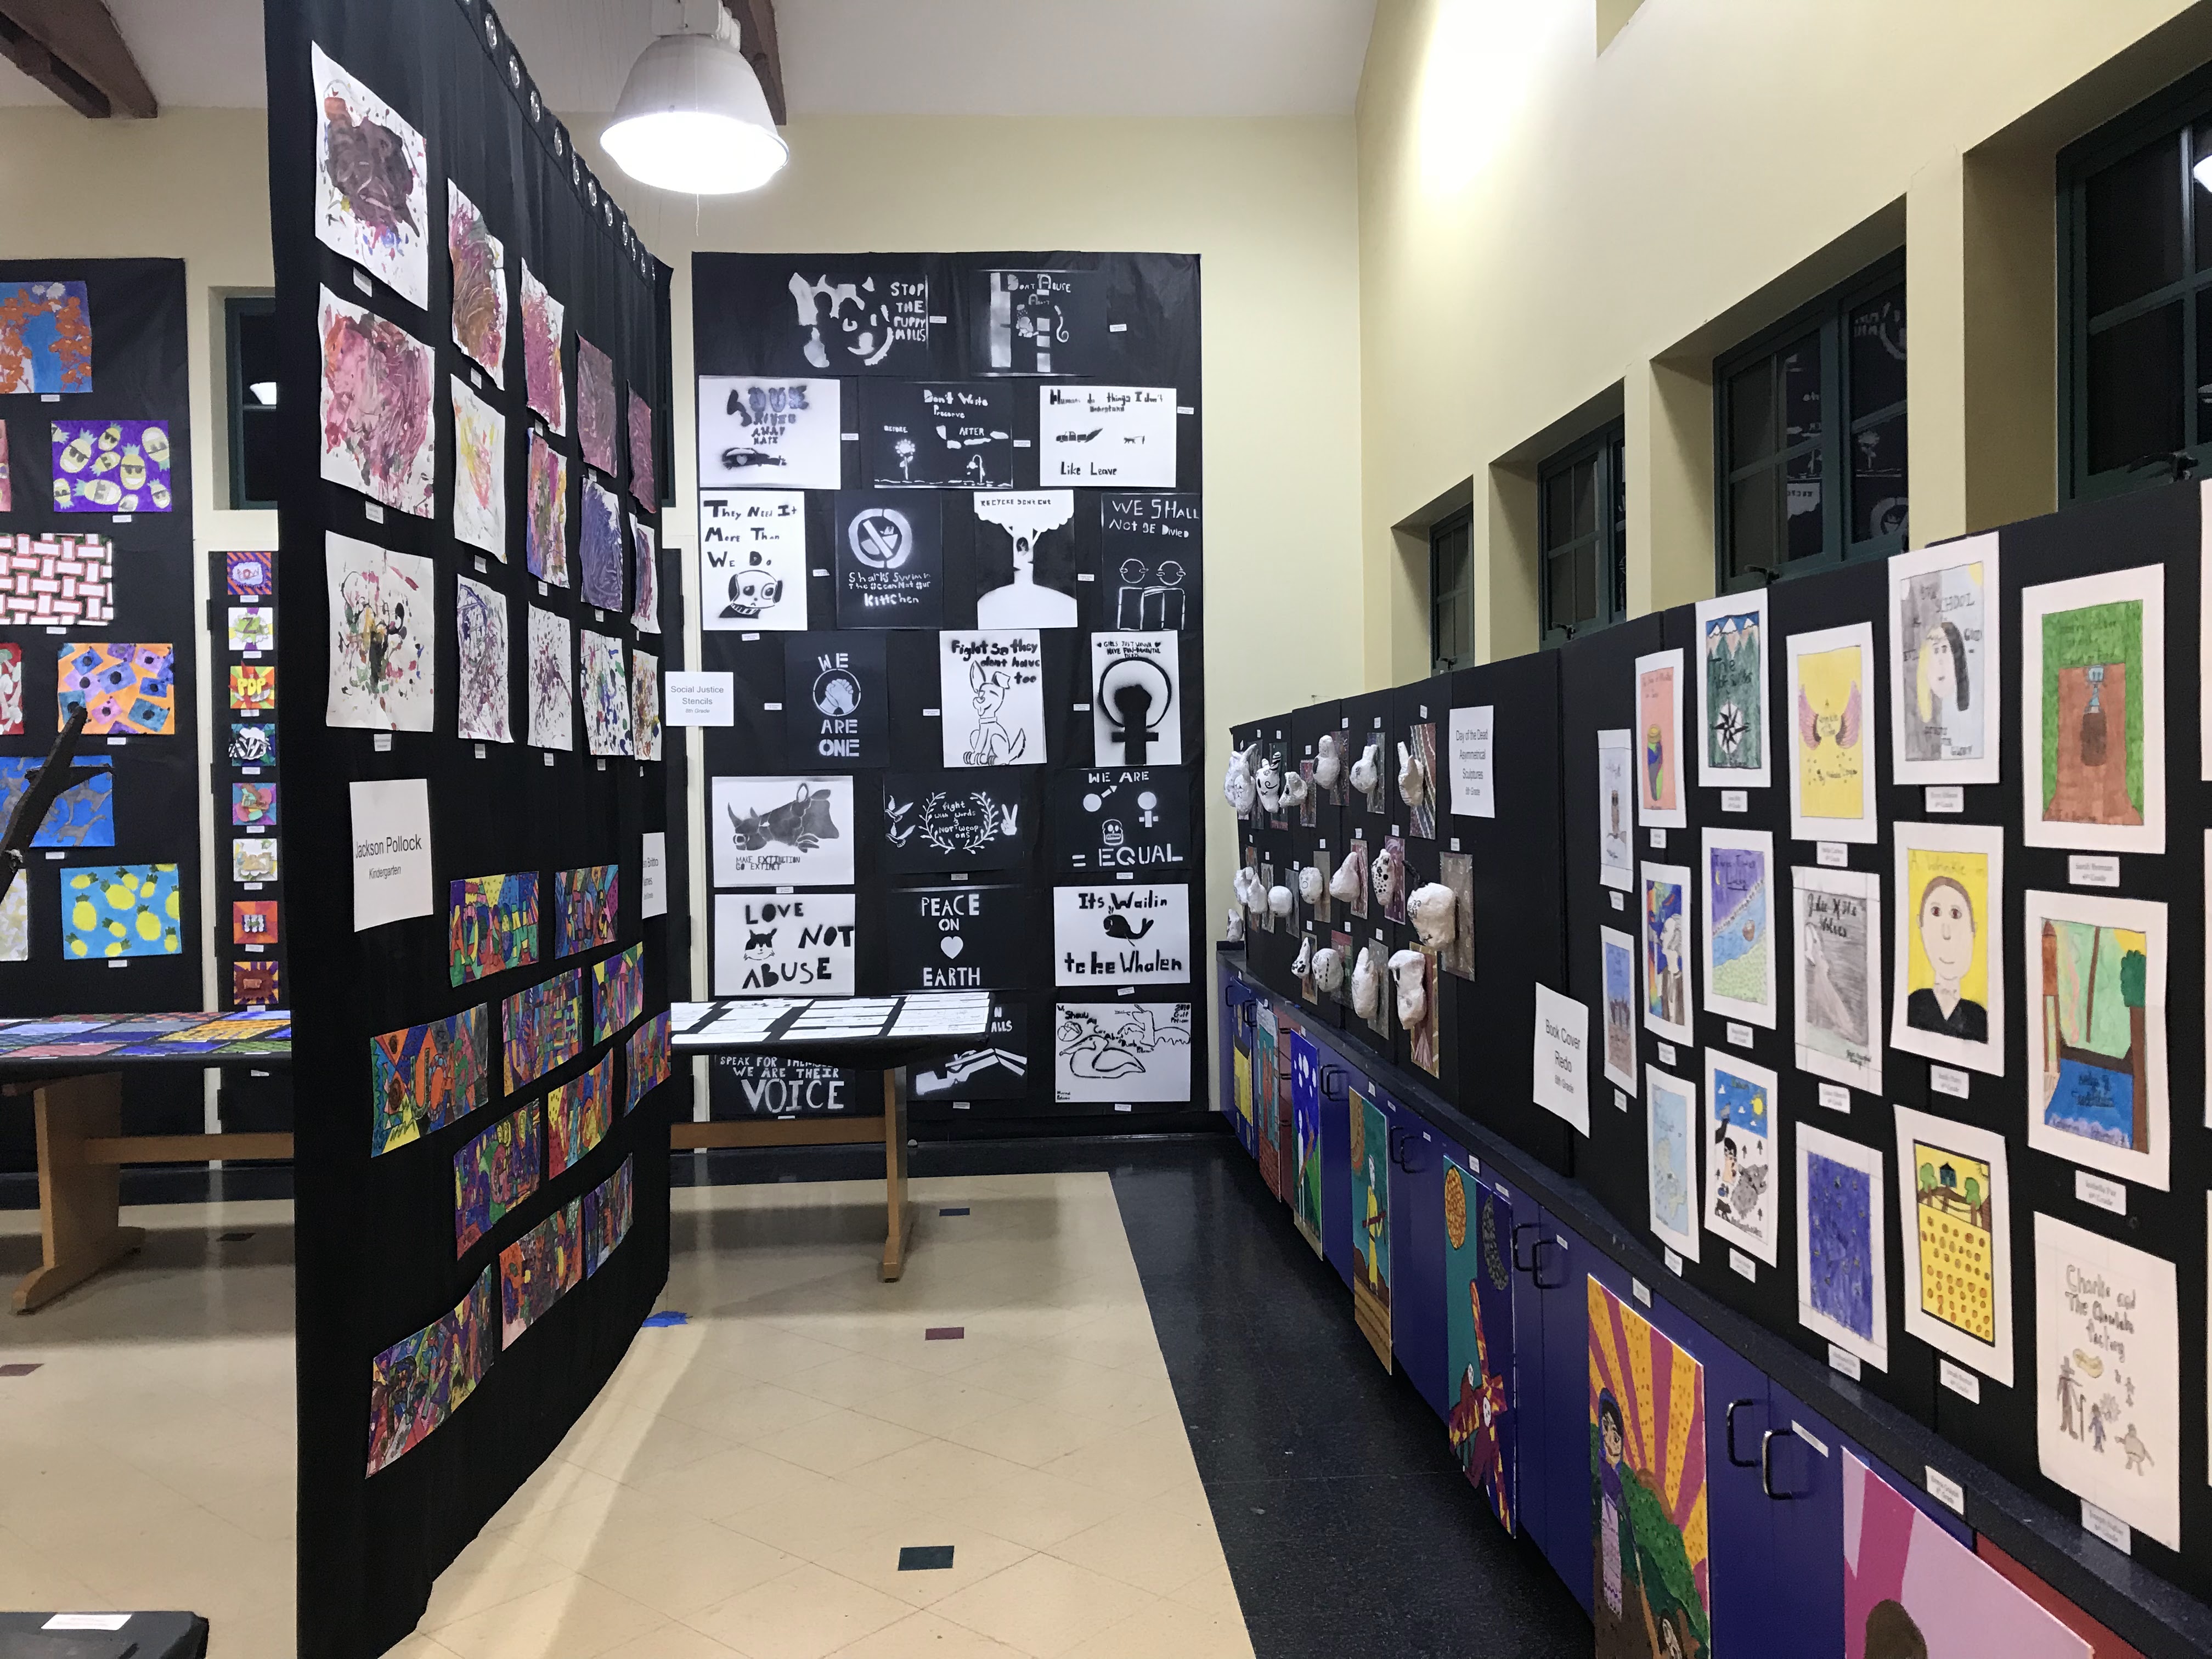
Before I begin, the art shows before mine would organize the work by student putting all one child’s work in one area. I did not want to do this for I felt that family members would come in, make a bee-line for the student’s art, and then leave. I wanted to create a space that encouraged wandering and admiring as well as seeing projects as a whole. In order for me to do this I,
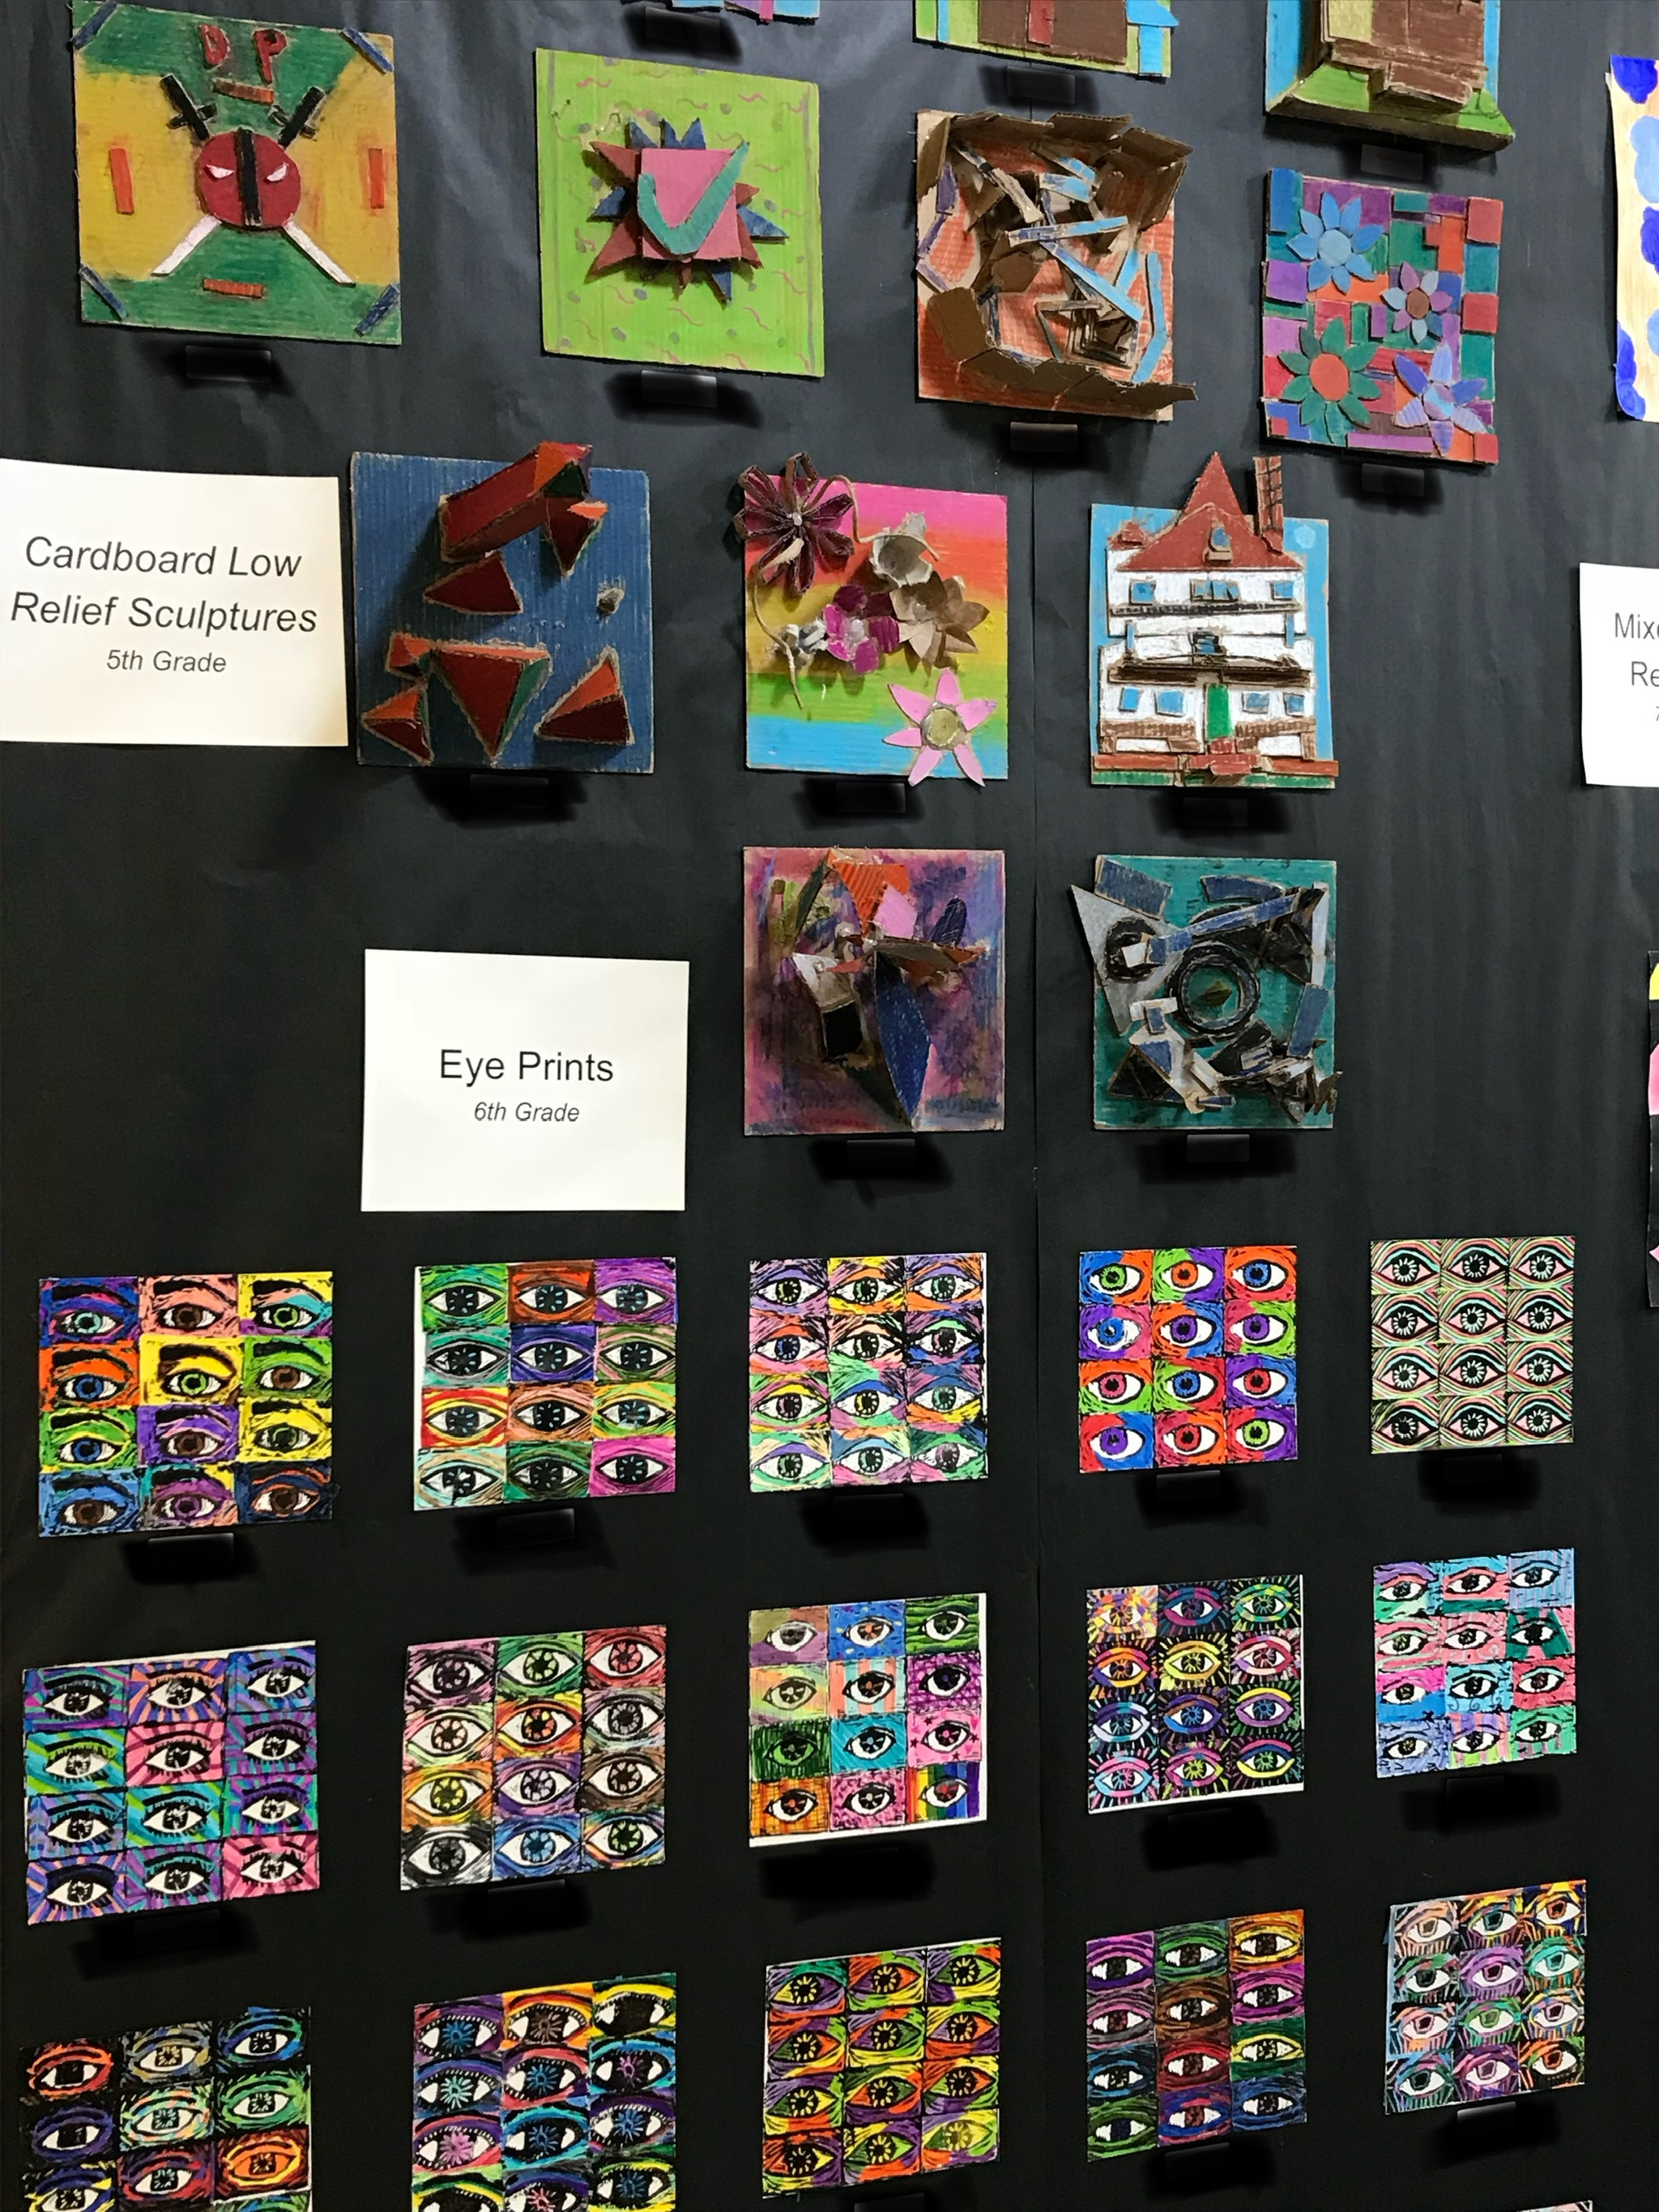
- mixed grade levels throughout the show
- varied the different mediums used so that there was a variety within the projects
How to complete this task with just me
For the first few years I did much of this on my own if not all on my own. I tend to be a “if I have to explain it, I’d rather just do it type of person”. ?, there are different avenues you can take and that I did start to employ in my art show creating.
- Parents!
Parents want to help. Not all, but one or two are all you need. Learning to communicate and use parents as a resource is a skill that needs to be mastered by any teacher and comes in very handy when you are putting up hundreds of artwork by yourself.
- Students
Since I was creating the art show in my room, I usually had classes in there while it was under construction. My older students (6-8th) ended up being great resources. Again, not everyone wanted to help, which was alright with me because I only needed a few people helping at once. Just be sure to have an independent activity ready for those who prefer not to help. You will get a few students who sincerely want to help you, whether it is putting tape on the back of artwork or labeling pieces.
- Coworkers
I put this last because days can be busy and generally art shows are at the end of the year, which can be a stressful time for any teacher. There would always be one or two offering some help to me. At first I would say no because I didn’t want to take away any break or planning time they had, however, if someone offers their time, it is because they want to help so use it.
Lastly, I recommend organization above all. I usually do not send any work home for many times it will be misplaced or not returned. Keeping the work for the year in an organized system will make curating your art show that much easier. The art is the most important part after all!
