

Introduction
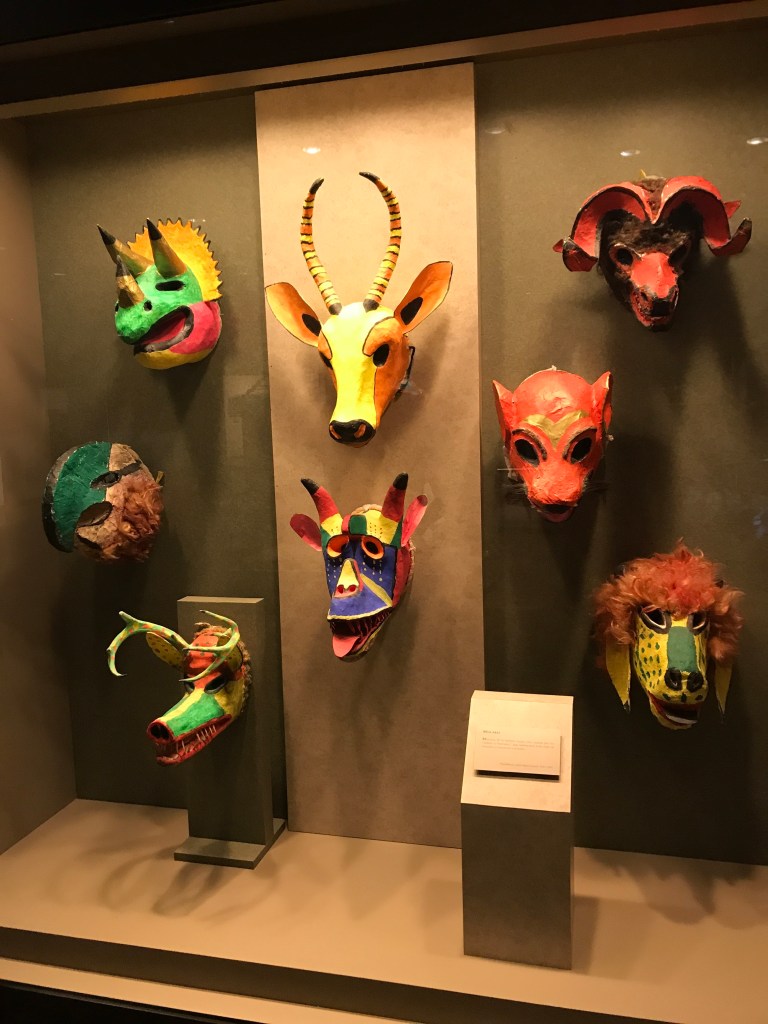
I visited the Museum of Anthropology in Mexico City and saw these animal masks. I thought that this would be a great lesson to do with multiple age groups in order to incorporate multicultural activities and creative/personal expression in the art room. However, the masks can be adapted using different themes or subjects depending on what your are trying to teach. I like to start off all my lessons with having the students brainstorm ideas and to create rough drafts of what they hope their final artwork will look like. If I am making spirit animal masks, I have the students look up animal symbolism and find an animal that reflects their personality. I use the example of an elephant because elephants represent family. I am a big family person so I would create an elephant spirit animal mask.
Intro Activities
You can introduce this lesson in many ways and get your students started on preparing for their art project. Again, this lesson can be adapted to different ages and/or themes to better suit what you want to teach.
- Discuss masks from different cultures (what are they used for)
- Have students research animal symbolism (can have printouts for younger students)
- Have students write a paragraph about their spirit animal and reasons why they chose it
- Create a rough draft of how they want their mask to look like

Mask Making
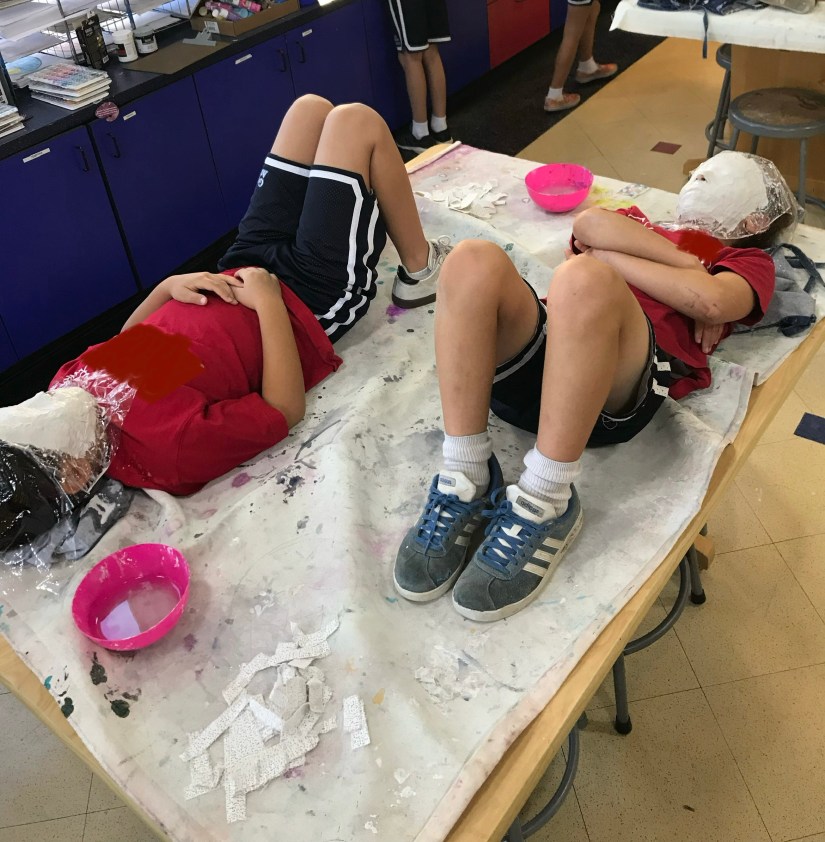
When creating masks, this project can be adapted to different themes and grade levels. I found that third grade is the best year to start. Anything younger can be done, but will require a lot of assistance so I would suggest one on one parent involvement if you choose to do so. As you can see, plaster will be applied to the students with the use of a partner. Third grade becomes the year students are more able to complete this with minimal assistance. Having parent assistance will help immensely, but becomes less necessary as the students get older.

Materials
- Plaster strips (cut prior to class)
- Bowls of water (to be refilled because the plaster will build up at the bottom)
- scissors (for cutting pieces if needed)
- tarp for table
- plastic wrap for face with nose cut out to breath (plaster directly on skin will be painful)
- Vaseline for around hairline
- Optional: bandanas for hair or neck (can get messy)
As an Amazon Associate I earn from qualifying purchases
Steps
- Pair students up with 2-3 students with a bowl of water, scissors, plaster strips, plastic wrap, and a towel or rag. Some strips should be precut, but if you have 3 students per group, one student can apply while the other can cut.
- The student having the mask done should apply a light coat of Vaseline along the hair line and cut some plastic wrap for their face. If doing a full mask, cut a hole for the nose. This is an important step. Without the wrap or Vaseline, the plaster will dry to hairs and be painful. Stay some distances away from the nose. You can apply more plaster after it is dry to close up the hole.
- When student is ready, dip the plaster strip into the water and apply bumpy side down and gently rub so the plaster spreads. Repeat all over and do at least 2 layers.
- Let the mask dry enough that it can be removed. Be sure to use a sharpie to write their name on the back. Marker will fade as the plaster dries.
- Repeat with other group members.
- To finish the mask, read below on adding the features.

Adding to the Mask
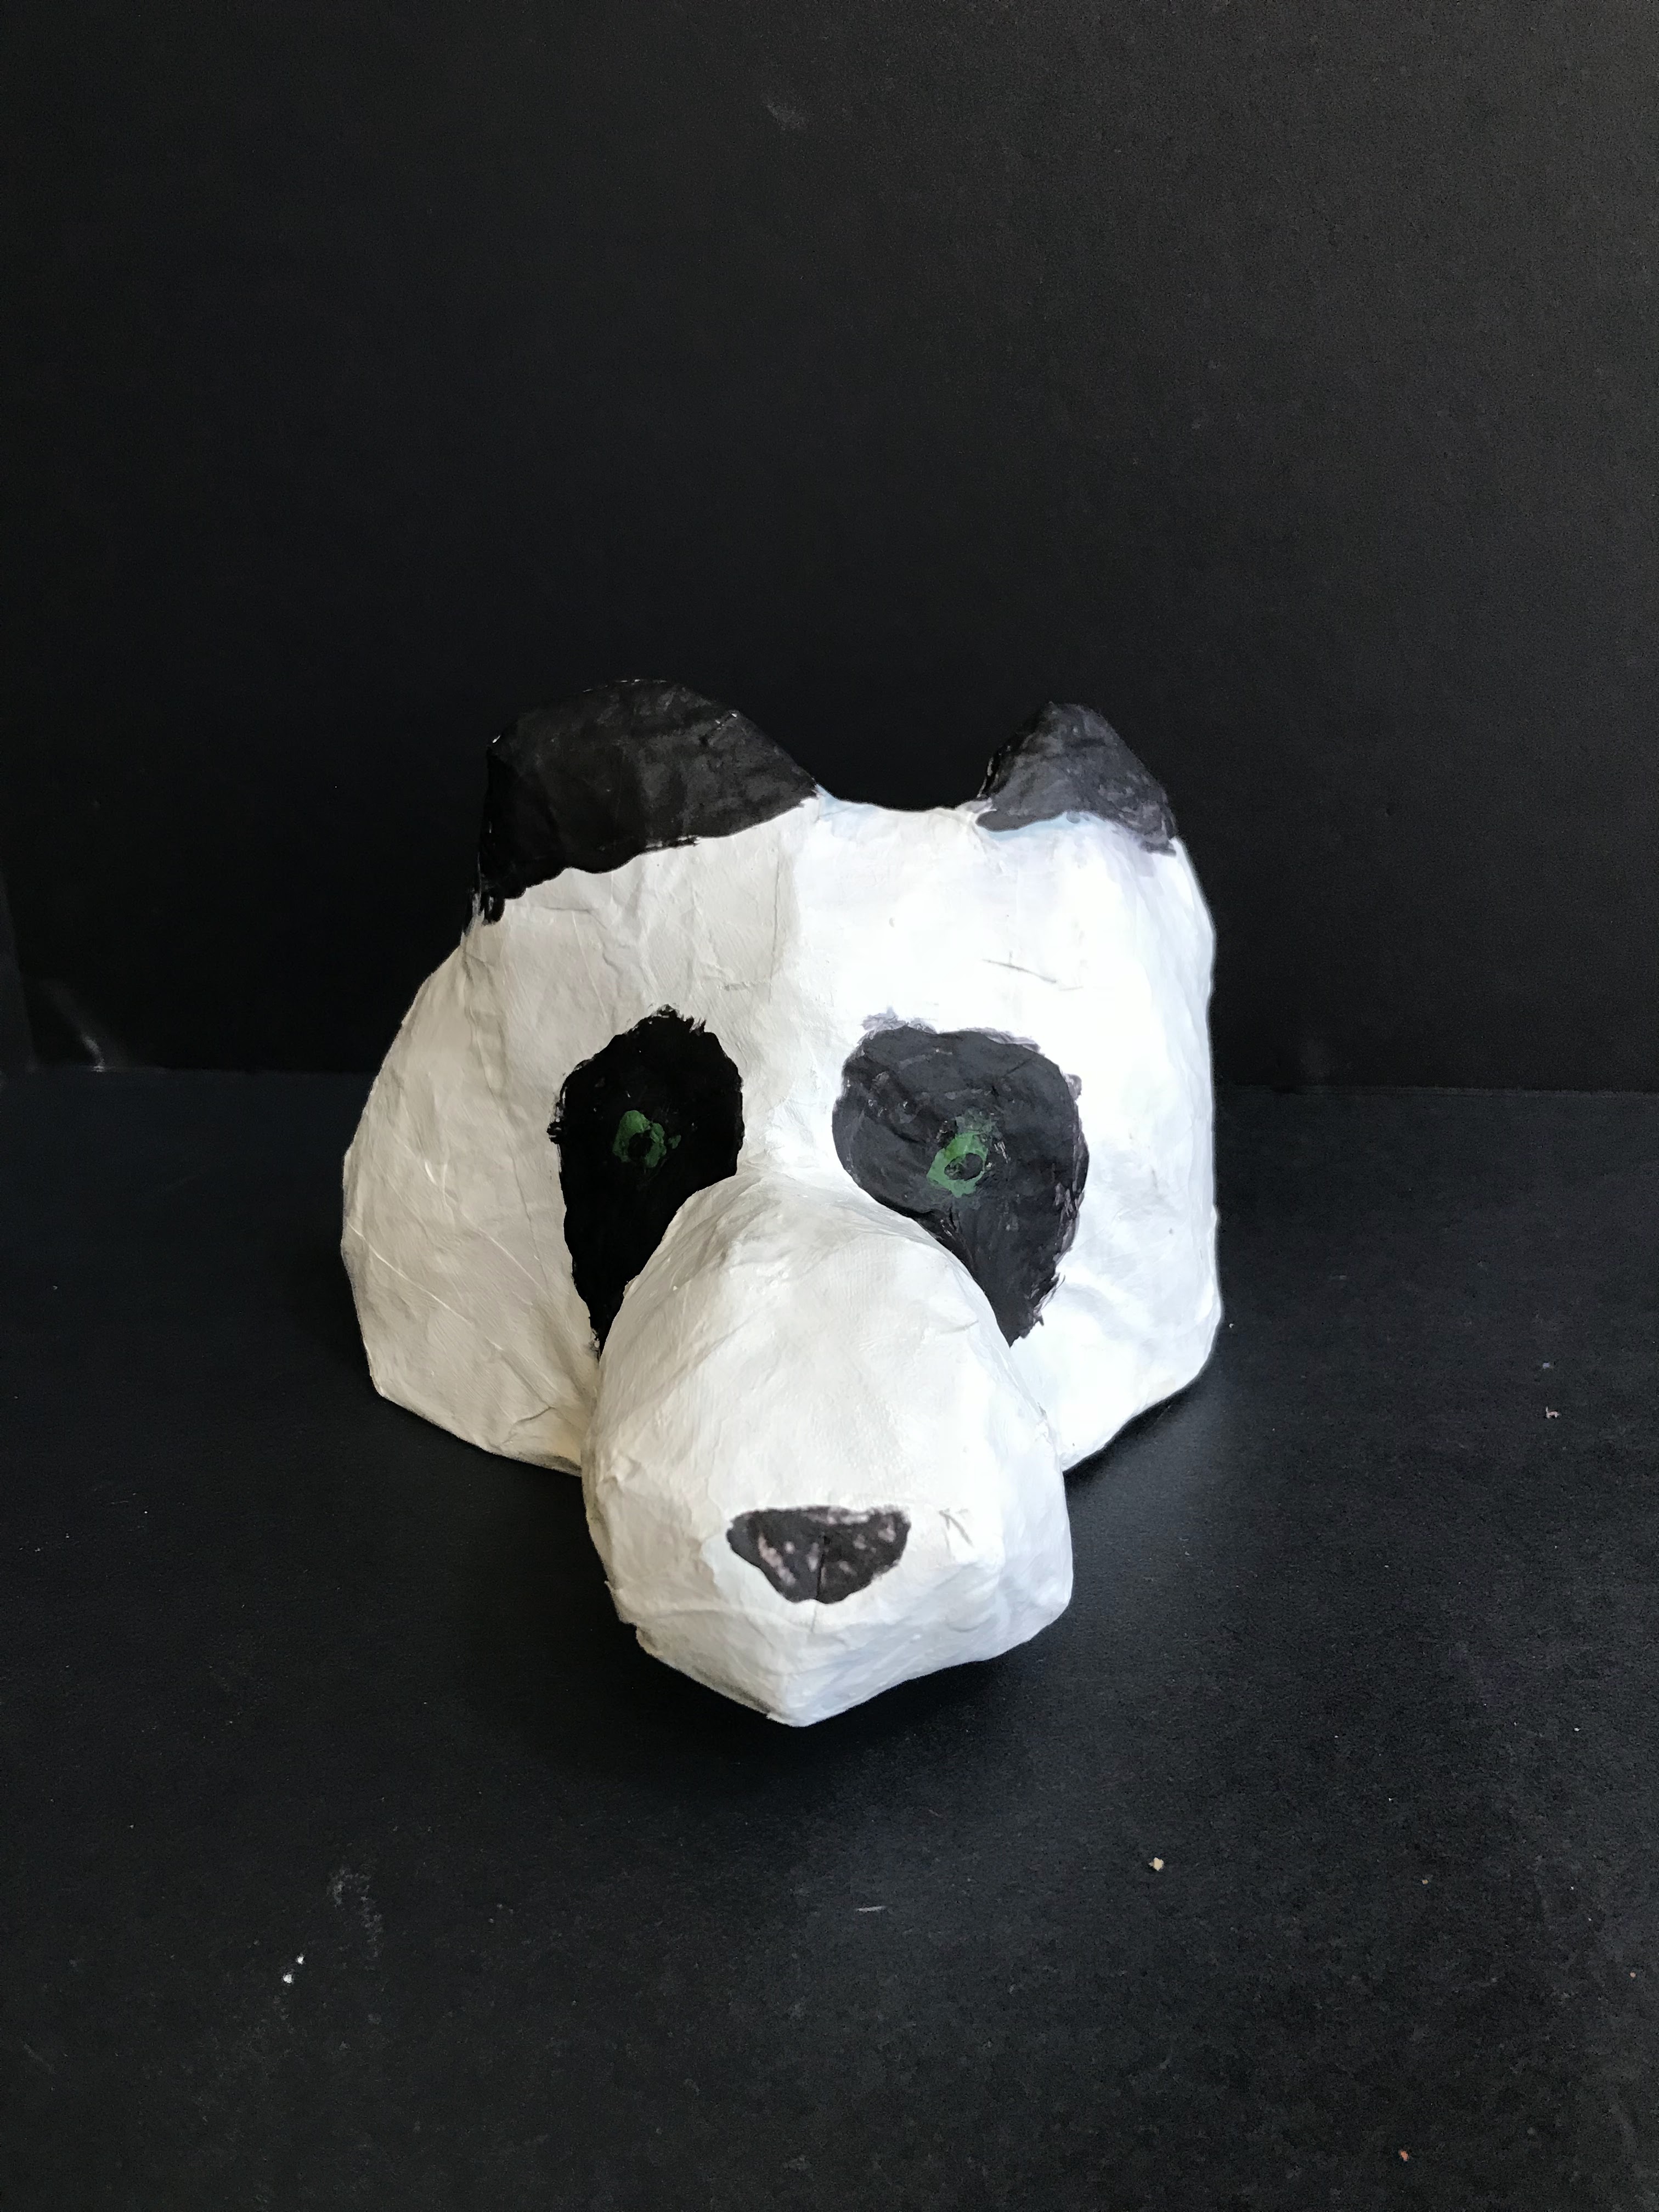
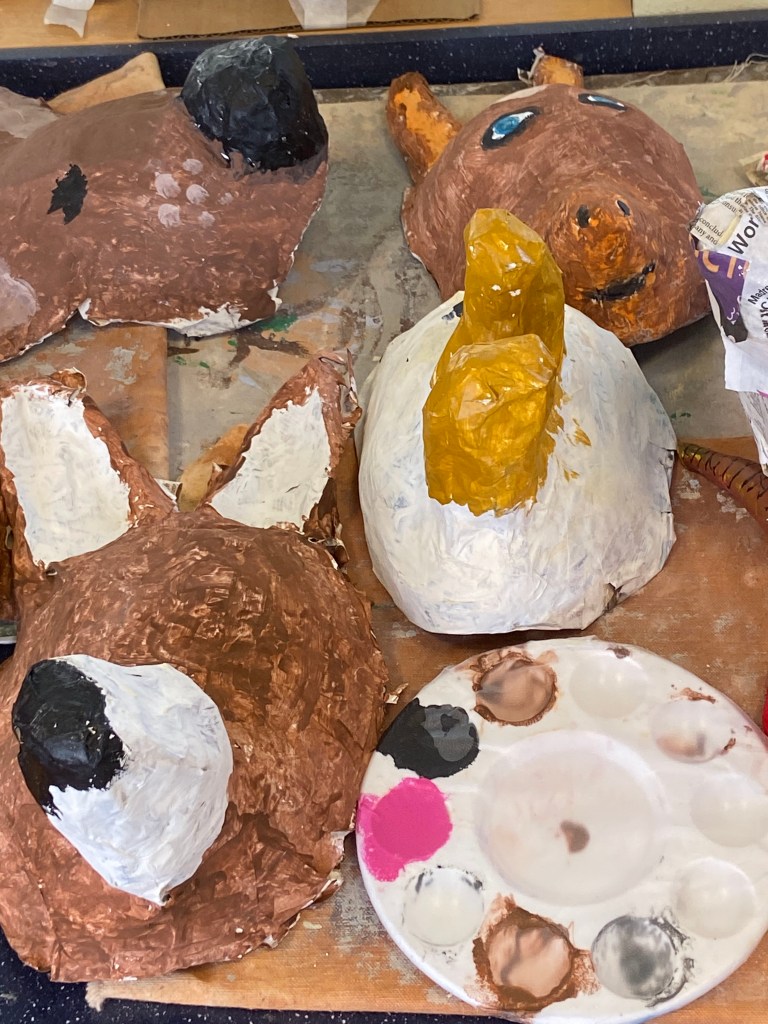
When the masks are complete, students will add the features of their animal using newspaper, tin foil, wire and covering the entire mask with masking tape. This will allow the students to paper mache their mask. Without the tape, the plaster can get soggy from the paper mache so be sure to have them completely cover their plaster. Completed paper mache masks will then be painted white to create an even base to paint the colors of their animal.
Closing
As a closure activity, I have the students volunteer to discuss the mask, the animal they choose, and the reasoning behind their decisions. You can give the students a chance to critique the work, but be sure to model and lesson this prior to performing any critiques. Read my blog posts about critiques for ideas.
